Dig and Line a Backyard Pond With a Small Waterfall
Moving water changes a backyard the way a fireplace changes a room. Two weekends with a shovel and a rubber liner puts a living pond outside the kitchen window.
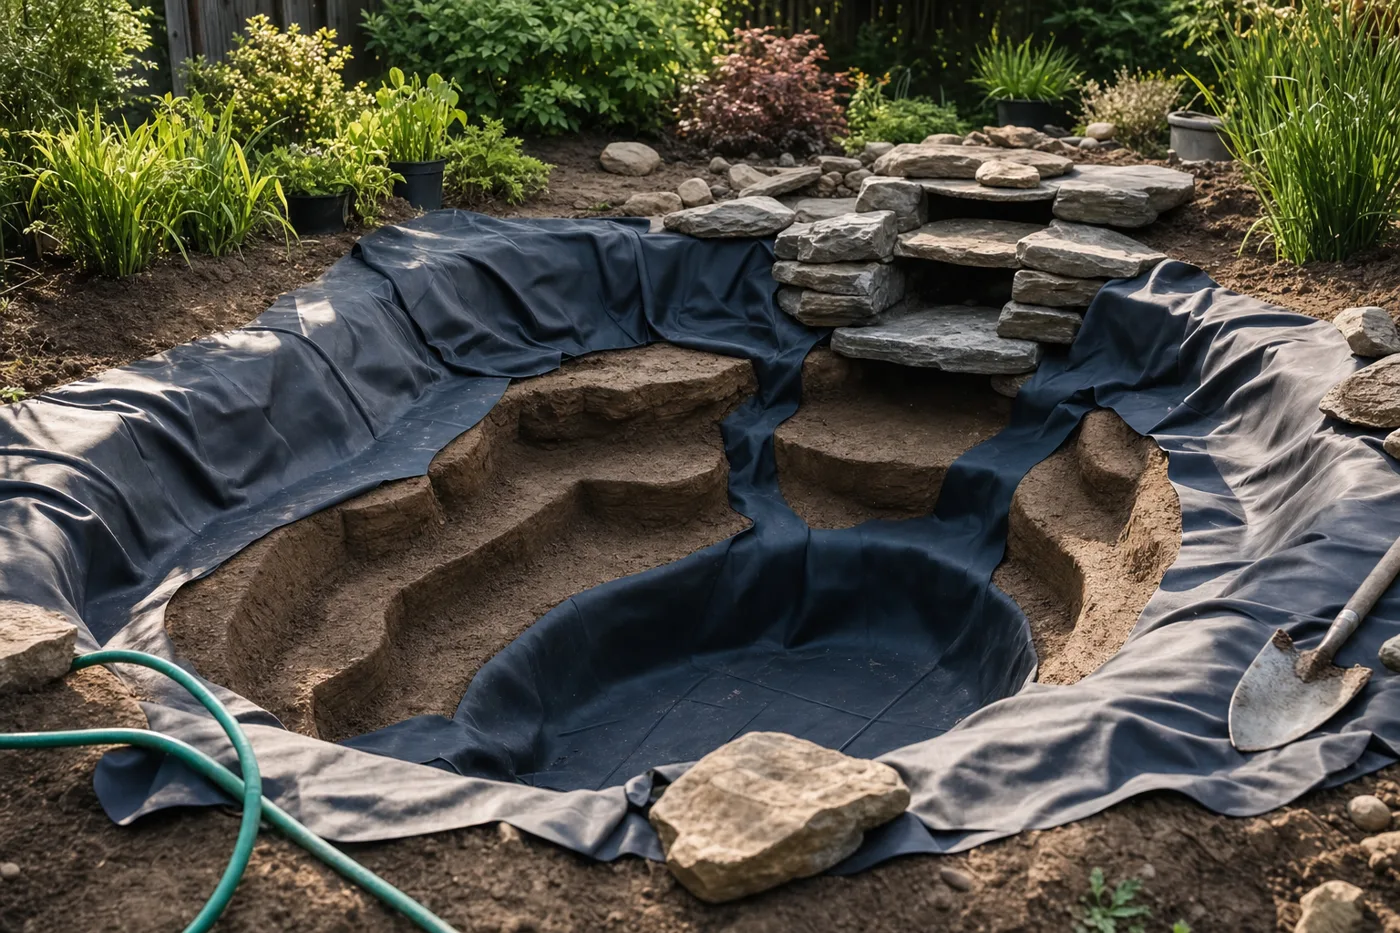
A pond is the rare landscape project where the digging is the design. The hole’s shape — its depth, its tiers, its edge — determines whether you get a thriving miniature ecosystem or a green puddle you resent by August. The materials are forgiving: one seamless sheet of 45-mil EPDM rubber conforms to whatever you dig, and one submersible pump runs both waterfall and filtration. Get the excavation right and everything above it is stacking rocks.
Size, site, and the safety call
Bigger is genuinely easier — small ponds swing temperature and chemistry fast, so aim for at least 7 by 4 feet and 18 to 24 inches deep at the center. Site it where you’ll see it daily, with 4 to 6 hours of sun, away from leaf-dropping trees, and never at the yard’s lowest point, where runoff delivers fertilizer into the water. Call 811 before digging. Check local code too: ponds past a certain depth may need pool-style fencing — and if small children visit, design shallow or add a barrier regardless.
Dig in tiers, not a bowl
Outline the shape with a garden hose, then dig three levels: a 6-inch-deep marginal shelf about a foot wide around the rim for plants, a mid tier at 12 inches, and the center zone at 18 to 24 inches. Check the rim with a level on a straight board across the hole — the pond will expose every low spot on its edge the moment you fill it.
Cushion the hole, then drape the liner
Pull every root and stone from the excavation, then line it with geotextile underlayment or an inch of damp sand. Center the EPDM liner and let it relax into the hole with slack everywhere — never stretched. Fold creases into a few large, deliberate pleats and let the water’s weight press it into final shape as you fill. Anchor the edges temporarily with stones; trim nothing yet.
Size the pump to the pond, and the falls to the pump
Calculate volume — length x width x average depth in feet x 7.5 gives gallons — and buy a pump that turns the pond over once per hour. Check the pump’s flow chart at your actual head height; a pump that moves 500 gph on the box may deliver 300 at a 3-foot spillway.
Stack the waterfall on the liner, not beyond it
Build the falls into soil mounded from the excavation, running the liner up and under the spillway stone so every drop of splash lands back inside the rubber. Set a wide, flat spill stone with a slight forward tilt, and test with a bucket of water before mortaring anything. Waterfall leaks are almost never in the pond — they’re splash escaping past the liner’s edge.
Edge, fill, and plant the shelves
Trim the liner to a 12-inch apron, hide it under overhanging fieldstone, and cover shelves with rounded gravel. Fill, run the pump 48 hours, then add marginal plants — plants outcompeting algae is the fastest route to clear water. Wait 4 to 6 weeks before adding any fish.
The pump must plug into a GFCI-protected outdoor outlet — no ordinary extension cords across the lawn. If there’s no GFCI within the cord’s listed reach, have an electrician add one.
Water is the most honest level in the world — it finds every low spot on your rim.
The first year
Expect a green-water phase around week three; it clears as plants establish, and patience beats algaecide. Net the pond during leaf drop, clean the pump intake monthly, and top up evaporation with small water changes. By the second spring the pond stops being a project and starts being the reason you walk outside with coffee.
Keep the momentum going
All articles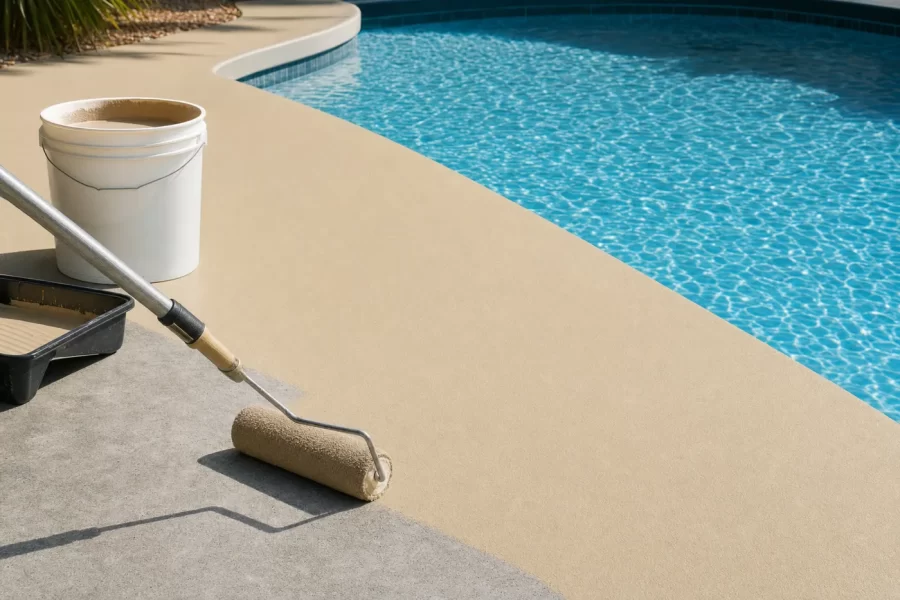
Resurface a Concrete Pool Deck With Cool-Deck Coating
A step-by-step guide to renewing a worn concrete pool deck: pressure washing, crack repair, acrylic cool-deck coating, and a barefoot-friendly texture.
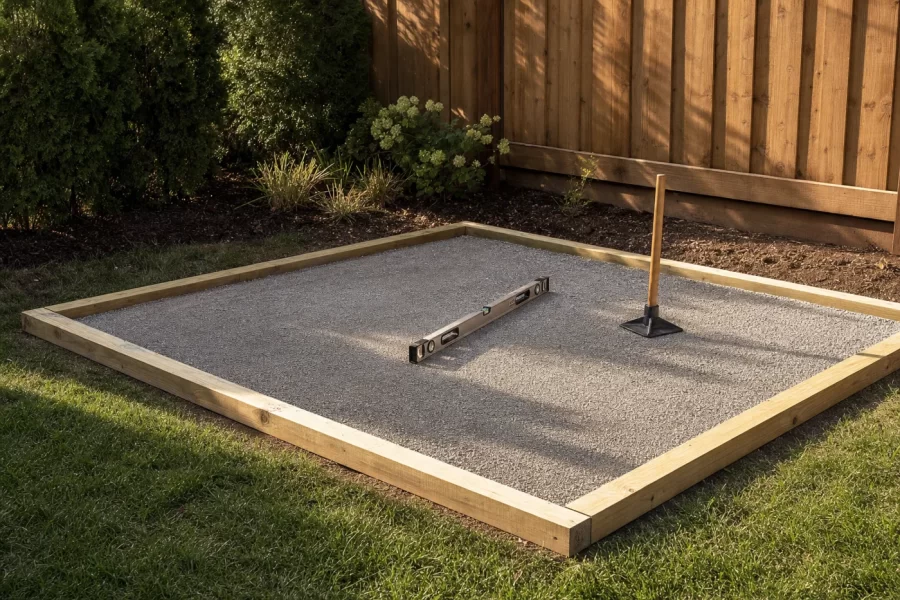
Prep a Hot Tub Pad That Can Carry Three Tons
A step-by-step guide to building a hot tub base: doing the weight math, gravel versus concrete, leveling, and where the GFCI disconnect must go.

How to Paint Kitchen Cabinets Like a Pro
A step-by-step DIY guide to painting kitchen cabinets: degreasing, sanding, priming, and roller technique for a factory-smooth finish on a weekend budget.