How to Paint Kitchen Cabinets Like a Pro
A refacing quote starts around $5,000. A factory-smooth painted finish costs about $250 and two weekends — if you respect the prep. Here’s the exact sequence.
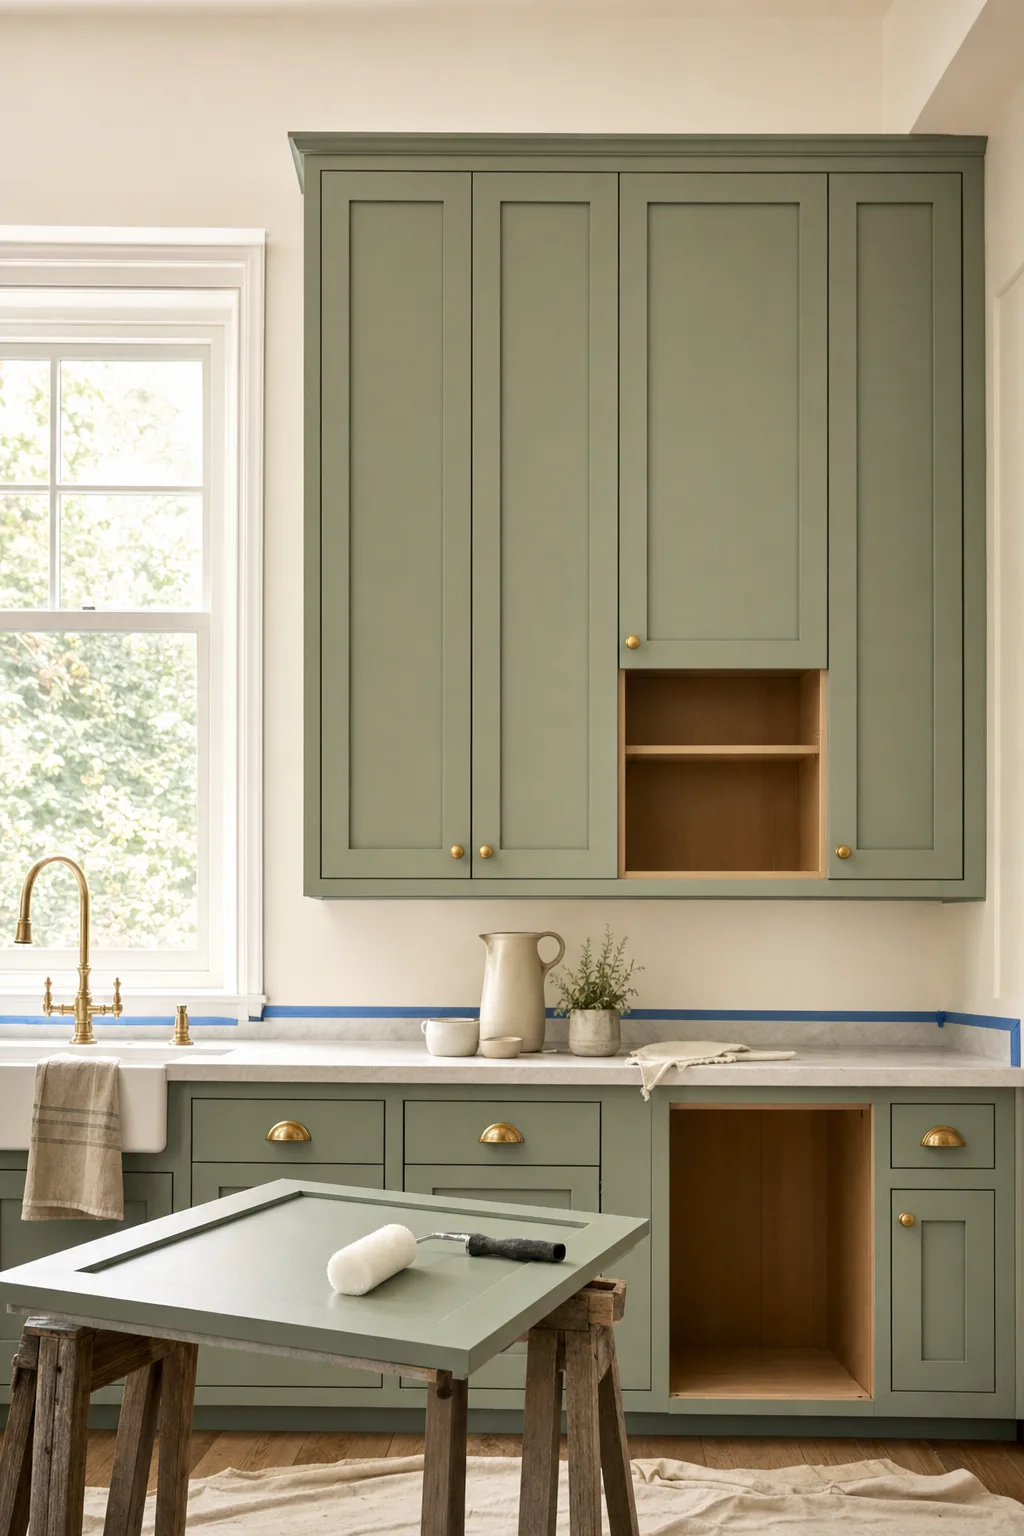
Cabinet painting is the highest-leverage project in interior DIY: the kitchen is the room guests see most, cabinetry dominates its visual field, and paint is cheap. It is also the project most often botched, because people treat it like painting a wall. It isn’t. Cabinet doors are furniture — they get grabbed with greasy hands, slammed, and scrubbed — so the finish has to be built in thin, disciplined layers on a surface that’s genuinely clean.
The good news: none of the steps are hard. The discipline is in not skipping any of them.
The single most common failure is paint peeling off in sheets a month later. It’s almost always caused by painting over invisible kitchen grease. Degrease like you mean it — twice around the stove.
The method, step by step
Empty, label, and remove
Pull everything out of the cabinets, then remove doors and drawer fronts. Number each door and its hinge location with painter’s tape on the hinge mortise (a spot you won’t paint), and photograph the numbering. Drop each door’s screws and hinges into a labeled zip-top bag. This ten-minute system saves an hour of guess-and-check at reinstall.
Degrease everything, twice near the stove
Wipe every surface you’ll paint with a TSP substitute and a scrub sponge, working top to bottom. Kitchen film is a mix of cooking oil and dust that sandpaper smears rather than removes. Rinse with clean water and let it dry fully. If a paper towel dragged across the surface still picks up any residue, go again.
Fill, then scuff-sand
Fill dings and old hardware holes (if you’re changing pulls) with wood filler, let it cure, then sand everything with 220-grit. You are not stripping the finish — you’re dulling the sheen so primer can bite. A random-orbit sander handles flat panels in minutes; use a sanding sponge for routed profiles. Vacuum, then wipe with a tack cloth.
Prime with a bonding primer
This is the step that separates pro results from flaking regret. Use a shellac-based or urethane bonding primer, not a bargain wall primer — it’s what lets the topcoat grip slick factory finishes and blocks wood tannins from bleeding yellow through light colors. One thin, even coat. Let it cure per the can, then scuff lightly with 220 and tack it off.
Paint thin coats with a mini roller
Use an enamel formulated for cabinets and trim — these level out and cure hard, where wall paint stays soft and sticky. Brush the profiles first, then immediately roll the flats with a 4-inch microfiber roller to erase brush marks. Two thin coats always beat one thick one; thick coats sag on door edges and never fully harden. Doors get painted flat on sawhorses: backs first, cure, then fronts.
Wait the hard wait, then rehang
Paint feels dry in hours but cures over weeks. Give doors at least 24 hours before gentle rehanging, and baby the kitchen for two weeks — no scrubbing, no slamming. Add soft-close bumpers while you’re in there; they protect fresh edges and quiet the whole kitchen.
A cabinet finish is 80% preparation and 20% patience. The actual painting is the shortest part of the project.
Color and hardware, the cheap multipliers
If you’re going lighter than the current finish, expect the primer coat to look alarming — streaky and thin. That’s normal; it’s a bonding layer, not a beauty layer. For color, muted mid-tones (sage, clay, warm gray-green) are the most forgiving: they hide roller texture and fingerprints far better than stark white or deep navy.
New hardware is the finishing move. Matching your existing hole spacing (measure center-to-center, usually 3″ or 96 mm) means no filling and redrilling. Brass or matte black pulls on a fresh sage door read as a designer kitchen at a hardware-aisle price.
When not to paint
Paint rescues wood, MDF, and previously painted doors. It does not rescue peeling thermofoil (the vinyl skin delaminates — replacement doors are the fix) or doors with deep water damage at the bottom rail. Paint over failure and you’ll repaint over failure.
Keep the momentum going
All articles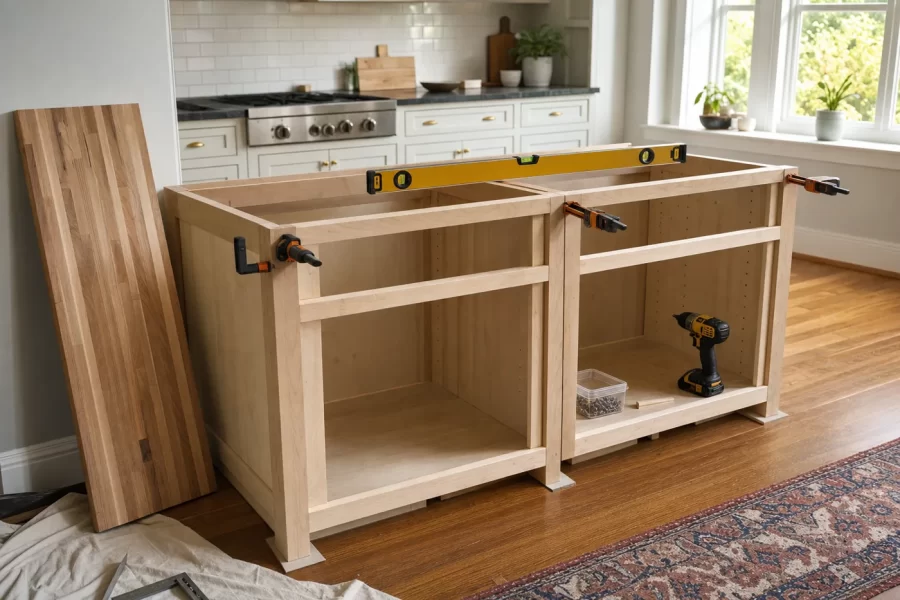
Build a Kitchen Island From Stock Base Cabinets
A step-by-step guide to building a kitchen island from stock base cabinets: layout clearances, floor anchoring, panels, and a seating overhang.
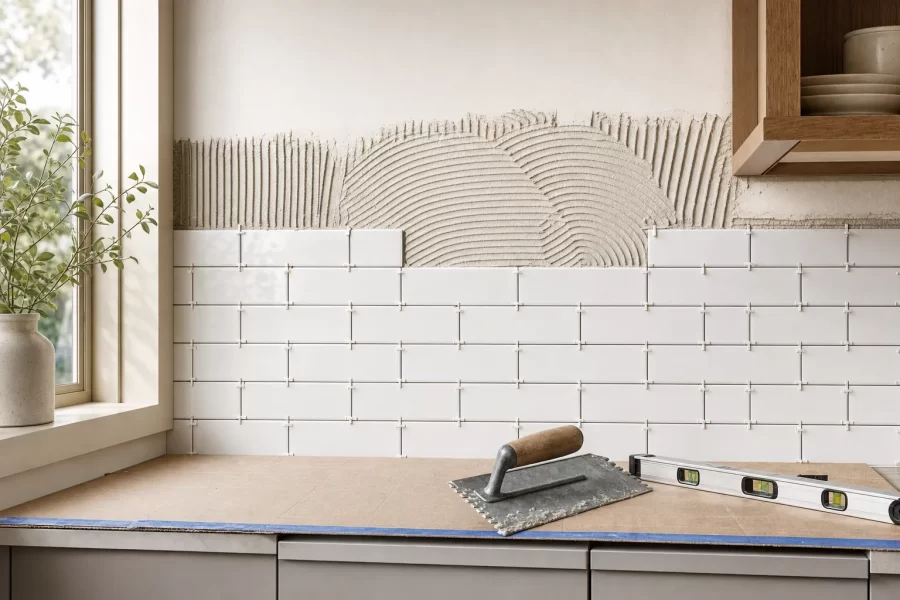
Tile a Subway Tile Backsplash in a Weekend
A weekend DIY guide to tiling a kitchen subway tile backsplash: layout, thinset, cutting, grouting, and caulking — with beginner-friendly techniques.
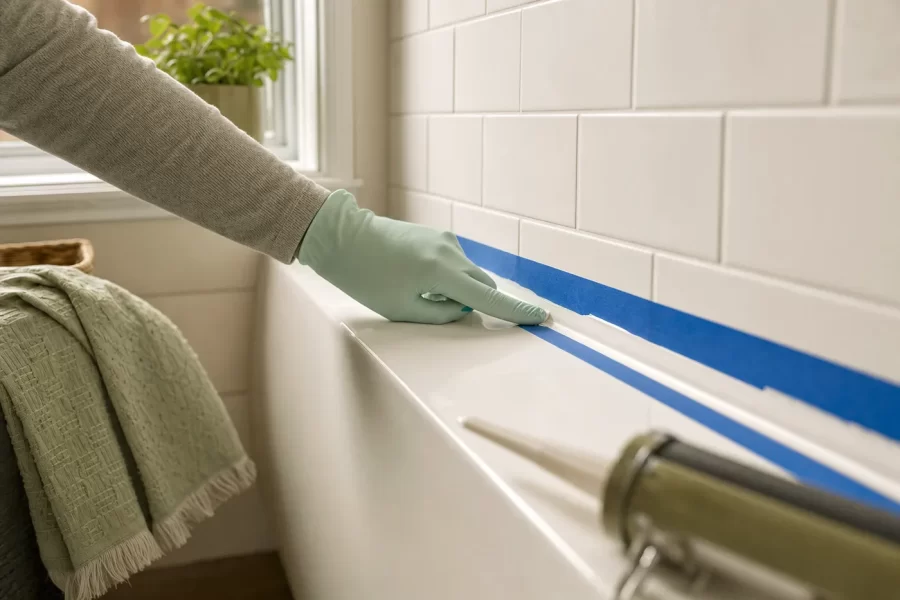
Re-Caulk a Shower So It Looks Factory-Fresh
A beginner's guide to removing failed shower caulk and laying a clean, mildew-resistant bead: removal, prep, taping, and tooling technique.