Re-Caulk a Shower So It Looks Factory-Fresh
Black, peeling caulk makes a clean bathroom look neglected — and lets water into the wall. Fifteen dollars and one careful afternoon fixes both.
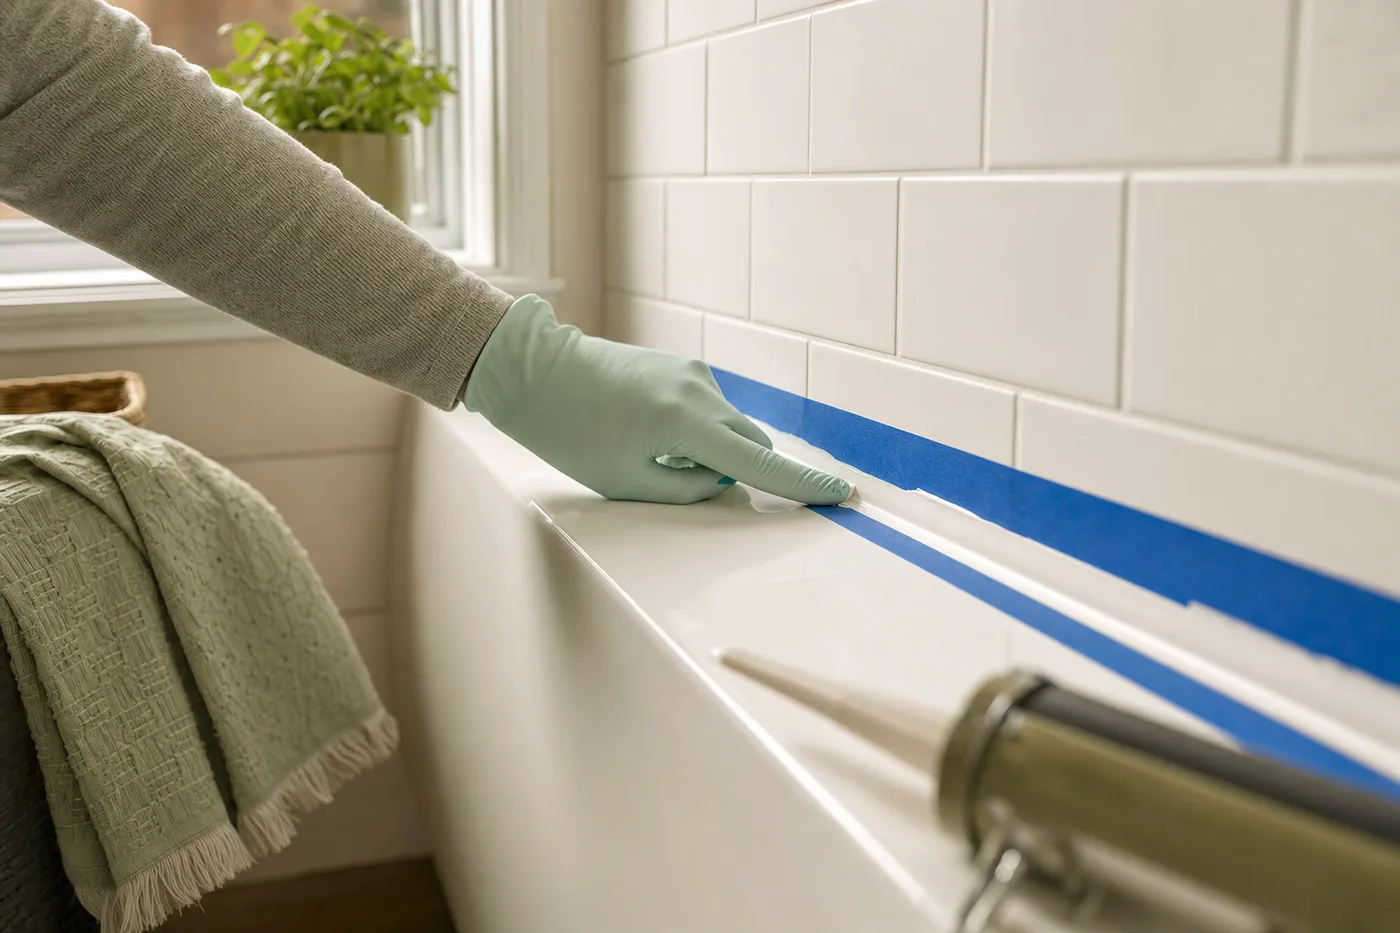
Caulk is a wear item, like tires. In a shower it lives through hot-cold cycles, constant water, and cleaning chemicals, and after a few years it lets go — first as hairline gaps, then as peeling edges and black mildew staining that no scrubbing fixes. The repair is genuinely beginner-friendly, but the finished look is decided by the two steps people rush: removal and drying.
Why you can’t caulk over caulk
Nothing sticks to cured silicone, including more silicone. A new bead laid over old residue will peel within months, taking your afternoon with it. Every minute spent on removal is a month added to the life of the new joint.
Strip the old bead completely
Slice along both edges of the old caulk with a utility knife, then pull the bead out in ropes with a removal tool. Silicone that won’t budge gets caulk remover gel and an hour of patience. Scrape the joint to bare tile and tub, then scrub away mildew with cleaner and rinse. Finish by wiping the joint with denatured alcohol — it removes the last silicone film and any soap residue.
Dry the joint like you mean it
Caulk applied to a damp joint fails from the back side, invisibly. No showers for 24 hours before the job; run a fan or hair dryer along the joint before you start. If the gap between tub and tile is wider than a quarter inch, stuff foam backer rod in first so the caulk has a proper shape.
Tape both sides of the joint
Run painter’s tape a steady eighth of an inch above and below the joint line. This is the difference between a bead that looks professional and one that looks brave. Fill the tub with water before caulking a tub joint — the weight opens the gap to its widest, so the cured bead never gets stretched.
One steady pass, then tool it
Cut the nozzle small — you can always cut more — and run the bead in one continuous motion, gun moving at a constant speed. Tool it immediately with a caulk spatula or a gloved finger dipped in soapy water: one smooth pass, medium pressure, no going back. Pull the tape while the caulk is still wet, lifting away from the joint at a low angle.
Use 100% silicone in wet zones, not painter’s acrylic caulk. Acrylic is easier to tool but shrinks and washes out in a shower. The tube must say kitchen & bath, tub & tile, or 100% silicone.
The new bead is only ever as good as the removal underneath it.
Make it last
Silicone needs a full 24 hours before it sees water — cheat and the surface skins while the base stays soft. Squeegee or towel the joint line after showers for the first month and mildew never gets a foothold. Done right, this bead is a five-to-seven-year repair.
Keep the momentum going
All articles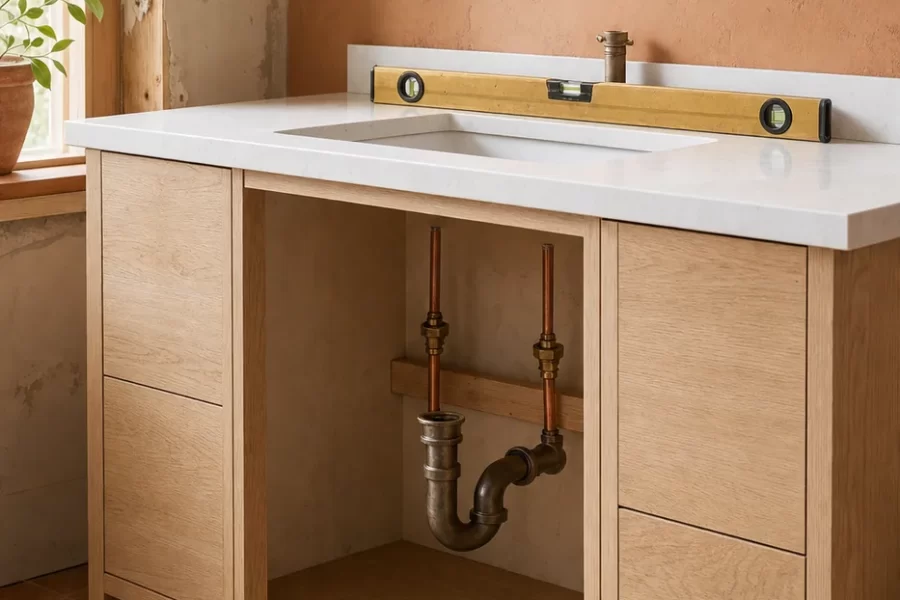
Swap a Builder-Grade Vanity Without Calling a Plumber
How to remove an old bathroom vanity and install a new one: shutoffs, drain disconnection, scribing to the wall, and reconnecting supply lines without leaks.
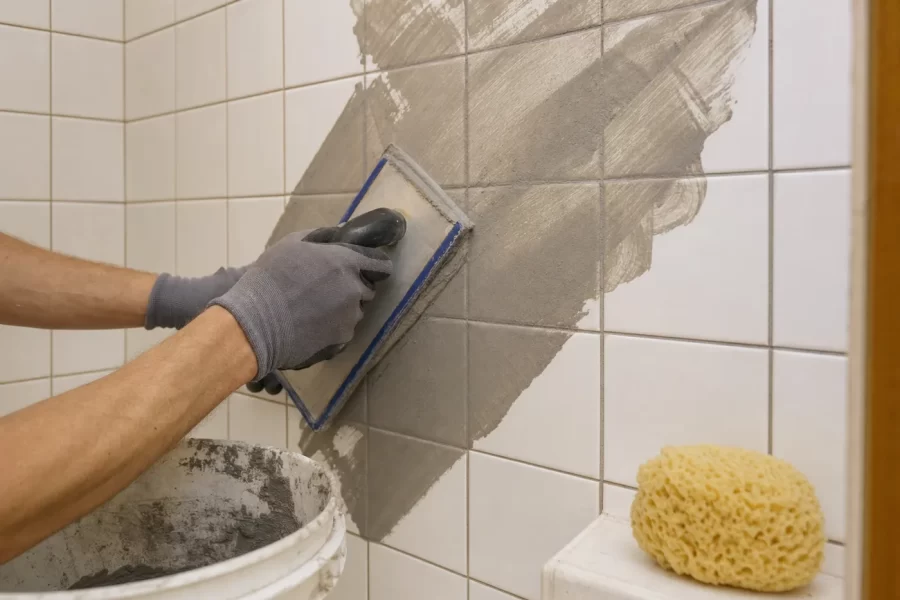
Regrout Tile Without Replacing a Single Tile
A step-by-step guide to regrouting a shower or tile floor: removing old grout to depth, cleaning, packing new grout, and sealing it right.

How to Paint Kitchen Cabinets Like a Pro
A step-by-step DIY guide to painting kitchen cabinets: degreasing, sanding, priming, and roller technique for a factory-smooth finish on a weekend budget.