Build a Garage Storage Wall With French Cleats
The garage floor didn't fill itself — it filled because nothing has a home on the wall. One sheet of plywood ripped into cleats fixes that for about $150.
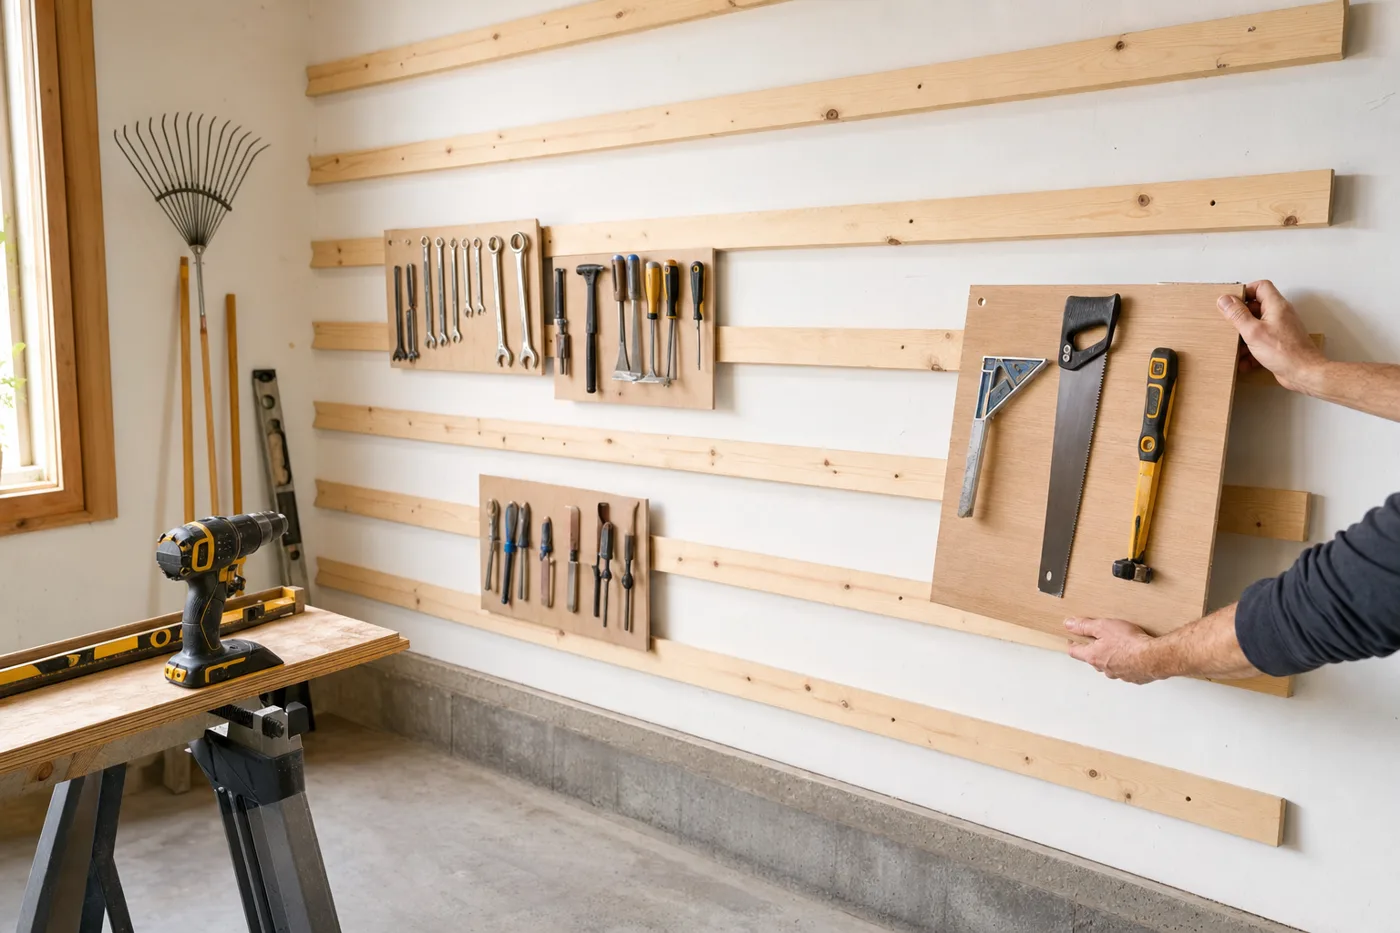
Garage storage fails when it’s static: shelves fill with the wrong things, hooks end up behind the ladder, and the floor becomes the system. A french cleat wall fixes the root problem by making every holder movable. Rip a sheet of 3/4-inch plywood into strips with a 45-degree bevel, screw them to the studs in level rows, and anything with a mating cleat on its back hangs anywhere, instantly, and lifts off just as fast.
Why cleats beat pegboard and track
Pegboard holds hand tools and nothing else; store-bought track systems run several hundred dollars per wall and lock you into their accessories. A plywood cleat carries serious weight — each foot of cleat screwed into studs holds more than you can comfortably lift — and the holders cost scrap. When your gear changes, you rearrange in seconds instead of patching holes.
Rip the cleats safely
Set the saw to 45 degrees and rip the sheet into strips about 3-1/2 inches wide measured on the face. One 4×8 sheet yields roughly 12 cleats — enough for a 12-foot wall with rows every 16 inches. Ease the sharp bevel edges with sandpaper; you’ll be brushing past these for years.
Mark studs and snap level lines
Find every stud and mark them floor to ceiling with a chalk line. Snap horizontal lines for each cleat row — 16 inches apart is the sweet spot, starting about 24 inches off the floor so bikes and bins fit below. A level first row matters most; every row after can be spaced off it with a story stick.
Screw cleats into studs, bevel up and out
The bevel faces up and away from the wall, forming the hook. Two 2-1/2-inch screws into every stud the cleat crosses — through drywall into wood, never into drywall alone. If the garage is unfinished, screw directly to the studs and skip the drama entirely.
Build holders for your actual stuff
Each holder is a plywood back with a mating cleat glued and screwed on, bevel down and in. Shelf holders, drill docks, a dowel rack for clamps, a slot rack for shovels — build to fit the tools you own, not the tools in a catalog. Test each holder loaded before trusting it: it should drop on with a solid clunk and no rock.
Zone the wall by frequency
Eye-level center gets the daily grabs. Edges and low rows take seasonal gear; the top row holds what you touch twice a year. Leave 20 percent of cleat length empty — a storage system with no slack fills the floor again within a month.
Never hang cleats with drywall anchors, even good ones. A loaded holder is a lever prying the anchor out with every bump. Studs only — and if a stud reads off-layout, probe with a finish nail before committing screws.
A storage wall isn’t finished when it’s full. It’s finished when everything you grab weekly is at eye level.
Living with it
The system earns its keep in the second year, when a new hobby shows up and the wall reshuffles in ten minutes. Add holders as needs appear, keep the empty margin, and sweep the reclaimed floor once in a while just to enjoy it.
Keep the momentum going
All articles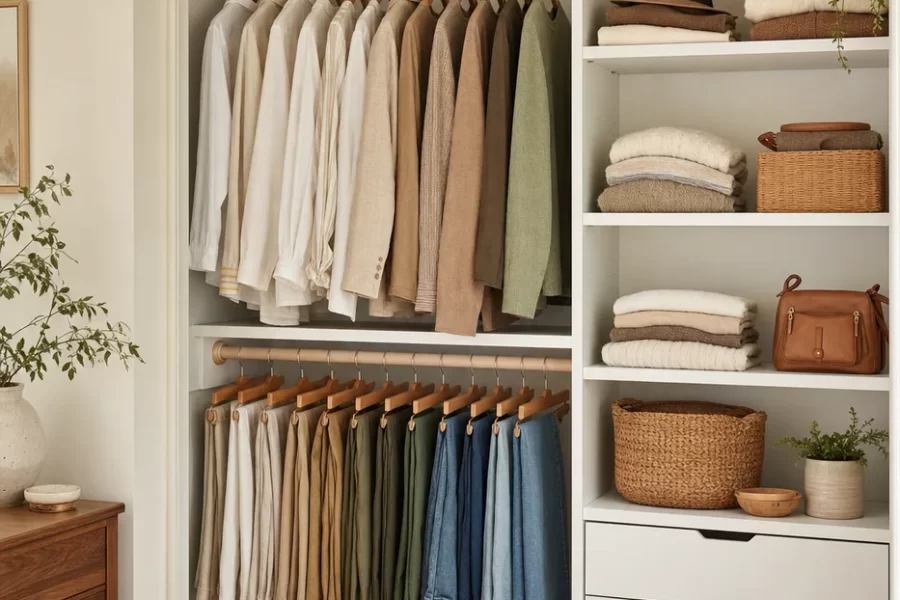
Design and Install a Custom Closet System for Under $400
Plan and install a modular closet system: measuring and zoning, choosing components, hitting studs with rail-hung systems, and squeezing double-hang space from a single rod.
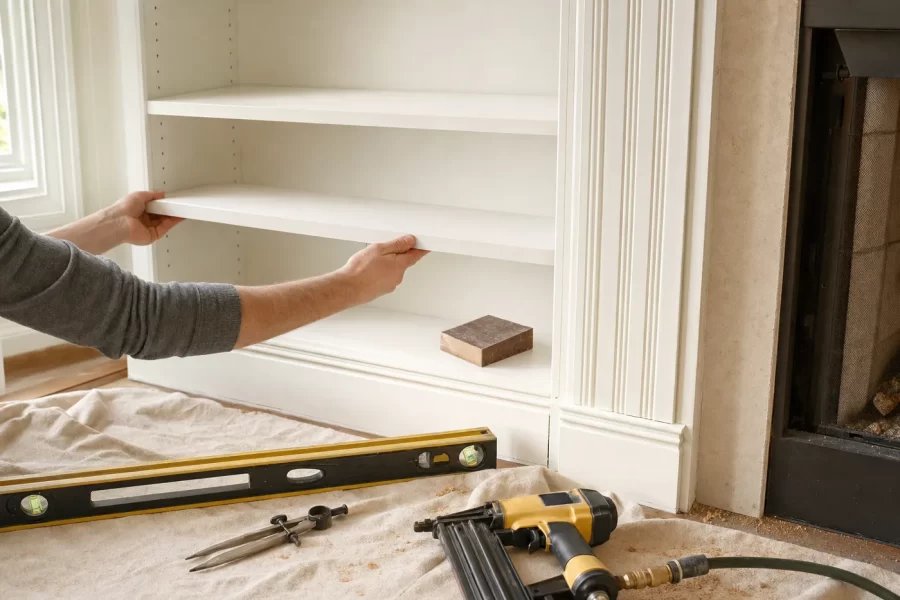
Build Alcove Built-Ins That Look Original to the House
A step-by-step guide to building alcove built-in shelves: ladder frames, a scribed face frame, adjustable shelves, and paint that reads original.

How to Paint Kitchen Cabinets Like a Pro
A step-by-step DIY guide to painting kitchen cabinets: degreasing, sanding, priming, and roller technique for a factory-smooth finish on a weekend budget.