Build Alcove Built-Ins That Look Original to the House
The alcoves flanking a fireplace are begging for built-ins, and a carpenter charges $2,000 per side. Plywood, a scribe, and two weekends gets you the same look.
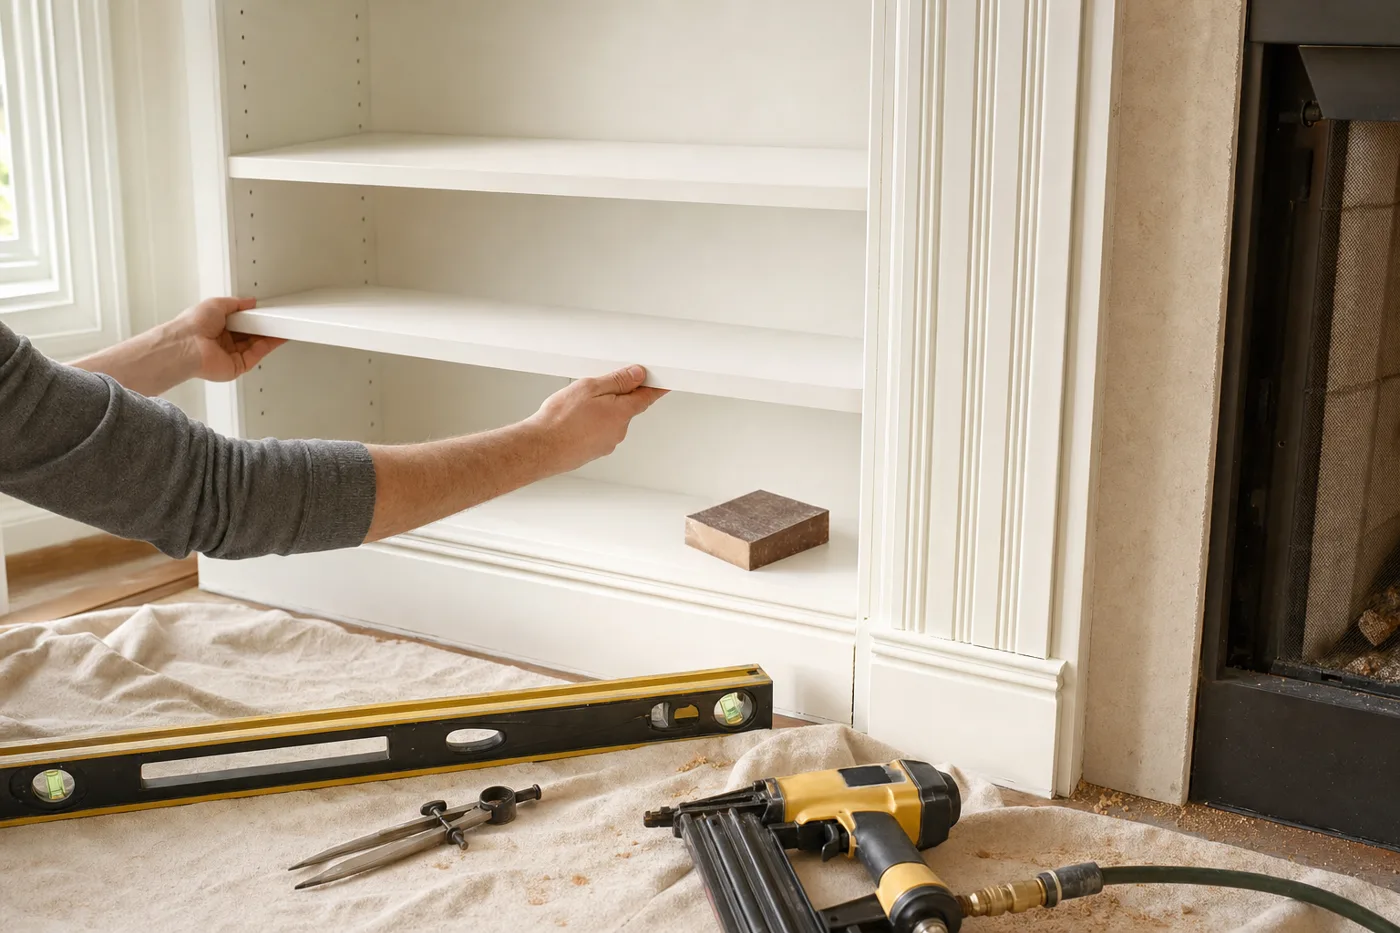
Alcove built-ins are the project that makes visitors assume your house came this way. The good news: an alcove does half the design work for you, because three of the four sides already exist. The hard truth: none of those three sides is straight, plumb, or square, and the difference between furniture-grade and homemade is entirely in how you handle that.
Measure like the walls are lying, because they are
Measure the alcove width at the bottom, middle, and top, and the depth at both sides. A 40-year-old alcove can vary by half an inch over six feet. Build your boxes to the smallest measurement minus a quarter inch, and plan on a scribed face frame to close the gaps. The box just has to be square; the face frame does the diplomacy.
Build the carcass as two ladder sides
Rip 3/4-inch plywood into uprights and fixed shelves. Assemble with glue and countersunk screws, checking diagonals with a tape — equal diagonals mean square, and square now saves an hour of shimming later. A fixed shelf at the middle and a stretcher at the top keep the box from racking on the way into the alcove.
Set the base level in both directions
Build a separate 3-inch-tall base frame from 2x material, set it in the alcove, and shim until a 4-foot level reads dead flat side-to-side and front-to-back. Screw it to the studs. Every shelf above inherits this base, so spend real time here — a bubble off by half a line at the floor is a visibly sloped shelf at eye level.
Drill shelf-pin holes before the box goes in
Use a pin-drilling jig with a 1/4-inch bit and a depth stop, referencing every row off the bottom edge so the holes mirror perfectly. Rows 2 inches from each edge, holes every 32 millimeters, starting 12 inches up. Drilling in place, one-handed, inside a dark alcove is how holes wander.
Scribe the face frame to the walls
Glue and brad a 1×2 poplar frame to the box, letting the outer stiles run a half inch wide. Set a compass scribe to the widest gap between stile and wall, drag it down so the pencil copies every wave of the plaster, and sand or plane to the line. The frame now meets the wall like it grew there — this single step is what people mean by original to the house.
Caulk, fill, and paint like trim, not like walls
Fill brad holes, caulk the wall joints with paintable caulk, and prime everything. Two coats of enamel trim paint, brushed or rolled with a foam roller, cure to a hard, wipeable shell. Match your existing trim’s sheen — usually satin or semi-gloss — and the built-in reads as part of the architecture.
Anchor the finished unit to at least two studs through the top stretcher or back. A bookcase loaded with books weighs several hundred pounds, and an unanchored one is a tip-over hazard — non-negotiable in a house with kids.
The box only has to be square. The scribe handles everything the house got wrong.
Loading it up
Let the enamel cure a full week before sliding books across it — trim paint dents easily until it hardens. Keep spans under 32 inches for 3/4-inch shelves or they’ll smile under a full row of hardcovers. Style the top third light, load the bottom heavy, and the whole room settles around it.
Keep the momentum going
All articles
Design and Install a Custom Closet System for Under $400
Plan and install a modular closet system: measuring and zoning, choosing components, hitting studs with rail-hung systems, and squeezing double-hang space from a single rod.
Build a Garage Storage Wall With French Cleats
A weekend guide to building a french cleat garage storage wall: 45-degree rips, stud mounting, custom holders, and zoning gear so the floor stays clear.

How to Paint Kitchen Cabinets Like a Pro
A step-by-step DIY guide to painting kitchen cabinets: degreasing, sanding, priming, and roller technique for a factory-smooth finish on a weekend budget.