Install a Smart Thermostat Without Frying Your HVAC Board
The wiring takes ten minutes. The C-wire question, the photo you take before unhooking anything, and the breaker you flip first are what protect the expensive parts.
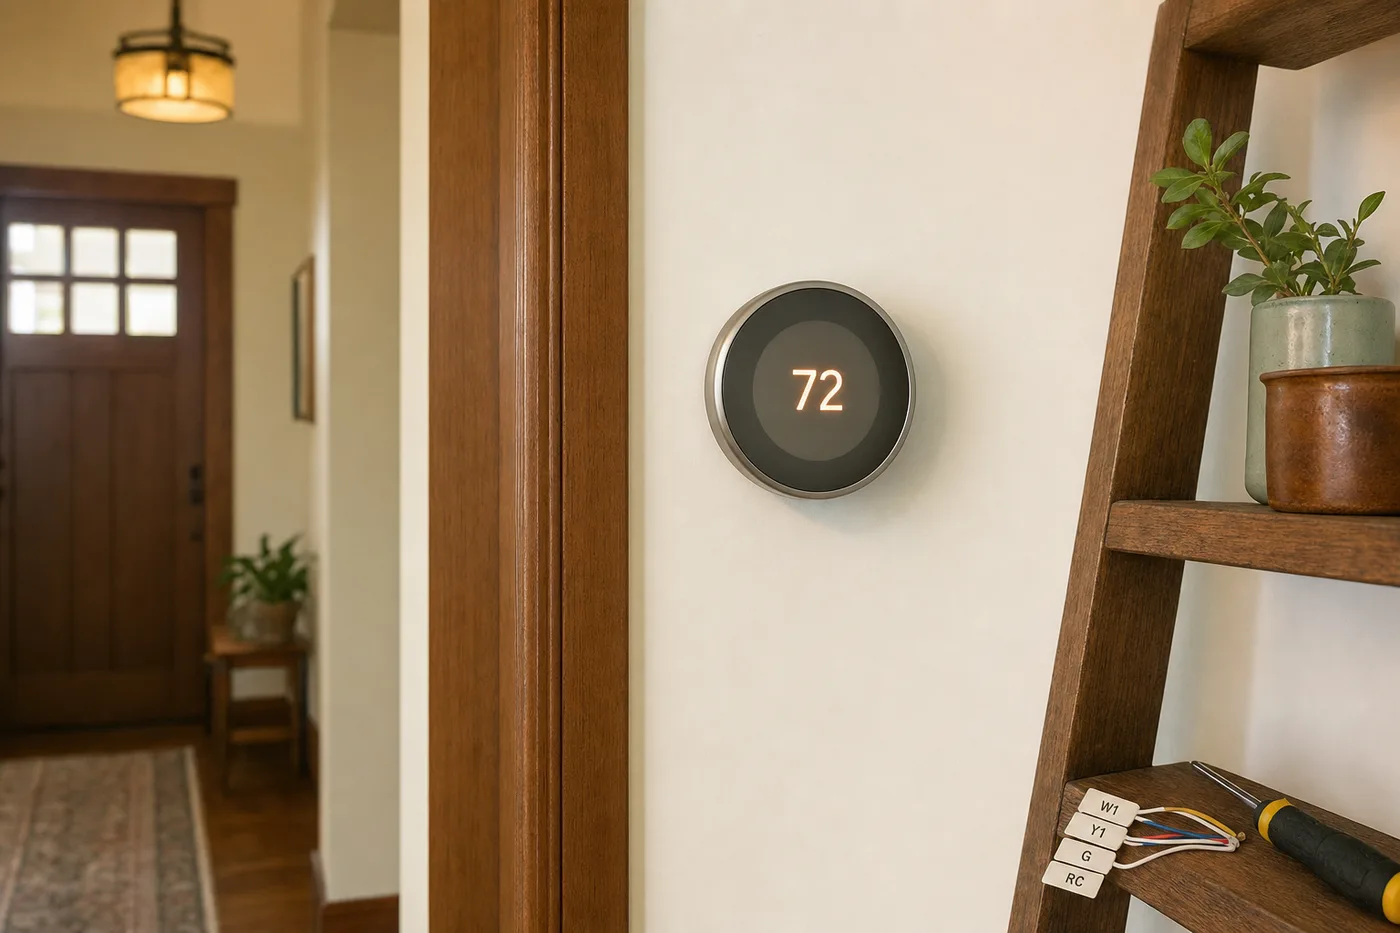
A thermostat swap is the gentlest possible introduction to home electrical work: the wires carry 24 volts, the connections are labeled, and the whole job is reversible. The horror stories — a dead control board, a furnace that short-cycles — come from exactly two mistakes, and both are avoidable before you touch a wire.
Settle the C-wire question first
Smart thermostats are tiny computers that need constant power, delivered by a common wire (C-wire). Pull your old thermostat’s cover and look: a wire landed on a terminal marked C means you’re fine. No C-wire? Options, in order of preference: an unused conductor already in the wall you can repurpose, the add-a-wire adapter kits most brands include, or a thermostat that runs happily without one. Deciding this before buying beats discovering it at step four.
Kill power at the breaker, not the switch
Turn off the furnace/air-handler breaker and confirm the old thermostat’s display is dead. Mistake number one is wiring live: 24-volt shorts don’t hurt you, but they instantly blow the control board fuse — or the board. Thirty seconds at the panel insures the most expensive component in the system.
Photograph, then label, then disconnect
Take a clear photo of the old wiring before touching anything. Stick a label on each wire matching its terminal letter as you free it — the letters, not the colors, are the truth; wire colors follow convention only loosely. Clip a clothespin or binder clip onto the bundle so it can’t slither back into the wall, which it absolutely will try.
Mount the new base level and land the wires
Old thermostats hide a paint shadow; a trim plate covers it without repainting. Anchor the new base, feed the wires through, and land each labeled wire on its matching terminal until it clicks. Gently tug each one — a loose R or W wire is the classic cause of ghost furnace behavior.
Power up and commission slowly
Restore the breaker and follow the app setup, answering the equipment questions accurately — heat pump versus furnace matters; it changes which wire energizes for heat. Then run a full test: heat, cool, and fan, listening for the system to start and stop cleanly. Set your schedule a few days later, after the thermostat has learned the house.
If your system is a heat pump with auxiliary heat, a boiler, or anything with more than five wires, photograph the wiring and check it against the manufacturer’s online compatibility checker before buying. Ten minutes of matching letters prevents the one miswire (O/B reversed) that blows cold air all winter.
The photo you take before disconnecting anything is the cheapest insurance in home improvement.
Making it earn its price
The savings come from setbacks, not the hardware: 7–10 degrees back for eight sleeping or away hours trims roughly 8–12% off heating and cooling. Let the schedule and geofencing do that automatically, and the thermostat pays for itself in a season or two.
Keep the momentum going
All articles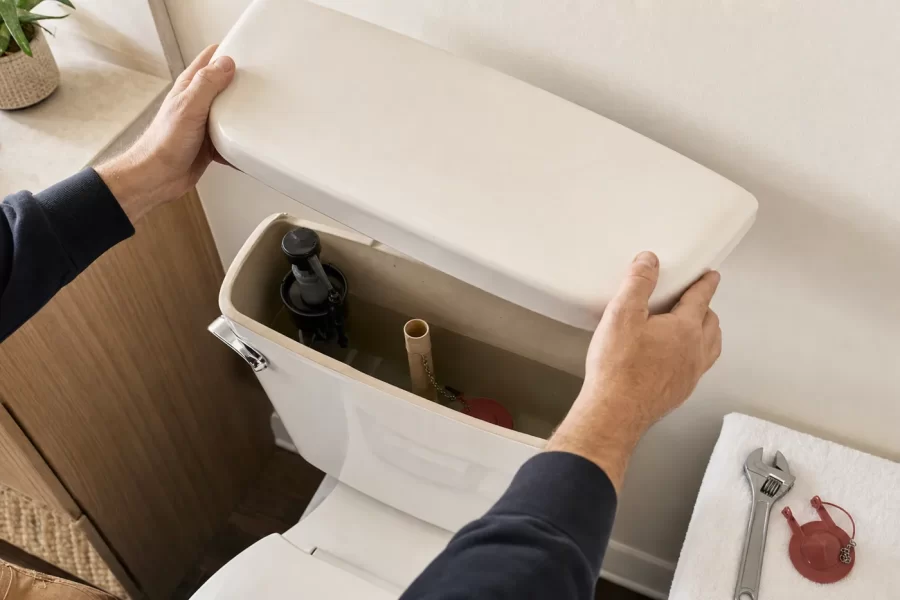
Fix a Running Toilet for Good in One Hour
A step-by-step guide to diagnosing and fixing a running toilet: dye-testing the flapper, replacing the fill valve, and knowing when the flush valve seat is the culprit.
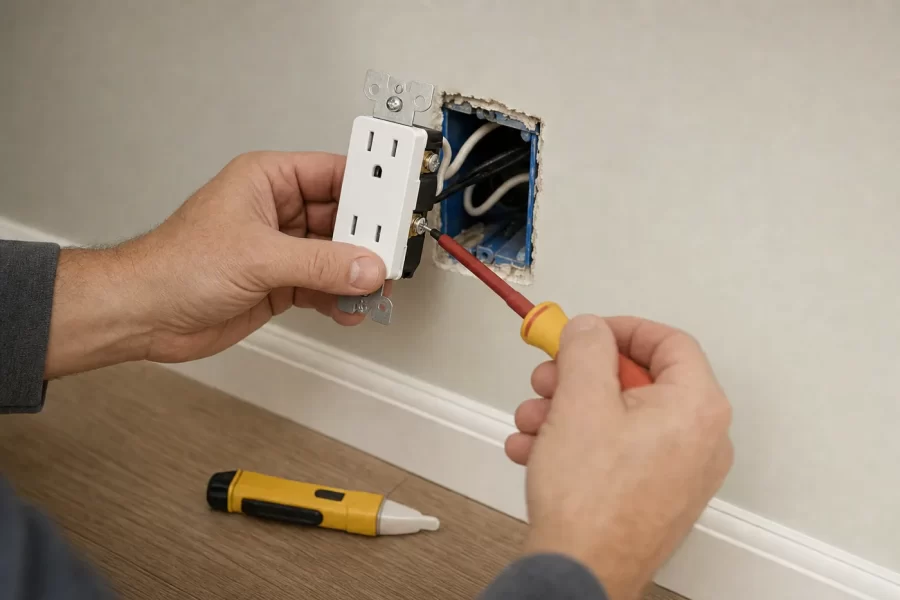
Replace Worn Outlets and Add GFCI Protection Safely
A careful guide to replacing worn receptacles and adding GFCI outlets where code requires: breaker off, testing twice, line vs. load, and when to call an electrician.

How to Paint Kitchen Cabinets Like a Pro
A step-by-step DIY guide to painting kitchen cabinets: degreasing, sanding, priming, and roller technique for a factory-smooth finish on a weekend budget.