Fix a Running Toilet for Good in One Hour
A running toilet wastes up to 200 gallons a day and announces itself at 2 a.m. The fix is a $10 part — the trick is replacing the right one.
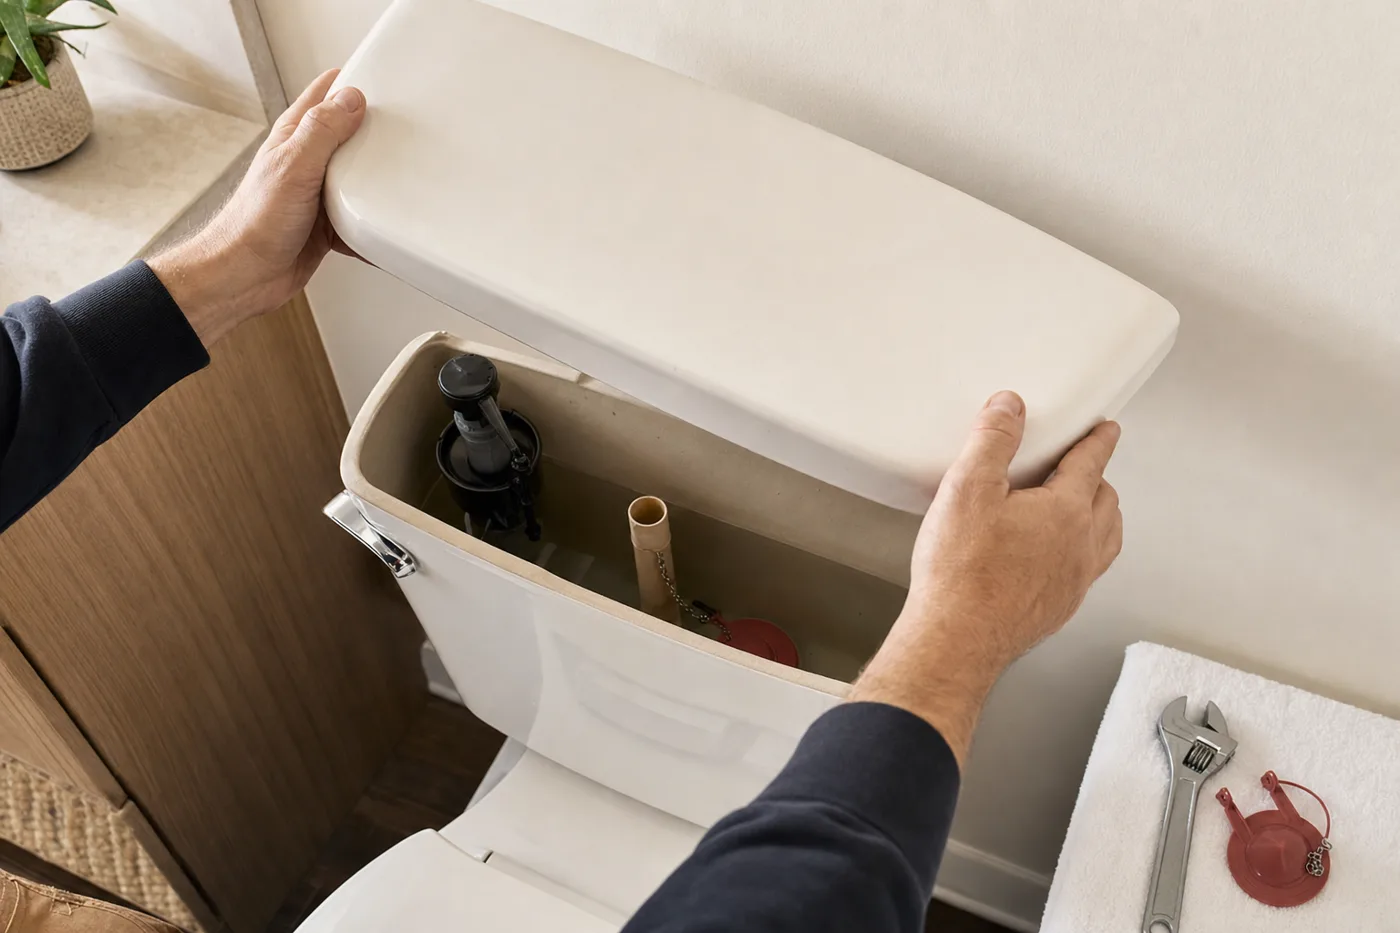
A toilet runs for exactly two reasons: water is leaking out of the tank, or water won’t stop coming in. Every mystery hiss, phantom refill, and jiggle-the-handle ritual traces back to one of three parts — the flapper, the fill valve, or the flush valve seat — and all three are cheap. The skill isn’t the wrenching. It’s spending ten minutes diagnosing so you replace the right part once instead of the wrong parts twice.
Read the tank before touching anything
Lift the lid and watch. If water is trickling into the overflow tube — the open pipe in the middle — the fill valve is overfilling and the problem is on the supply side. If the water level sits below the overflow tube but the toilet still refills every 20 minutes, water is escaping past the flapper and the problem is on the drain side. That single observation cuts the job in half.
Dye test the flapper
Put ten drops of food coloring in the tank and wait 15 minutes without flushing. Color in the bowl means the flapper is leaking. Flappers are wear items — chlorine tablets in the tank eat them in a year or two — so if yours is warped, stiff, or leaves black smudges on your fingers, it’s done.
Swap the flapper the right way
Shut the supply valve at the wall, flush to empty the tank, and sponge out the rest. Unhook the old flapper from the ears of the overflow tube and unclip the chain. Install the new one and set the chain with about a half inch of slack — too tight and it holds the flapper open a crack, too loose and the handle feels dead. Wipe the valve seat clean while you’re in there.
Replace the fill valve if it overfills or moans
With the tank empty, disconnect the supply line, unscrew the locknut under the tank, and lift the old valve out — keep a towel down. Set the new valve’s height so its top sits about an inch above the overflow tube, hand-tighten the locknut plus a quarter turn, and clip the refill tube to the overflow with its little clamp, trimmed so it doesn’t dive down inside the tube.
Set the water line and test
Adjust the float so water stops about an inch below the top of the overflow tube, or at the line molded inside the tank. Open the supply slowly, let it fill, then flush three times, checking that the flapper seals, the valve shuts off crisply, and nothing weeps at the locknut. Silence is the spec.
If a new flapper still leaks, run a finger around the flush valve seat. A pitted or mineral-crusted seat won’t seal against any flapper. Repair kits glue a new seat over the old one — that’s the fix, not a third flapper. And skip in-tank chlorine pucks going forward; they destroy every rubber part they touch.
The tank will tell you which part failed — if you watch it for two minutes before reaching for a wrench.
Keep it quiet
Re-run the dye test once a year, replace the flapper every three or four years as cheap insurance, and swap the supply line for a braided one next time you’re under there. A toilet maintained this way runs a decade between real repairs — and never at 2 a.m.
Keep the momentum going
All articles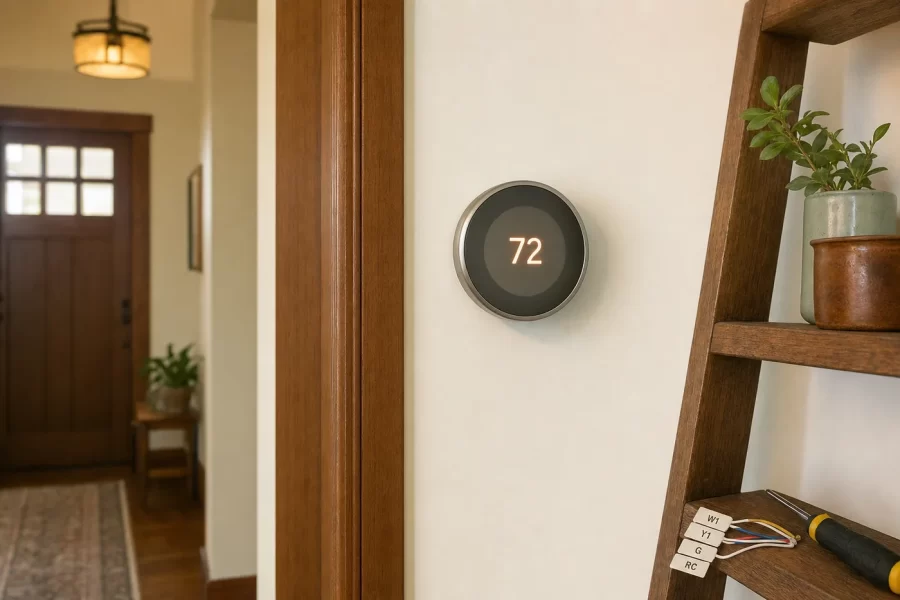
Install a Smart Thermostat Without Frying Your HVAC Board
A safe smart thermostat installation walkthrough: killing power, photographing and labeling wires, handling the C-wire question, and commissioning without HVAC damage.
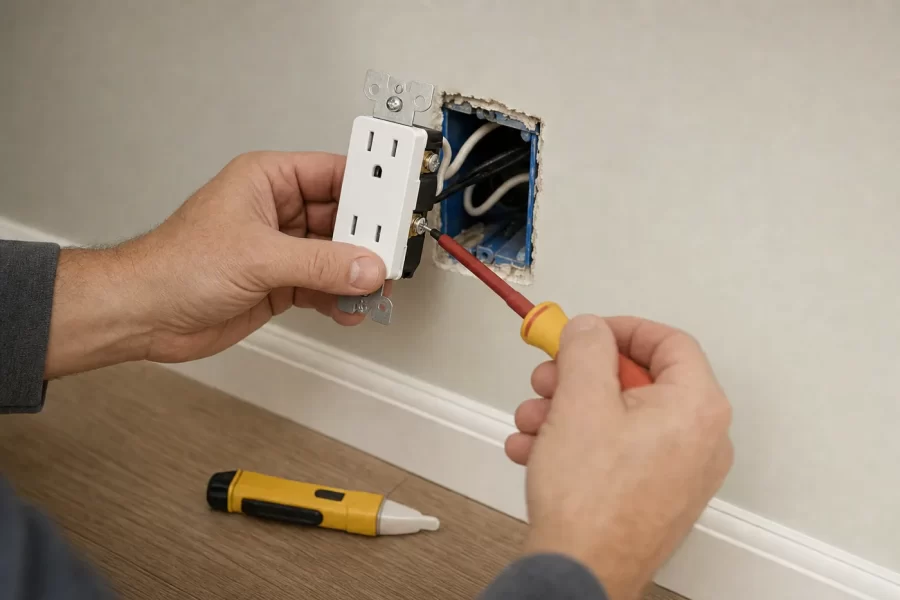
Replace Worn Outlets and Add GFCI Protection Safely
A careful guide to replacing worn receptacles and adding GFCI outlets where code requires: breaker off, testing twice, line vs. load, and when to call an electrician.

How to Paint Kitchen Cabinets Like a Pro
A step-by-step DIY guide to painting kitchen cabinets: degreasing, sanding, priming, and roller technique for a factory-smooth finish on a weekend budget.