Epoxy-Coat a Garage Floor That Won’t Peel Under Tires
The difference between a showroom garage floor and a peeling mess isn't the epoxy in the bucket — it's the two days of prep before the bucket ever opens.
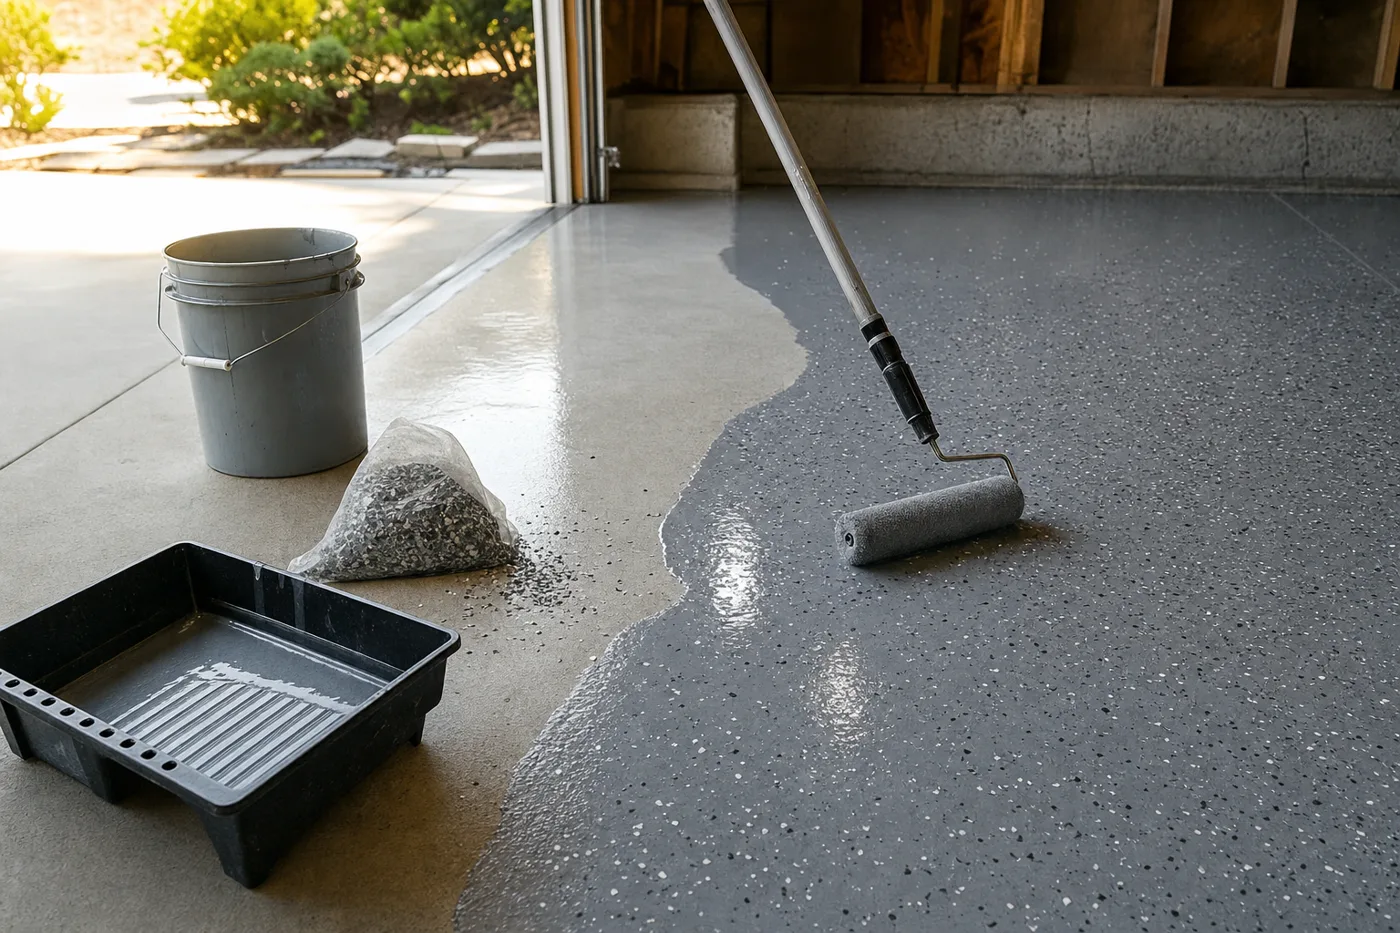
Epoxy fails in one famous way: a tire spins on a hot day and pulls a coin-sized flake of coating with it, and within a season the floor looks worse than bare concrete. Hot-tire pickup is almost never the epoxy’s fault. It’s the floor’s — sealed, dusty, damp, or oily concrete that the coating never truly gripped. Budget two-thirds of the project for preparation and the coating itself becomes the easy part.
Two tests before you spend a dollar
First, moisture: tape a 2-foot square of plastic sheeting to the slab, edges sealed, and leave it 24 hours. Condensation or a dark damp spot underneath means moisture is migrating up through the slab, and standard epoxy will blister off — you need a moisture-mitigating primer or a different plan. Second, old sealer: pour a glass of water on the bare slab. If it beads instead of darkening the concrete, a sealer is present and must be ground off. Buy 100%-solids epoxy, not the thin water-based one-day kits; the price gap is real and so is the lifespan gap.
Empty, degrease, and kill the oil spots
Clear the garage completely. Scrub oil stains with degreaser and a stiff brush, twice, then rinse — epoxy will not bond over oil, and a stain that still darkens a paper towel pressed onto it isn’t done. Pressure-wash the whole slab and let it dry fully.
Etch or grind to open the pores
Smooth troweled concrete is too tight to grip. Acid-etch per the product directions — wet the slab first, keep it moving, neutralize and rinse three times — or rent a diamond grinder for a better, dust-controlled result. Done right, the floor feels like 120-grit sandpaper under your palm. Any spot that still feels slick gets another pass.
Fix the cracks, respect the joints
Fill cracks and spalls with epoxy crack filler and shave them flush. Leave the slab’s control joints open or fill them with flexible joint filler — never rigid epoxy. The slab moves at those joints on purpose, and a coating bridged across them will crack along every line.
Roll the color coat and broadcast flakes
Mix the two parts exactly per the label and only as much as you can spread in the pot life — often just 30 to 40 minutes. Cut in the edges, then roll in 4-foot squares, keeping a wet edge, working toward the door. Toss flakes upward and let them rain down evenly onto the wet epoxy; aiming at the floor makes clumps. Work in sections so you’re never rolling from a dry island.
Topcoat for the wear layer
After the recoat window (usually 12 to 24 hours), scrape off any standing flakes, vacuum, and roll a clear urethane or polyaspartic topcoat with a light anti-slip additive. This layer takes the UV, the chemicals, and the tires — the epoxy underneath is color and body; the topcoat is the armor.
Respect cure times to the hour: foot traffic at 24 hours, boxes at 3 days, cars at 7 days for most 100%-solids products. Parking early is the second-leading cause of tire pickup after bad prep. Ventilate well and wear a respirator during etching and coating.
Epoxy doesn’t peel off good concrete — it peels off bad prep.
A floor you’ll actually maintain
Dust-mop weekly, hose it out seasonally, and wipe road salt off in winter before it dulls the topcoat. Recoat the clear layer every 5 to 7 years — an afternoon’s work on a sound base — and the color coat underneath is good for decades.
Keep the momentum going
All articles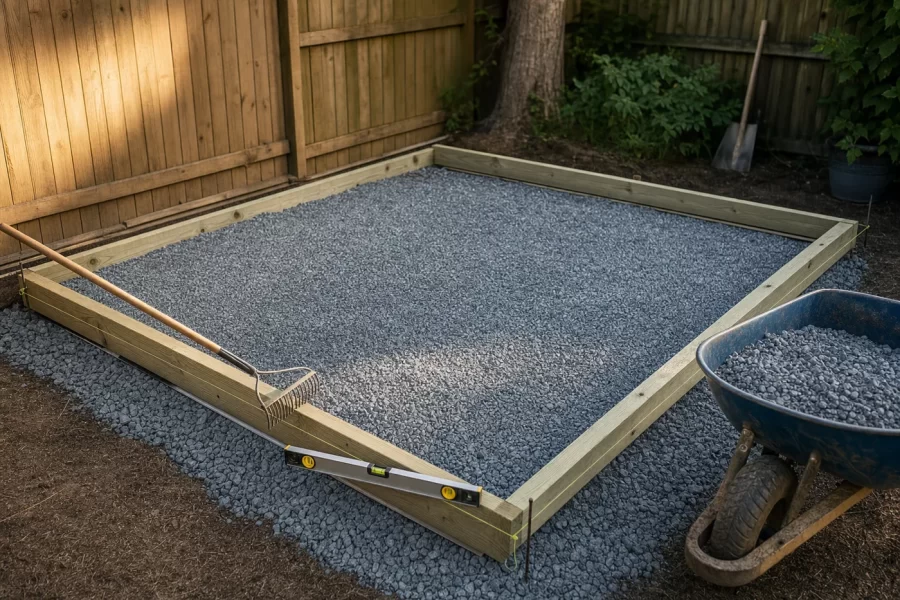
Build a Gravel Shed Base and Set Your Kit Shed Square
A step-by-step guide to building a level gravel foundation for a kit shed: layout, excavation, timber perimeter, compacted stone, and squaring the floor.
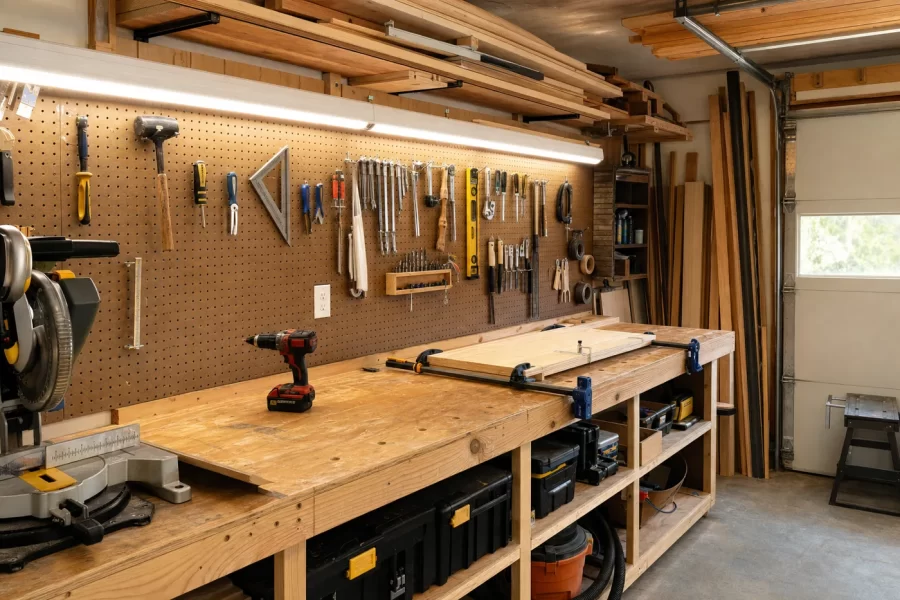
Convert a Garage Bay Into a Real Working Workshop
A step-by-step guide to turning one garage bay into a workshop: layout zones, workbench height, lighting, dust control, and honest talk about power.

How to Paint Kitchen Cabinets Like a Pro
A step-by-step DIY guide to painting kitchen cabinets: degreasing, sanding, priming, and roller technique for a factory-smooth finish on a weekend budget.