Convert a Garage Bay Into a Real Working Workshop
A workshop isn't a garage with tools in it — it's a layout. One bay, planned around how work actually flows, outbuilds a three-car garage full of piles.
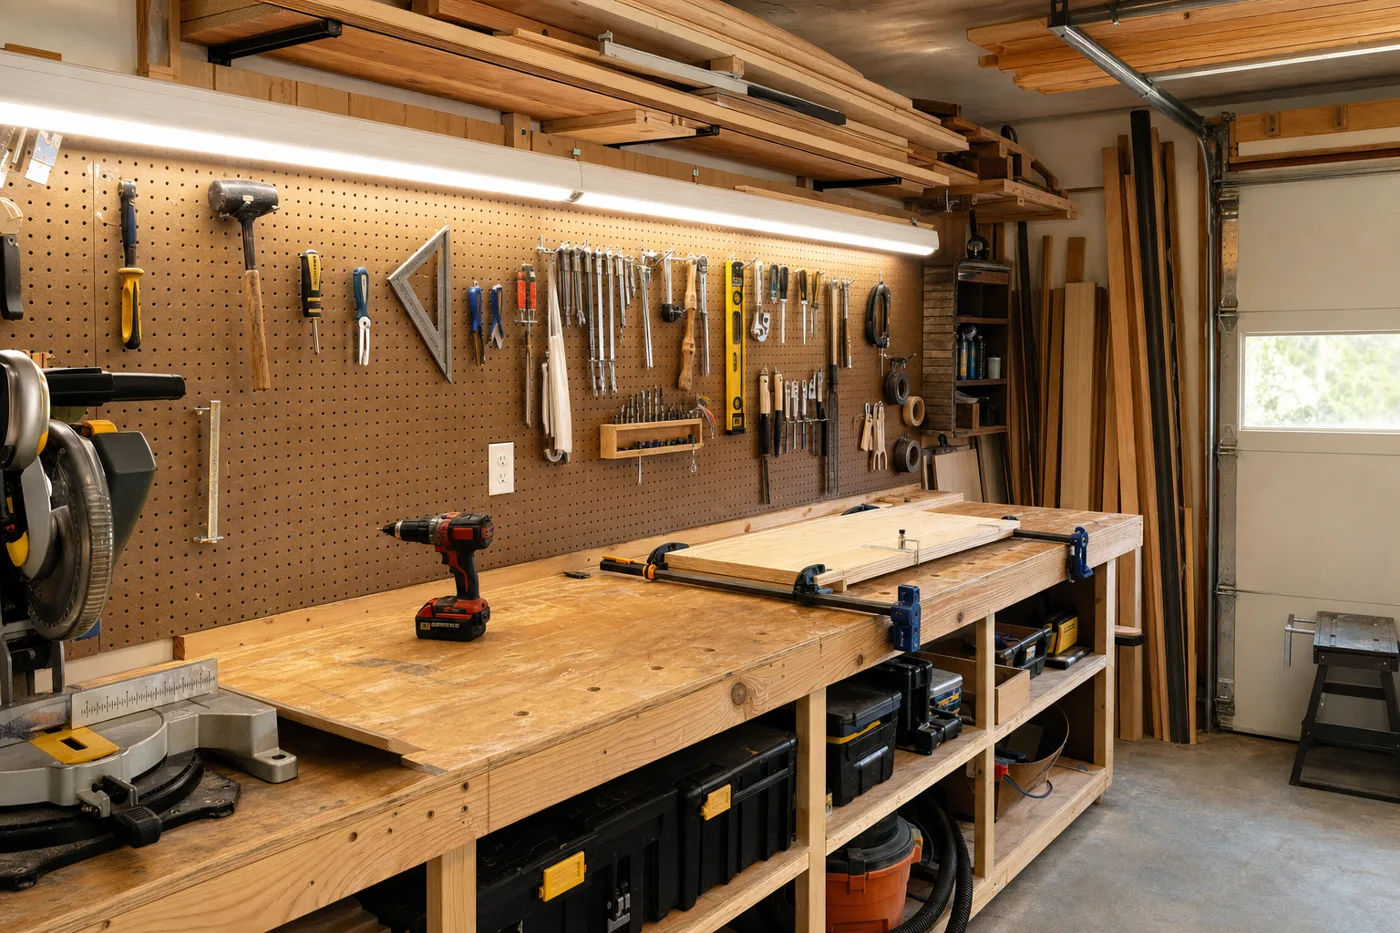
Most garage workshops fail the same way: tools accumulate on every flat surface until there is no flat surface left to work on, and projects stall because setup takes longer than the task. The fix isn’t more space — one 10-by-20 bay is plenty. The fix is treating the bay like a small factory: fixed zones, a bench at the right height, light you can actually see by, and dust captured where it’s made.
Design around the work triangle
Sketch three zones before moving anything. The bench zone goes on the wall with the best light and an outlet. The assembly zone is open floor in the middle — the space you protect from storage creep. The storage zone runs vertical on the remaining walls: lumber up high on brackets, hand tools at eye level, rarely-used gear in labeled bins on top shelves. If a car still parks in the other bay, mark its footprint on the floor with tape and treat that line as a wall.
Build the bench first, and build it heavy
Frame a 2×4 base anchored to the studs, topped with two glued-and-screwed layers of 3/4-inch plywood — a 1.5-inch top that shrugs off hammering. Set the height at hip-bone level, usually 36 to 38 inches; measure from the floor to your wrist crease with arms at your sides and you’ll land within an inch. Anchoring to the wall means the bench never walks while you plane or sand.
Light it like a shop, not a garage
The single bare bulb has to go. Aim for roughly 75 lumens per square foot in work areas: for one bay, that’s four to six 4-foot LED shop lights in 5000K daylight color, arranged so no light is directly behind you at the bench — your own shadow is the enemy. Most plug-in fixtures daisy-chain into an existing ceiling outlet.
Be honest about power
Count what runs at once: a table saw pulling 13 amps plus a shop vac pulling 8 will trip a shared 15-amp garage circuit every time. You can manage by never running two big loads together, but the real fix is an electrician adding a 20-amp circuit or a small subpanel — commonly a few hundred dollars, and not a DIY job unless you genuinely know panel work. Permits exist for exactly this.
Capture dust at the source
Connect every sanding and sawing tool to a shop vac with a dust-rated bag or cyclone separator, and hang a box fan with a furnace filter strapped to its intake for the fine stuff that escapes. Fine wood dust is a lung hazard and a film on everything you own — a $40 fan-filter rig removes a shocking amount of it.
Put every tool on the wall
Pegboard or a plywood tool wall over the bench, one hook per tool, outline traced in marker so the empty spot names what’s missing. Flat surfaces are for work in progress only. This one habit is the difference between a shop that stays usable and a bench you excavate every Saturday.
If the garage shares a wall or ceiling with living space, don’t cut into the drywall casually — that assembly is a fire barrier required by code, and penetrations must be sealed with fire-rated materials. Keep finishes, fuel, and rags in a metal cabinet, and mount a fire extinguisher by the door, not deep in the shop.
A workshop is a layout, not a room — the bay was always big enough.
Let the shop evolve
Work in the space for a month before adding more storage; the shop will tell you what it needs by where the clutter piles up. Sweep at the end of every session and return tools to their outlines, and the bay stays a workshop instead of drifting back into a garage.
Keep the momentum going
All articles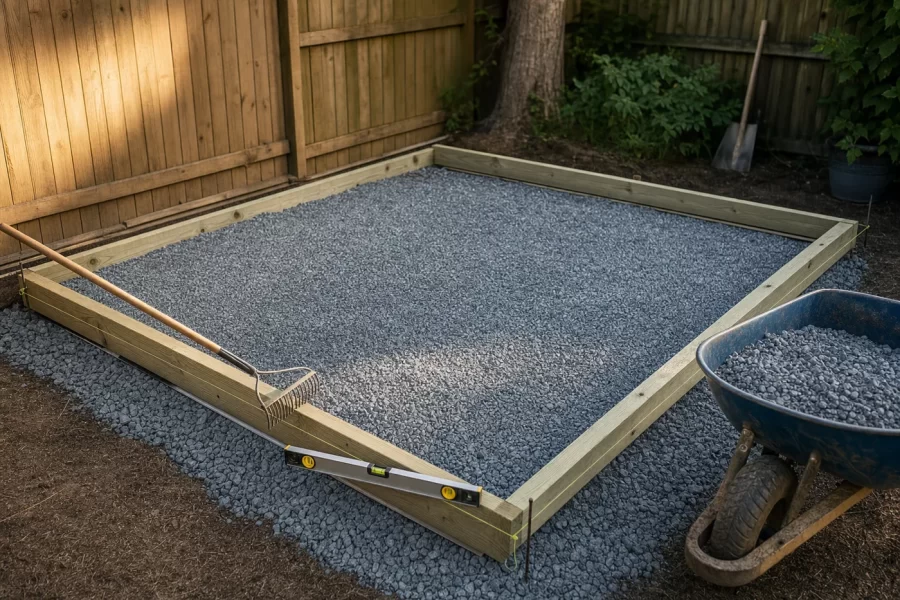
Build a Gravel Shed Base and Set Your Kit Shed Square
A step-by-step guide to building a level gravel foundation for a kit shed: layout, excavation, timber perimeter, compacted stone, and squaring the floor.
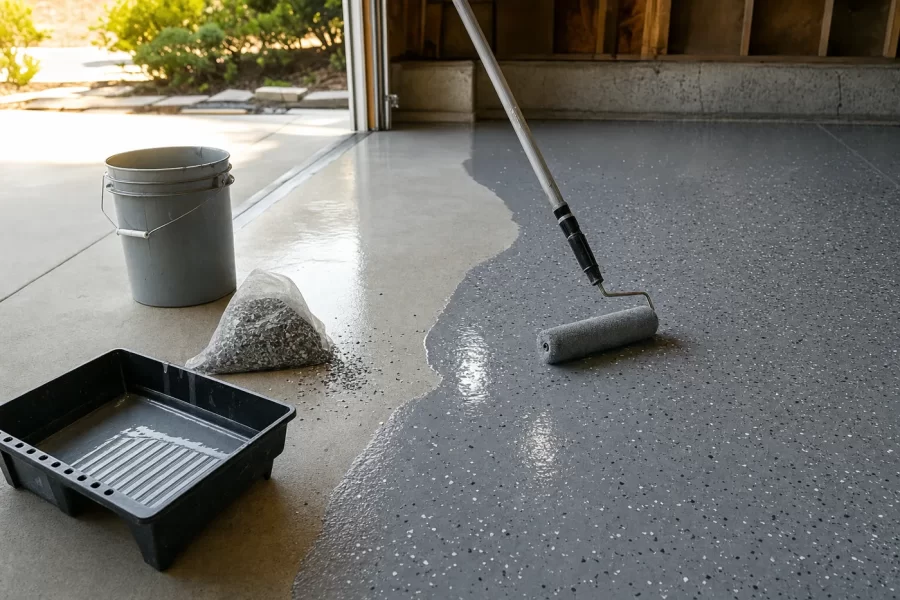
Epoxy-Coat a Garage Floor That Won’t Peel Under Tires
A step-by-step guide to a garage epoxy coating that lasts: moisture testing, etching or grinding, oil-spot prep, flake broadcast, and a urethane topcoat.

How to Paint Kitchen Cabinets Like a Pro
A step-by-step DIY guide to painting kitchen cabinets: degreasing, sanding, priming, and roller technique for a factory-smooth finish on a weekend budget.