Build a Gravel Shed Base and Set Your Kit Shed Square
Every shed problem — doors that won't latch, rotted floors, racked walls — traces back to the base. Get the gravel pad level and the kit practically assembles itself.
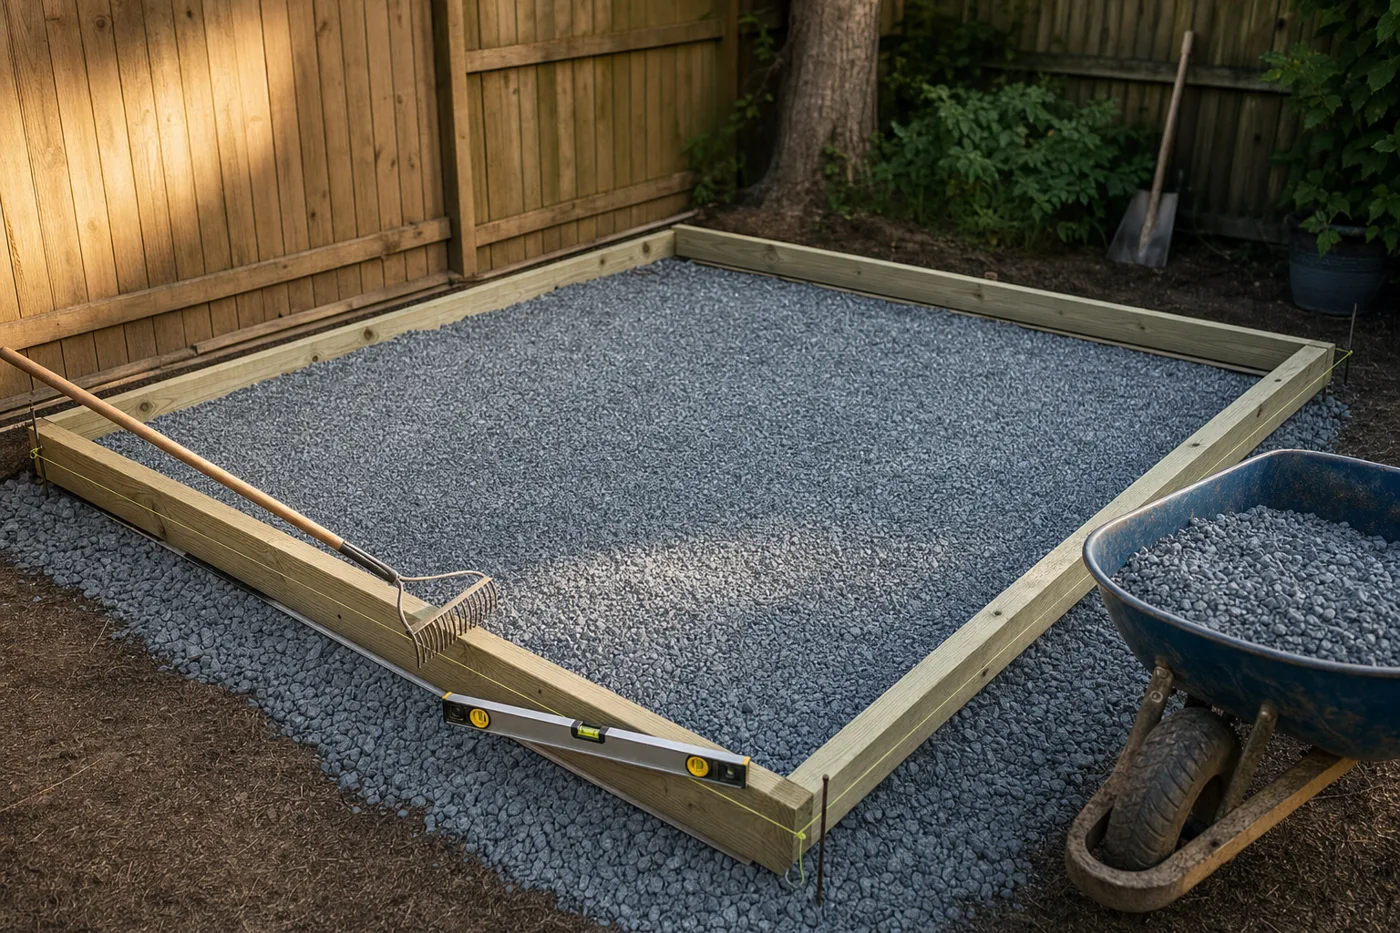
A kit shed is a big, precise box, and it assumes it will sit on something flat. Set it on lumpy ground and every tolerance the factory built in gets spent immediately: walls rack, the roof panels fight you, and the doors never latch right for the life of the building. A compacted gravel pad inside a timber frame is the sweet spot for sheds up to about 12×16 — cheaper than concrete, better-draining than either concrete or dirt, and completely achievable with hand tools and one rented compactor.
Size, site, and the permit question
Make the pad 12 inches bigger than the shed in each direction; the gravel apron drains roof runoff and keeps splash-back off the siding. Pick ground away from downspouts and low spots, and call your building department before buying anything — many towns skip permits under 120 or 200 square feet but still enforce setbacks from property lines, typically 3 to 5 feet. Call 811 before digging. It’s free, and utility lines run shallower than you think.
Lay out square with string and the 3-4-5 rule
Stake string lines at the pad corners, then check square by measuring 3 feet down one line and 4 feet down the other — the diagonal between those marks is exactly 5 feet when the corner is 90 degrees. Confirm by comparing full diagonals; equal diagonals mean a square layout.
Excavate and fabric the hole
Strip sod and dig down 4 to 6 inches across the whole footprint, deeper on the high side if the ground slopes — the finished pad is level, so the excavation won’t be. Lay landscape fabric across the bottom, overlapping seams a foot. Fabric keeps the gravel from disappearing into the soil over the years and blocks the weeds that would otherwise grow up through the shed floor.
Frame and level the timber perimeter
Build the perimeter from ground-contact pressure-treated timbers, screwed at the corners with 6-inch structural screws. Level each timber along its length and across to its neighbors — shim with gravel, never wood scraps — then pin the frame to the earth with 12-inch rebar driven through drilled holes every 4 feet. This frame is your screed guide, so the time spent here is the whole project.
Fill, compact, screed
Fill with 3/4-inch-minus crushed stone in 2-inch lifts, compacting each lift before adding the next — a plate compactor rents cheap for a half day and beats the hand tamper badly. Screed the final lift flush with the timber tops using a straight 2×4; boots shouldn’t leave prints in a properly compacted pad.
Set the floor and check diagonals obsessively
Assemble the kit’s floor frame on the pad, then measure corner to corner both ways before driving another screw: equal diagonals or you stop and fix it. A quarter inch of out-of-square at the floor becomes an inch at the roof peak. Only when the floor is square and level do the walls go up.
Don’t substitute round pea gravel or bare dirt for crushed stone with fines. Round stone never locks together — the shed slowly walks and settles — and dirt holds the moisture that rots floor framing from below. Angular crushed stone compacts into something close to pavement.
The shed is only ever as square as the pad underneath it.
Living with it
Rake the gravel apron level each spring and top up any low corners; a well-built pad settles a hair in year one and then stops. Keep downspouts and sprinklers pointed away, and the same base will still be flat when the shed needs its first coat of paint.
Keep the momentum going
All articles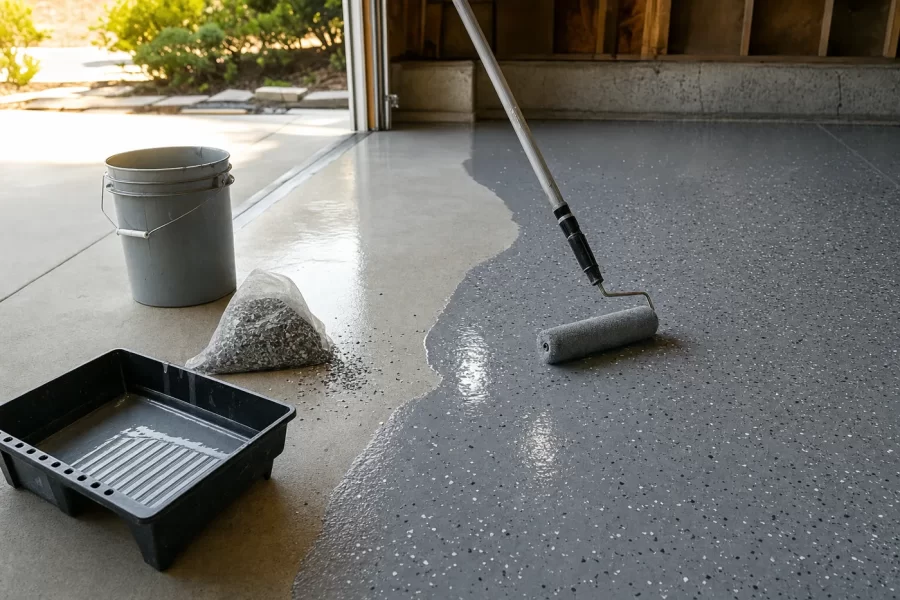
Epoxy-Coat a Garage Floor That Won’t Peel Under Tires
A step-by-step guide to a garage epoxy coating that lasts: moisture testing, etching or grinding, oil-spot prep, flake broadcast, and a urethane topcoat.
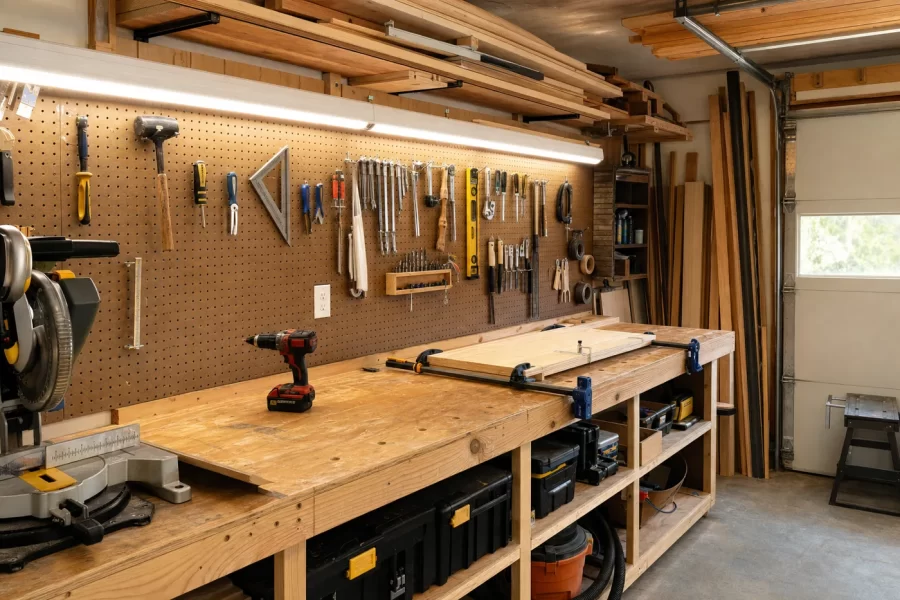
Convert a Garage Bay Into a Real Working Workshop
A step-by-step guide to turning one garage bay into a workshop: layout zones, workbench height, lighting, dust control, and honest talk about power.

How to Paint Kitchen Cabinets Like a Pro
A step-by-step DIY guide to painting kitchen cabinets: degreasing, sanding, priming, and roller technique for a factory-smooth finish on a weekend budget.