Regrout Tile Without Replacing a Single Tile
Stained, cracking grout makes sound tile look ruined. Sixty dollars in materials and one dusty weekend buys back the whole surface — no demolition, no tile bill.
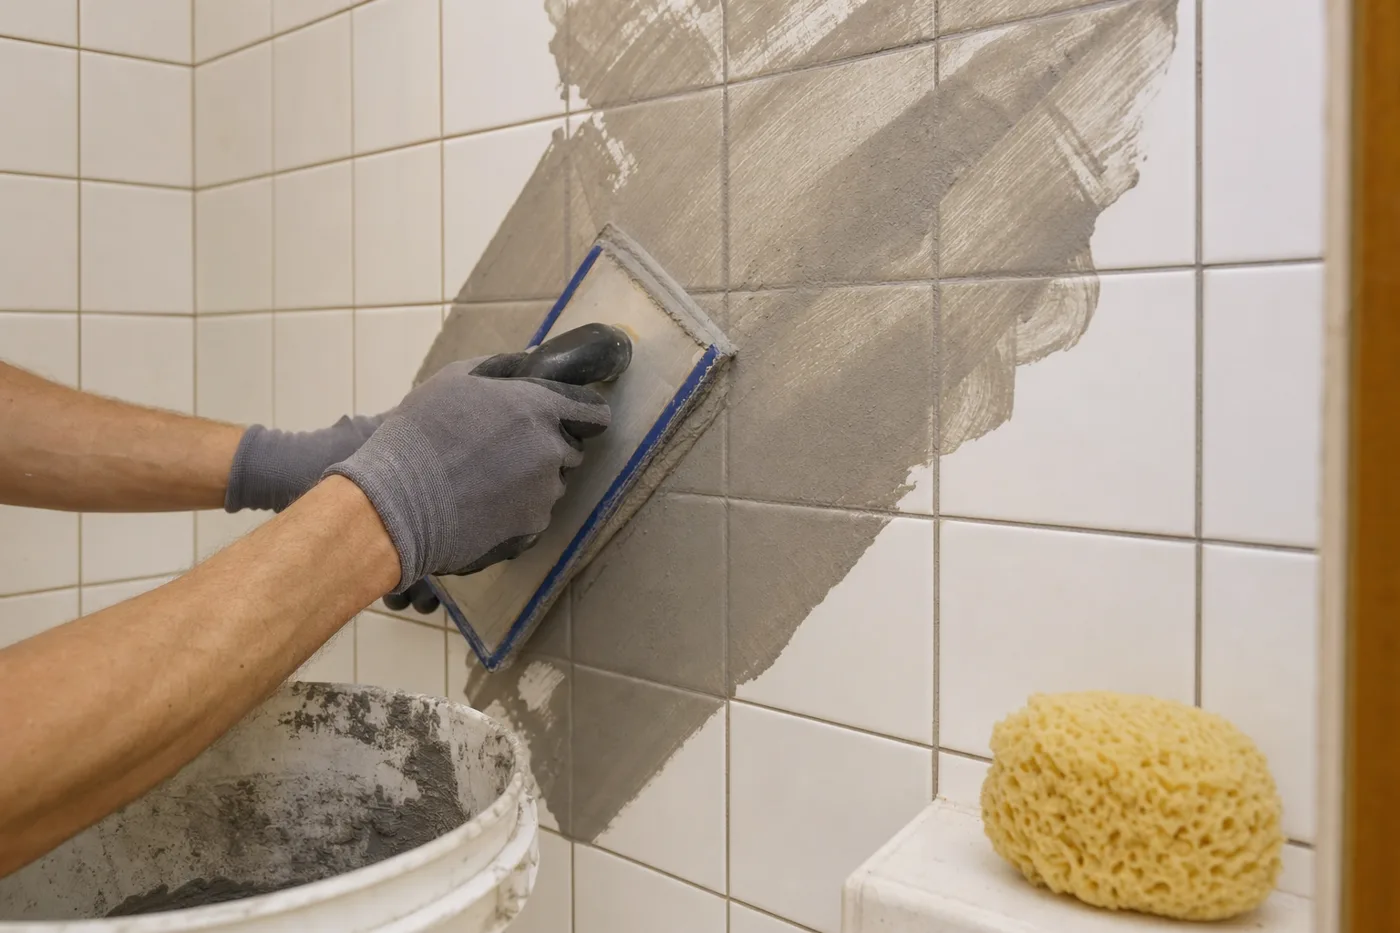
Grout fails decades before tile does. It absorbs soap, hosts mildew, and cracks along a shower’s busiest joints while the porcelain around it stays perfect. Regrouting is the highest-leverage repair in a bathroom: the material cost is a pizza dinner, and the finished surface is indistinguishable from a new install. The whole job hinges on one unglamorous truth — new grout only bonds if enough old grout is gone.
How deep is deep enough
New grout skimmed over old grout is a coat of paint on a cracked sidewalk; it fails along the exact same lines within months. You need to remove at least two-thirds of the joint depth — on standard wall tile, about 1/8 inch minimum, down to clean, solid material. Unsanded grout belongs in joints under 1/8 inch wide; sanded handles everything wider. Match what’s there, and buy 20% more than the coverage chart says.
Grind out the old joints
An oscillating tool with a grout blade does the long runs; a hand grout saw handles corners and the tight spots around fixtures. Keep the blade centered in the joint — glazed tile edges chip if you ride against them. This is the slow, dusty half of the project: budget a full afternoon for an average tub surround, with a dust mask on the whole time.
Vacuum, wash, and dry
Vacuum every joint with a crevice nozzle, then wipe the whole surface with a damp sponge and let it dry overnight. Grout dust left in the joints becomes a weak, powdery bond line under the new grout. Tape off the tub or shower base so falling debris doesn’t scratch it.
Mix to peanut butter, not pancake batter
Mix grout in small batches to a stiff, peanut-butter consistency, let it slake for 10 minutes, and remix without adding water. Soupy grout shrinks, cracks, and dries weak and pale. A batch is workable for about 30 minutes — mix only what you can place in that window.
Pack diagonally, then sponge lightly
Load the rubber float and sweep it across the joints at 45 degrees, pressing hard enough to pack the joint full, then scrape excess off with the float nearly vertical. After 15–20 minutes — when the grout firms and a finger doesn’t dent it — sponge in light circles with a barely-damp sponge, rinsing constantly in the first bucket and wringing in the second. Heavy sponging drags grout right back out of the joints.
Haze off, then seal
The next day, buff the haze off with a dry microfiber cloth. Wait the cure time on the bag — usually 48 to 72 hours — then apply penetrating sealer to the joints and wipe the tile clean. Sealer is the difference between grout that shrugs off shampoo and grout that starts this cycle over.
Never regrout the corners, the tub-to-tile joint, or anywhere two planes meet. Those joints move, and grout there cracks by design. Grout the flat field only, and fill every change of plane with 100% silicone caulk after the grout cures.
Grout is a wear surface. Tile is the frame around it.
Keeping it white
Squeegee the walls after showers for the first month while the sealer fully cures, and reseal once a year — it takes 20 minutes. Skip abrasive powders and stiff brushes on the joints; a spray of diluted vinegar and a soft brush keeps sealed grout clean for years without wearing it back down.
Keep the momentum going
All articles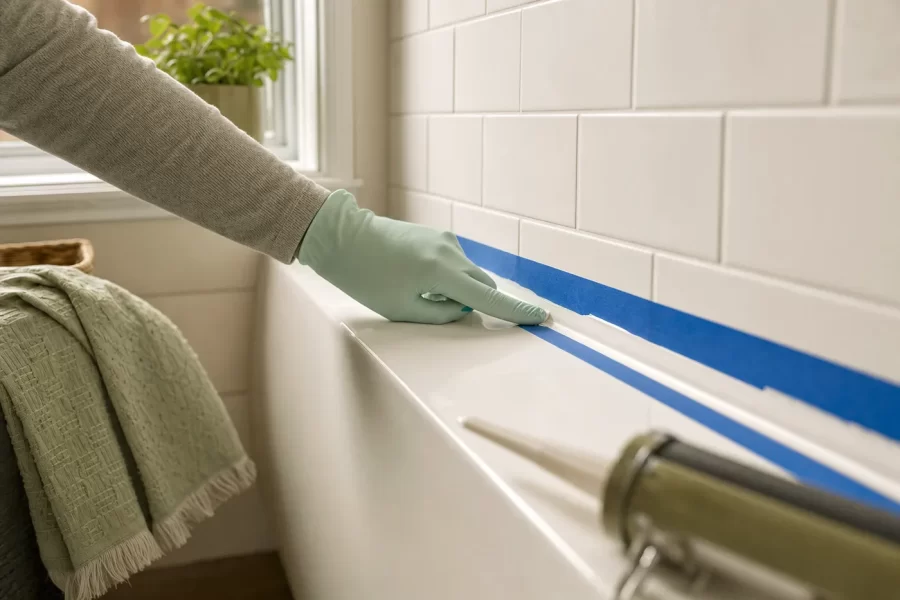
Re-Caulk a Shower So It Looks Factory-Fresh
A beginner's guide to removing failed shower caulk and laying a clean, mildew-resistant bead: removal, prep, taping, and tooling technique.
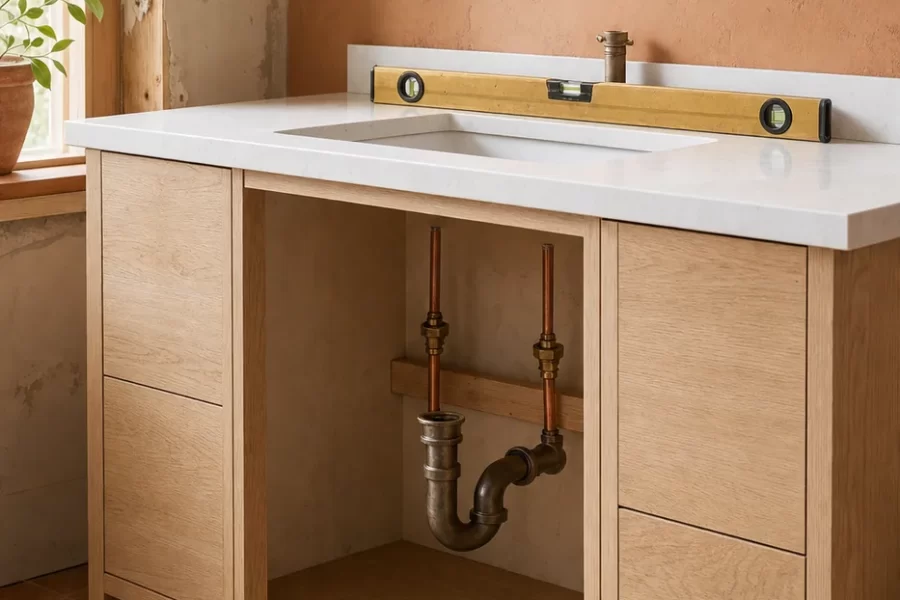
Swap a Builder-Grade Vanity Without Calling a Plumber
How to remove an old bathroom vanity and install a new one: shutoffs, drain disconnection, scribing to the wall, and reconnecting supply lines without leaks.

How to Paint Kitchen Cabinets Like a Pro
A step-by-step DIY guide to painting kitchen cabinets: degreasing, sanding, priming, and roller technique for a factory-smooth finish on a weekend budget.