Replace a Ceiling Light Fixture, Safely and Squarely
A dated dome light is the fastest room upgrade there is. The skill isn't electrical — it's the discipline of proving the power is off.
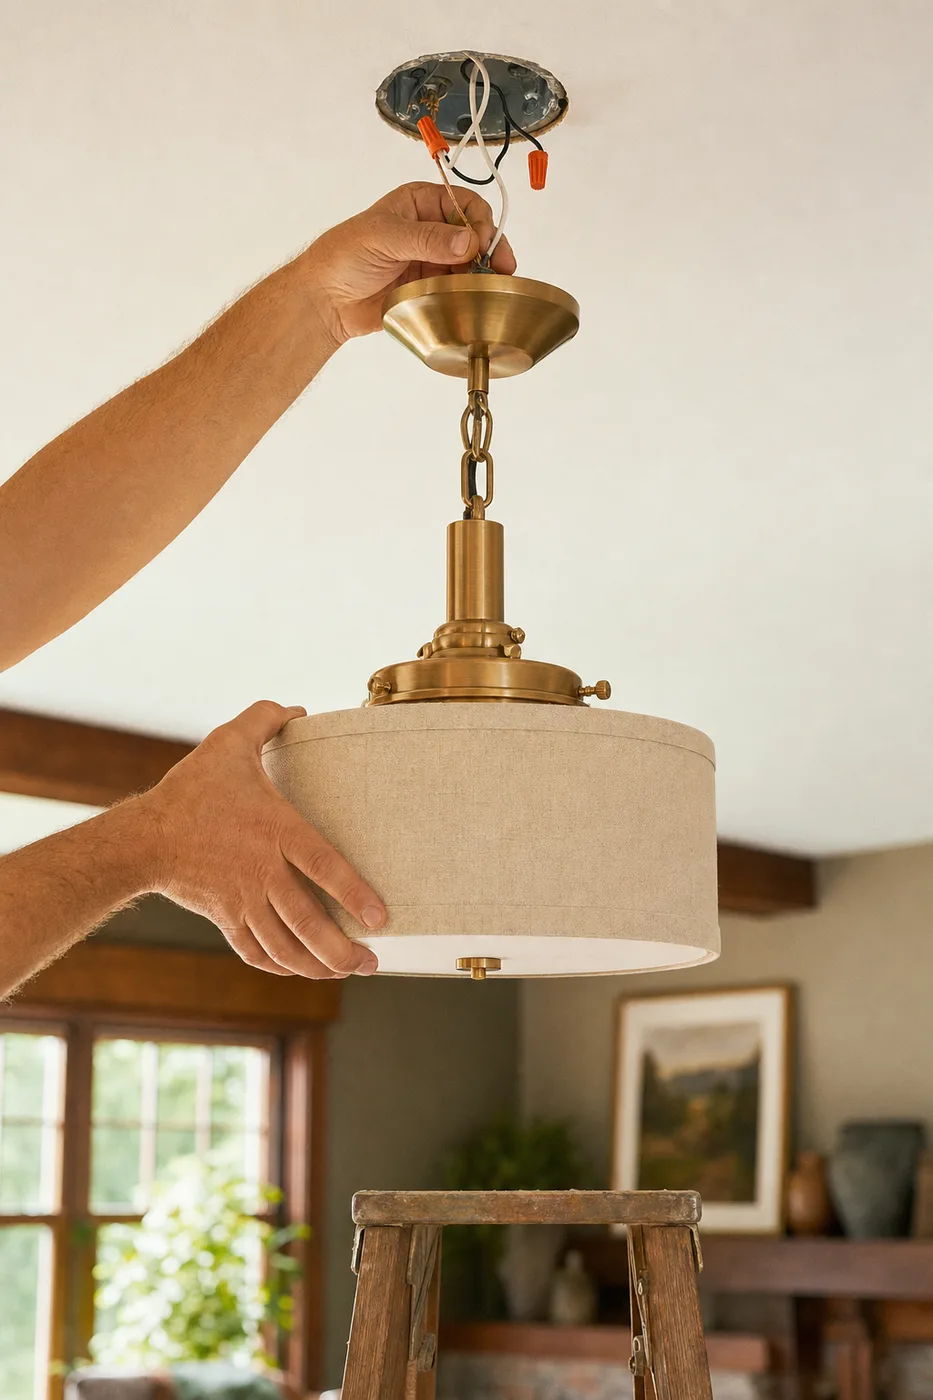
Nothing dates a room like the builder’s frosted dome, and nothing refreshes one faster than swapping it. Electrically, a fixture swap is three connections. The entire craft is in the safety sequence — proving dead, not assuming dead — and in the unglamorous mechanics of supporting a fixture’s weight while you wire it.
The proving-dead ritual
Flip the breaker, not just the wall switch: a switched fixture can still have a live neutral or a hot feed passing through the box. Then prove it twice — test the tester on an outlet you know is live, test the fixture wires, and test the tester again. That test-verify-test sandwich is how electricians stay old. Tape the breaker or park someone at the panel.
Drop the old fixture without dropping it
Unscrew the canopy and let the fixture hang by its wires — never by your grip alone — then support it while you unscrew the wire nuts. Note what you find: black to black (hot), white to white (neutral), bare or green to ground. If the wires enter the box as anything unusual — two blacks with tape, no ground — photograph it and match the pattern on reinstall.
Check the box and the strap
The metal or plastic box in the ceiling must be solidly anchored — wiggle it. A fixture over ten pounds needs a fixture-rated box, and anything meant for a fan needs a fan-rated one. Most new fixtures include a crossbar strap; install it now, and thread the ground screw before your arms are full of chandelier.
Connect: ground, neutral, hot — in that order
Strip to a half inch of clean copper, hold stripped ends side by side, and twist the wire nut until the wires spiral together outside the nut. Tug each connection hard; a connection that slips out in your hand was about to fail in the ceiling. Fold the wires neatly into the box — cramming them kinks connections loose.
Canopy tight, bulbs right
Raise the canopy flush to the ceiling and snug — not gorilla-tight — the mounting screws. Install LEDs at or under the fixture’s rated wattage, restore the breaker, and enjoy the one moment of drama the project offers: the switch test.
Houses wired before the mid-1980s may have no ground wire in the ceiling box, and pre-1975 homes can have aluminum branch wiring (dull gray conductors marked AL). Aluminum-to-copper connections need special connectors and are the right moment to hand the job to an electrician.
Test the tester, test the wires, test the tester again. That sandwich is the whole safety course.
While you’re up there
Two-minute upgrades that only make sense mid-swap: a dimmer on the wall switch (buy LED-compatible), a smart bulb if the fixture will take it, and a wipe of the ceiling ring of dust the old canopy was hiding. Then move the ladder before someone walks into it.
Keep the momentum going
All articles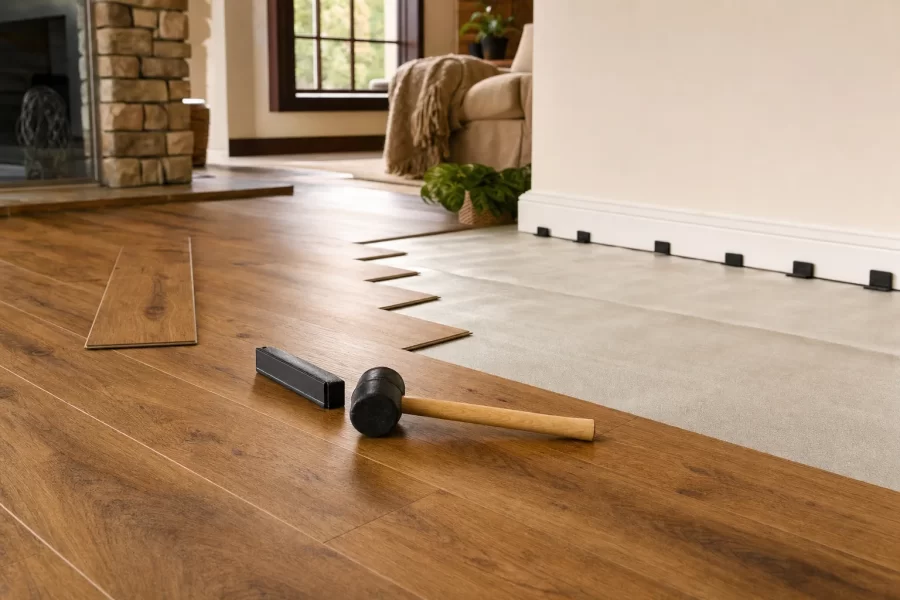
Installing Luxury Vinyl Plank Flooring: A First-Timer’s Guide
How to install click-lock luxury vinyl plank (LVP) flooring: subfloor prep, layout math, expansion gaps, and the tapping technique that prevents gapped seams.
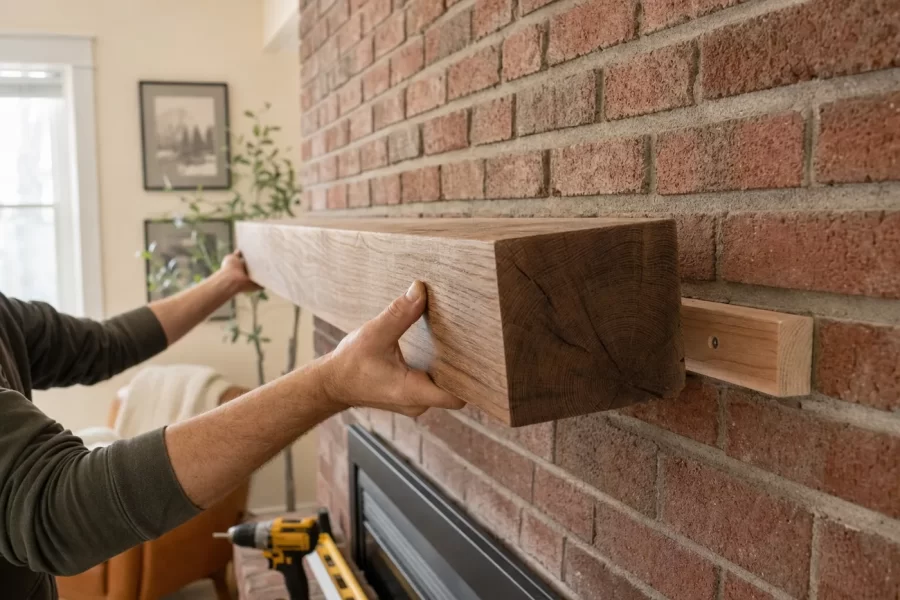
Hang a Fireplace Mantel That Holds Real Weight
A step-by-step guide to installing a wood fireplace mantel: firebox clearance rules, cleat mounting into studs or masonry, and leveling.

How to Paint Kitchen Cabinets Like a Pro
A step-by-step DIY guide to painting kitchen cabinets: degreasing, sanding, priming, and roller technique for a factory-smooth finish on a weekend budget.