Installing Luxury Vinyl Plank Flooring: A First-Timer’s Guide
Click-lock vinyl plank is the friendliest floor a beginner can lay: no glue, no nails, no big saw. What it does demand is a flat subfloor and twenty minutes of layout math before the first plank clicks.
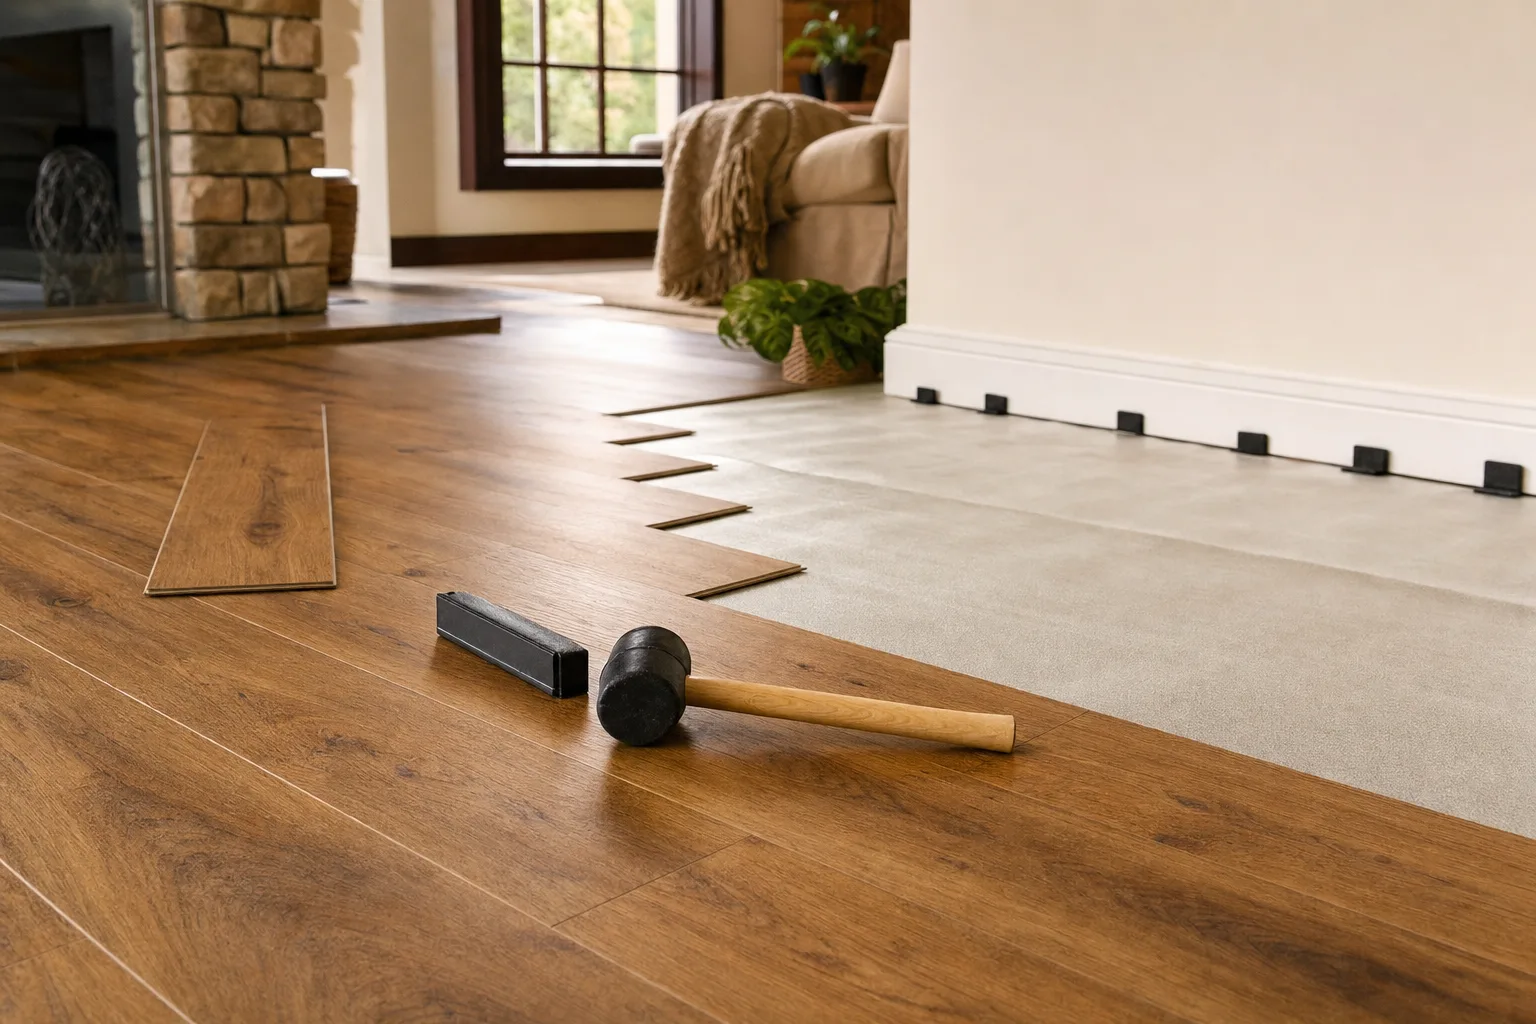
Luxury vinyl plank earned its place as the default DIY floor honestly: it’s waterproof, it floats over most existing floors, and each plank clicks to its neighbor like heavy-duty laminate. A patient first-timer can floor a bedroom in a day. The failures you see in reviews — gapped seams, peaking joints, a row that drifts diagonal — trace back to three causes: an unflat subfloor, no expansion gap, and skipping the layout math. All three are preventable before the first plank goes down.
Before you buy
Measure the room’s square footage and add 10% for cuts and mistakes (15% if you’re laying a herringbone or the room has lots of jogs). Check plank thickness: 5 mm+ with an attached underlayment pad is worth the small upcharge for comfort and sound. Let the boxes acclimate in the room for 48 hours — vinyl moves with temperature, and planks installed cold in an air-conditioned room can expand into a summer buckle.
Flatten the subfloor
Sweep the straightedge across the floor and mark anything off by more than 3/16″ over 10 feet. Grind or sand the highs, fill the lows with floor patch. LVP is thin — it telegraphs every ridge and flexes into every dip, and flexing joints eventually unclick. This is the least fun step and the most important one.
Do the layout math
Divide the room’s width by the plank’s width. If the remainder means your last row would be a skinny sliver under 2″, rip the first row narrower so the first and last rows balance. Then plan stagger: end joints in neighboring rows should offset at least 6″, and avoid repeating a “stair-step” pattern. Dry-lay the first three rows before clicking anything.
Set the first row dead straight
Walls are never straight, so don’t trust them. Snap a chalk line one plank-width (plus 1/4″ gap) off the longest wall and set the first row to the line, spacers against the wall. Every row after inherits this row’s accuracy — a 1/8″ drift here is a visible wedge by the far wall.
Click, tap, check, repeat
Angle each plank’s long edge into the previous row, lower it, then seat the short end with the tapping block and a gentle mallet rhythm — you’re persuading, not driving. Never hammer the plank edge directly; a chipped click edge never locks tight again. Every few rows, sight down the seams for hairline gaps and close them before they compound.
Cut the last row and awkward pieces
Straight cuts are score-and-snap with a utility knife — three firm passes, then fold. Door jambs get the pro trick: don’t scribe the plank around the jamb, undercut the jamb with an oscillating tool and slide the plank beneath it. Use the pull bar to seat the final row against the wall.
Trim it out
Pull the spacers and cover the expansion gap with quarter-round or shoe molding, nailed to the baseboard — never through the flooring, which must stay free to float. Install transition strips at doorways, ideally under the closed door’s shadow line.
That 1/4″ gap around the entire perimeter is not optional. A floating floor pinned tight to a wall — or to a kitchen island screwed through it — has nowhere to expand and will lift into a tent in the first hot week.
The first row is the whole project. Get it dead straight and every other row installs itself.
Where LVP isn’t the answer
Sunrooms with big temperature swings, floors with severe unfixable dips, and homes where you’d be covering healthy hardwood — sand and refinish real wood instead; it’s worth more than anything you’d put over it.
Keep the momentum going
All articles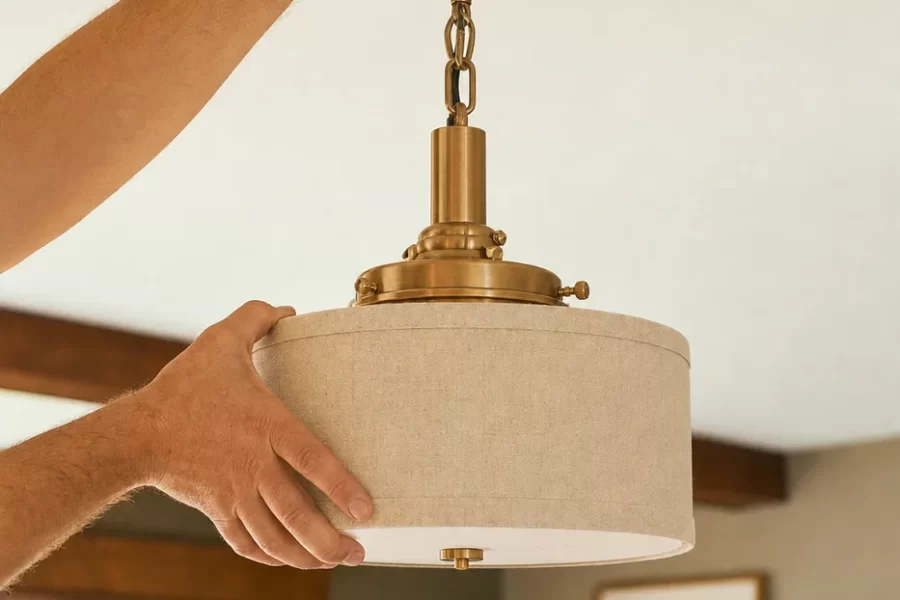
Replace a Ceiling Light Fixture, Safely and Squarely
Swap a dated ceiling light for a new fixture: breaker safety, non-contact voltage testing, wire connections that last, and getting the canopy tight to the ceiling.
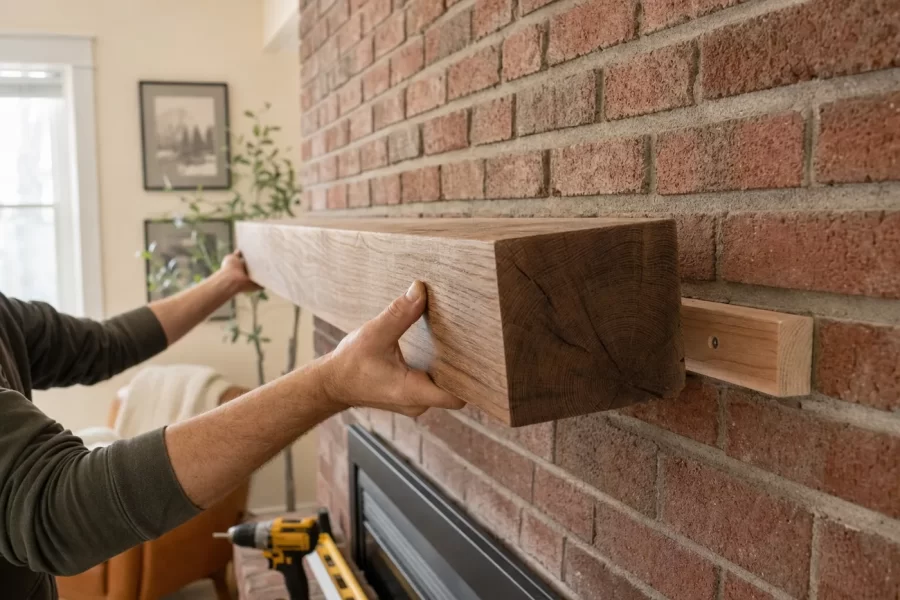
Hang a Fireplace Mantel That Holds Real Weight
A step-by-step guide to installing a wood fireplace mantel: firebox clearance rules, cleat mounting into studs or masonry, and leveling.

How to Paint Kitchen Cabinets Like a Pro
A step-by-step DIY guide to painting kitchen cabinets: degreasing, sanding, priming, and roller technique for a factory-smooth finish on a weekend budget.