Build a Wall-to-Wall Home Office Desk on Cleats
A desk that spans wall to wall with no legs looks like a designer detail. It's actually three cleats, a solid-core door, and a Saturday.
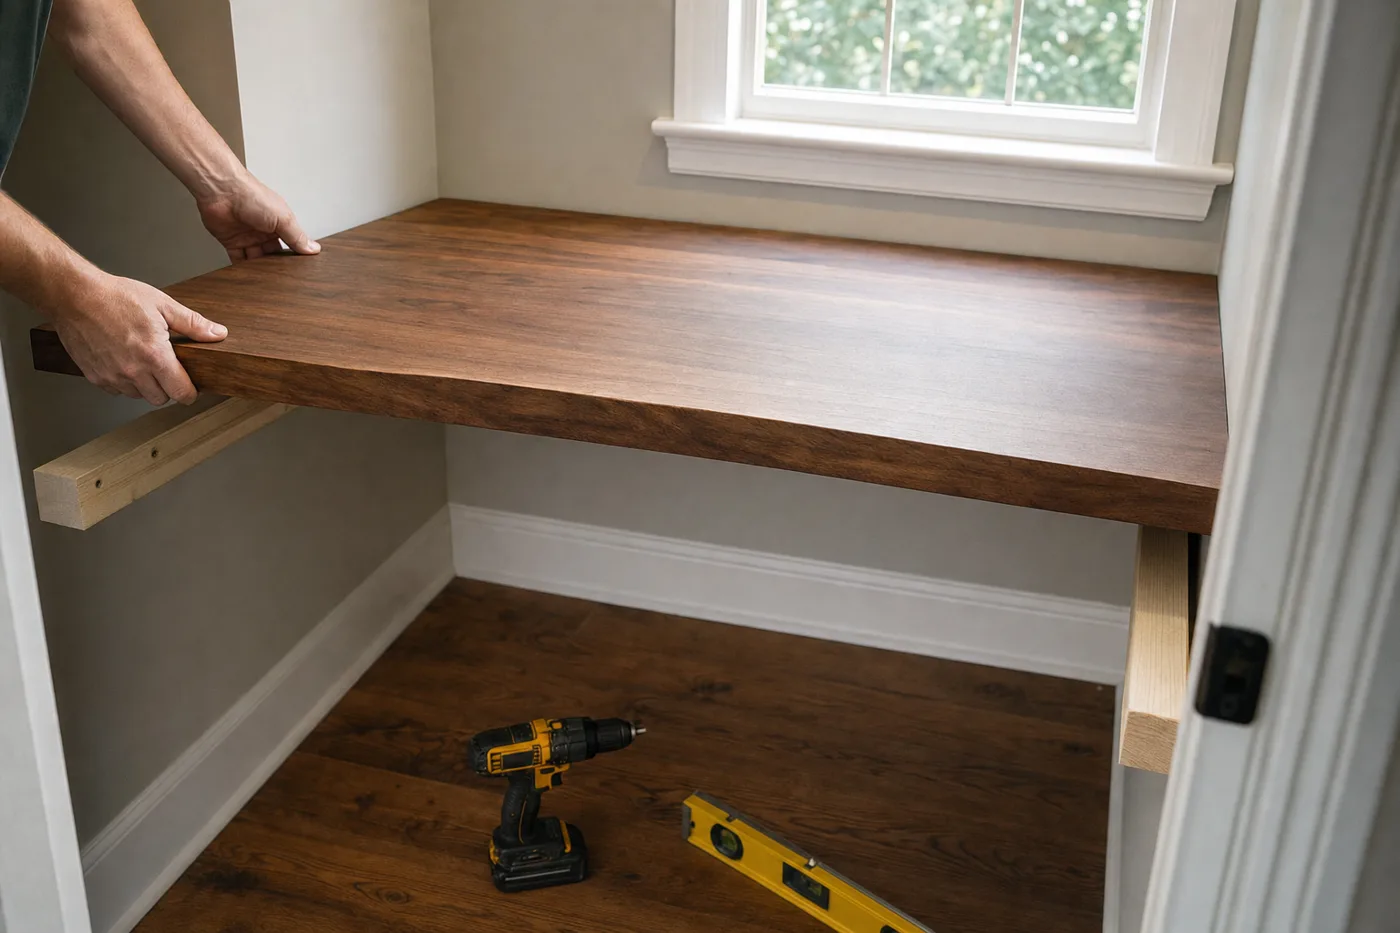
The best home office desk in most houses isn’t furniture — it’s the gap between two walls, spanned by a slab on cleats. No legs to knock knees on, no wobble, no seams, and a depth you choose instead of accept. Done right it holds monitors, elbows, and the occasional person sitting on it, and it costs a fraction of anything comparable in a catalog. The whole build rests on three boring screws’ worth of truth: cleats in studs, a slab that won’t sag, and a height that fits a human.
Get the ergonomics before the lumber
Standard desk height is 29 to 30 inches to the top surface for typing with dropped shoulders; subtract the slab thickness to find your cleat line. Depth: 24 inches minimum for a monitor at healthy distance, 30 if the span allows. Check the span itself — under 6 feet, a solid-core door needs no help; longer spans want a front apron or a mid-span bracket to stop the slow smile.
Strike a level line, ignore the floor
Mark your cleat height on one wall, then carry it around with a 4-foot level. Never measure up from the floor at each point — floors dip, and a desk built off one telegraphs the dip forever. Mark every stud along the line while you’re there.
Mount cleats into studs on three sides
Run a cleat across the back wall and one up each side wall, fastened with 3-inch structural screws into every stud. Each screw into framing holds triple digits of pounds; six or eight of them carry a loaded desk with a person leaning on it. Drywall anchors have no place under a surface people will sit on.
Scribe the slab to the walls
Cut the door slab a half inch shy of the tightest span measurement, set it on the cleats, and scribe each end to the wall’s actual wander with a compass. Sand or plane to the line. The gap-free fit is what makes it read built-in — and it’s ten minutes of work.
Drill the grommet, then fasten from below
Hole-saw a grommet opening near the back corner where the outlet lives, ease all edges with sandpaper, and finish the top before final install — two coats of wipe-on poly or hardwax oil, sanded at 220 between coats. Set the slab and screw up through the cleats into it so no fastener ever shows.
Make the cables disappear
Mount a wire tray under the back edge, feed everything through the grommet into a power strip living in the tray, and leave one pre-run spare cable path for whatever gadget arrives next year. A clean desktop is 90 percent cable tray.
Confirm what’s in the walls before running 3-inch screws at desk height — wiring commonly runs horizontally between outlets right in this zone. Scan with a stud finder in AC mode and keep screws centered on studs, not fishing beside them.
Legs are what a desk has when it doesn’t trust the walls.
Living at it
Recheck level after the first month of load and snug the cleat screws once — framing settles a hair. Refresh the finish yearly where forearms rest. If the office ever moves, the slab lifts off and the cleats come out, leaving eight screw holes and no regrets.
Keep the momentum going
All articles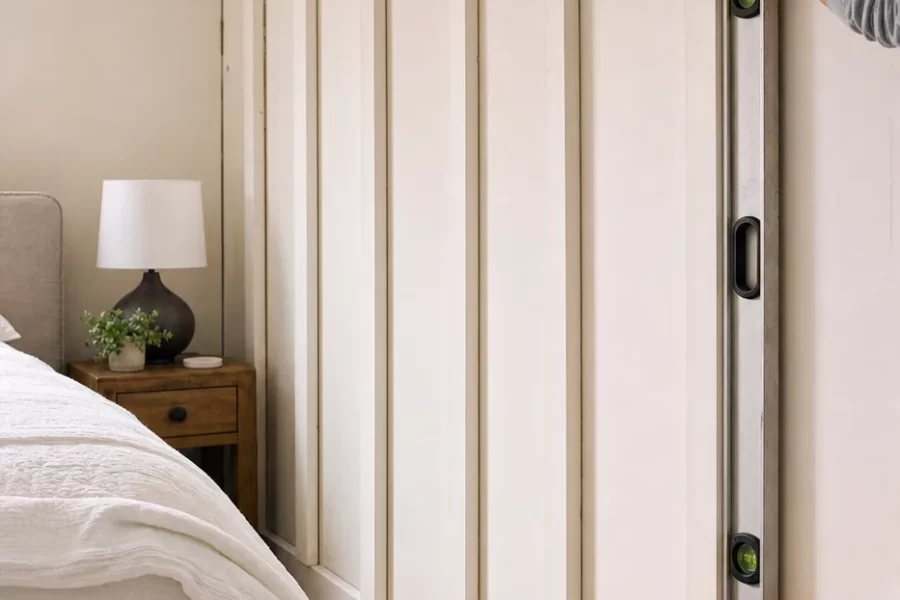
Install a Board-and-Batten Accent Wall That Looks Built-In
A step-by-step guide to a board-and-batten accent wall: spacing math that lands even, adhesive plus nails, caulk discipline, and enamel paint that seals the look.
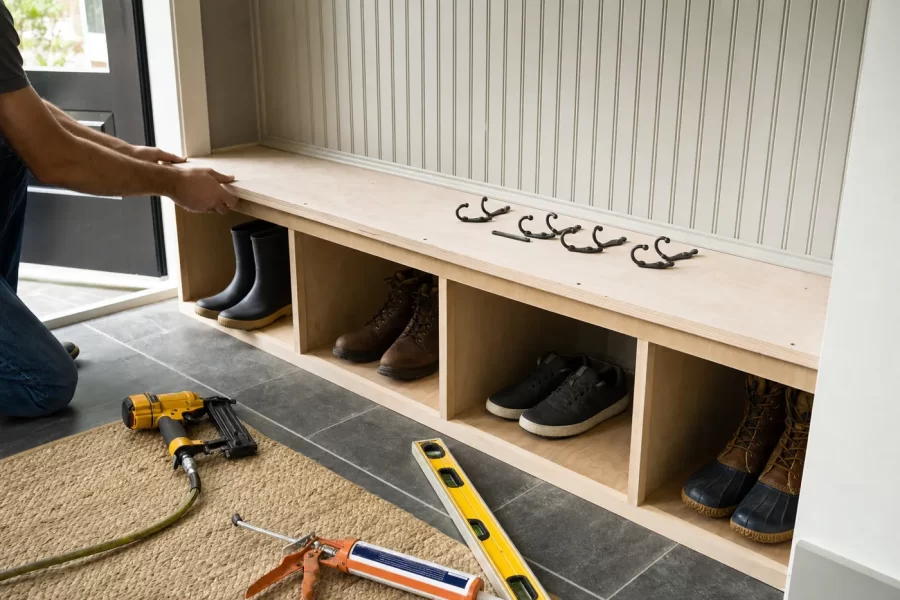
Build a Mudroom Bench With Hooks and Cubbies
A weekend build for a mudroom drop zone: a sturdy plywood bench with shoe cubbies, a beadboard hook wall, and a shelf — anchored to studs and sized to real coats.

How to Paint Kitchen Cabinets Like a Pro
A step-by-step DIY guide to painting kitchen cabinets: degreasing, sanding, priming, and roller technique for a factory-smooth finish on a weekend budget.