Build a Mudroom Bench With Hooks and Cubbies
The pile by the back door isn't a discipline problem, it's a furniture problem. One weekend of plywood and hooks gives every coat and cleat a home.
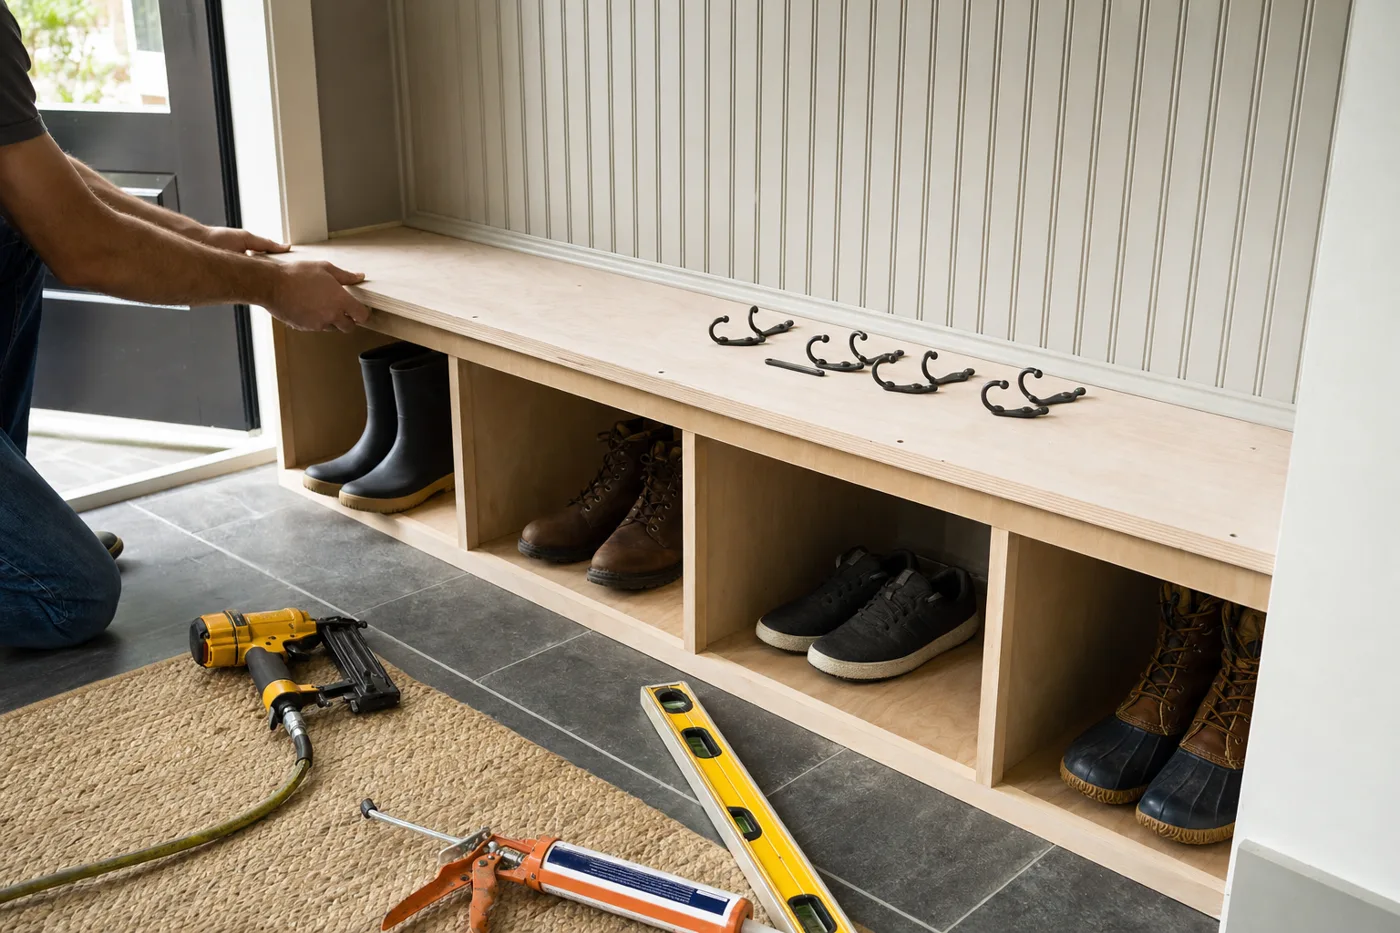
Every household has a gravity point where coats, bags, and shoes land — usually the floor within six feet of the most-used door. A mudroom bench doesn’t fight that instinct; it catches it. The build is honest weekend carpentry: a plywood box you can sit on, cubbies underneath for shoes, a paneled wall with hooks, and a shelf up top. What separates the ones that work from the ones that decorate is dimensions matched to real bodies and real coats.
The measurements that make it work
Bench height: 18 inches, the height chairs are for a reason. Bench depth: 15 to 16 inches — enough to sit and wrestle a boot, shallow enough not to choke the hallway. Hooks: 60 to 64 inches off the floor for adults, with a lower row at 40 inches if kids are in the mix. Shelf: about 70 inches, high enough to clear heads. Width: 16 to 18 inches of bench per person who uses the door.
Build the bench box first
Cut the top, bottom, sides, and two or three vertical dividers from 3/4-inch plywood, spacing cubbies 12 to 14 inches wide — a men’s size 12 shoe needs 13 inches. Assemble with glue and countersunk 2-inch screws, square it by matching diagonals, and face the raw plywood edges with 1×3 poplar so it reads as furniture.
Level it and lock it to the wall
Floors near exterior doors are rarely flat. Shim the box level, then screw through its back rail into at least two studs. A bench people drop onto while holding a toddler takes real abuse; the studs, not the floor, are what keep it solid for a decade.
Panel the hook wall
Run beadboard from the bench top up to shelf height, glued with construction adhesive and tacked with brads into studs. Cap it with a 1×4 hook rail screwed — not nailed — into every stud it crosses. Hooks loaded with winter coats and backpacks pull hard; brads into drywall is how hook rails end up on the floor.
Mount hooks for the family you have
Double-prong hooks every 8 to 10 inches, one per person plus two for guests. Screw each hook into the rail with the screws it came with driven fully home. Add the top shelf on brackets or a cleat, again into studs — it will hold bins heavier than you plan.
Caulk, paint, and armor it
Fill brad holes, caulk every seam, prime, and lay on two coats of scrubbable enamel. This zone eats slush, grit, and dog. A satin or semi-gloss enamel wipes clean; flat paint here will look tired by March.
Check for outlets, switches, and heat registers on the bench wall before you build. Boxing over an outlet is a code violation, and blocking a register cooks the bench and starves the room. Relocate the bench, not the wiring.
Hooks at the right height get used. Hooks at the wrong height decorate a pile of coats on the bench.
The one-week test
A drop zone succeeds if it’s still working after seven days of real life. If shoes pile in front of the cubbies, they’re too narrow; if one hook carries five coats, add hooks. Adjust to the family’s actual behavior — the carpentry was the easy half.
Keep the momentum going
All articles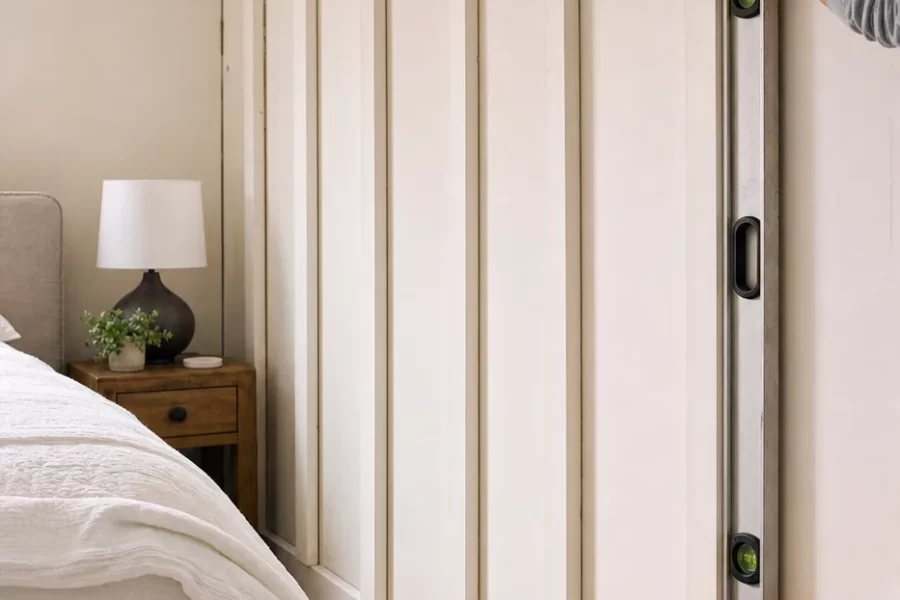
Install a Board-and-Batten Accent Wall That Looks Built-In
A step-by-step guide to a board-and-batten accent wall: spacing math that lands even, adhesive plus nails, caulk discipline, and enamel paint that seals the look.
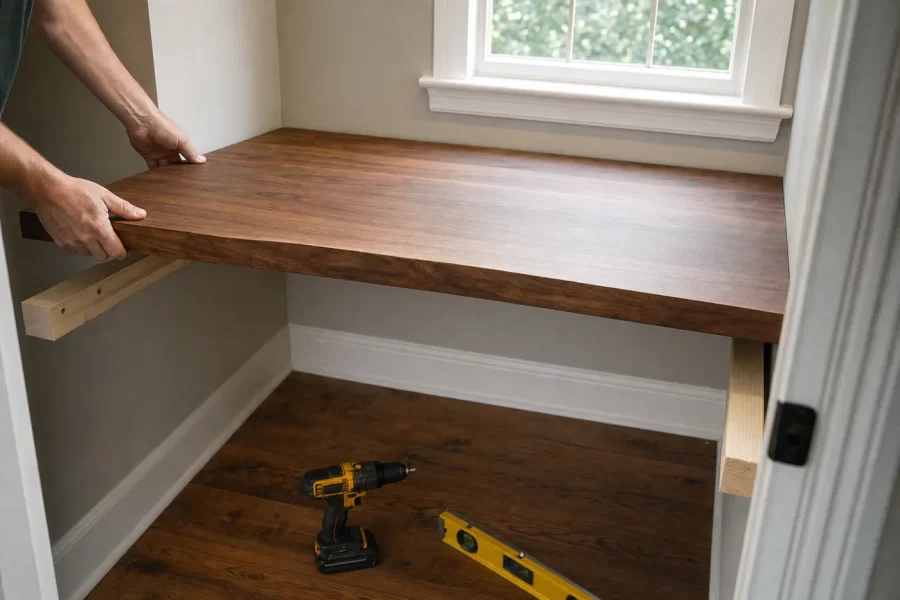
Build a Wall-to-Wall Home Office Desk on Cleats
A step-by-step guide to a built-in desk spanning two walls: level cleats into studs, a solid-core door as the top, scribed edges, and hidden cable management.

How to Paint Kitchen Cabinets Like a Pro
A step-by-step DIY guide to painting kitchen cabinets: degreasing, sanding, priming, and roller technique for a factory-smooth finish on a weekend budget.