Seal Hairline Foundation Cracks With Epoxy Injection
A hairline crack in poured concrete is usually shrinkage, not doom — and a $60 injection kit seals it for good. The skill is knowing which cracks that logic doesn't apply to.
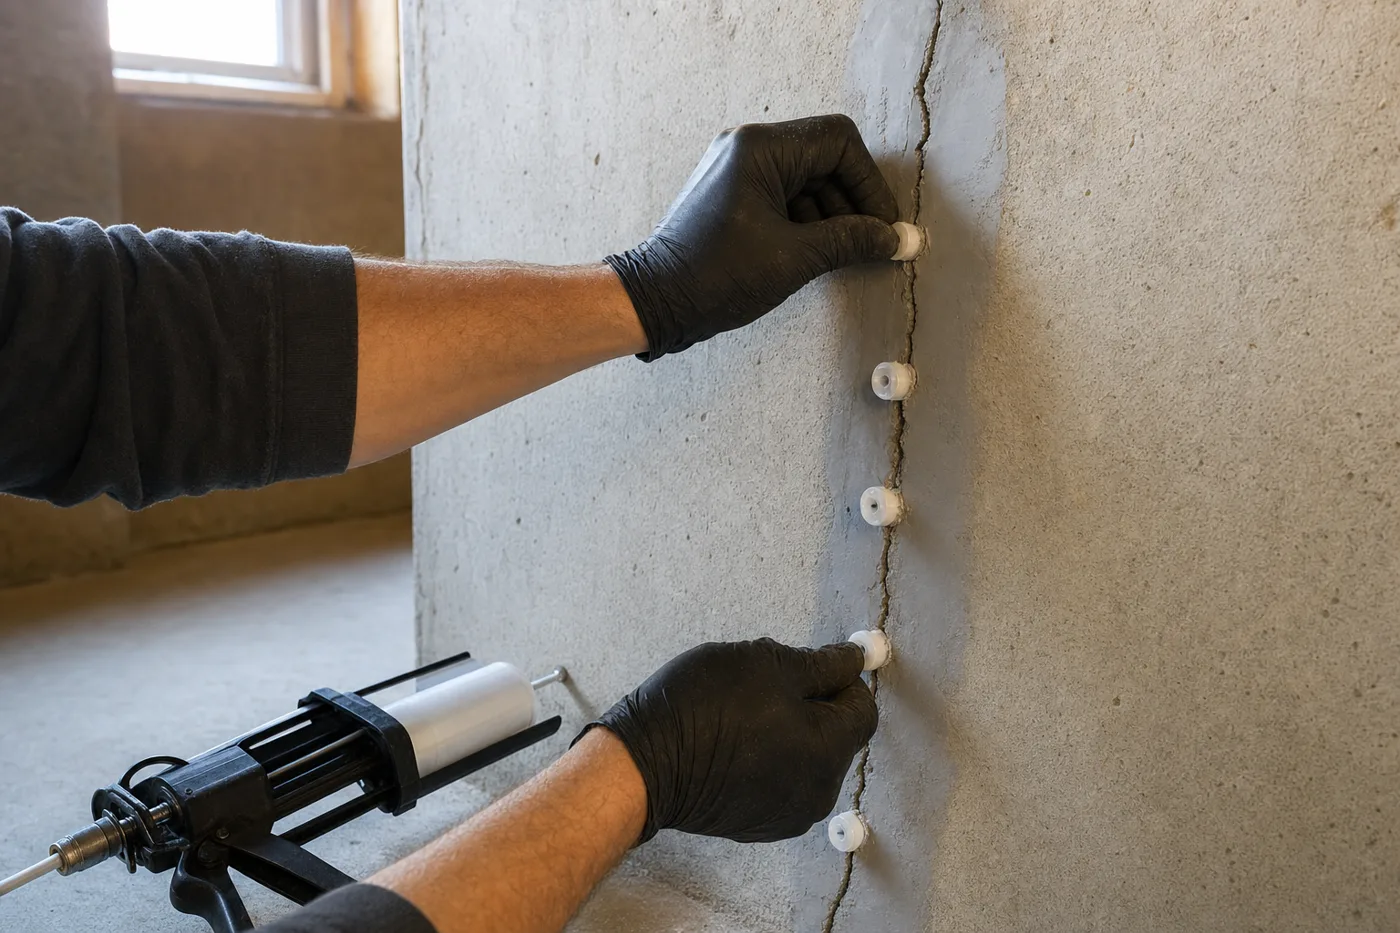
Almost every poured-concrete foundation cracks. Concrete shrinks as it cures, and a vertical hairline crack near the middle of a wall or under a window is usually the material relieving that stress — annoying, occasionally weepy, and very fixable from inside. Injection kits push epoxy or polyurethane the full depth of the wall, welding the crack shut instead of smearing something over its face. The project succeeds or fails on two things: correctly diagnosing the crack, and patient, bottom-up injection.
Read the crack before you buy anything
Vertical or slightly diagonal, hairline to an eighth of an inch, walls otherwise flat and plumb: that’s a shrinkage crack, and it’s your project. Choose epoxy if the crack is dry and you want structural bond; choose polyurethane if it’s actively damp, because urethane foams and cures in water. What is not your project: horizontal cracks, stair-step cracks in block walls, cracks wider than a quarter inch, cracks that are wider at the top than the bottom, or any crack paired with a bowed wall. Those are signs of soil pressure or settlement, and the right money is a structural engineer’s inspection fee — usually a few hundred dollars — not a kit.
Clean and map the crack
Wire-brush a 2-inch band along the full length of the crack down to bare, sound concrete, then vacuum the dust. Paint, efflorescence, or old sealer will peel the surface paste right off under injection pressure. Mark port locations with tape every 8 inches — roughly the wall’s thickness apart — starting a few inches above the slab.
Glue the ports, then paste the crack shut
Butter the base of each plastic port with surface-seal paste and center it over the crack — the hole must sit directly on the crack line. Then trowel paste over the entire crack between ports, an eighth of an inch thick and 1 inch wide, leaving only the port openings exposed. Let the paste cure fully, usually 6 to 24 hours. Rushing this step is the classic failure: liquid epoxy finds every pinhole.
Inject from the bottom up
Load the dual cartridge in the gun, dispense a little to waste until both parts flow evenly through the mixing nozzle, then inject slowly into the lowest port. Low and slow is the whole technique — high pressure blows out the paste. When material oozes from the port above, you know the crack is full to that height: cap the lower port, move up one, repeat to the top.
Cure, then dress the wall
Leave everything alone for the cure time on the cartridge — typically 24 to 48 hours. Then snap or chisel off the ports and, if you want a flat wall, grind or sand the paste ridge. Photograph the repair and write the date on the wall beside it; future-you will want the record.
Sealing the crack stops the symptom, not the source. If water was coming through, fix the outside too: extend downspouts 6 feet from the wall and regrade soil to fall an inch per foot away from the house. A sealed crack under constant hydrostatic pressure will eventually leak somewhere new.
Inject the crack from the bottom up, and let the epoxy tell you when each section is full.
Keep an eye on it
Draw a pencil line across the repaired crack and check it seasonally; movement that cracks the epoxy line means the wall is still moving and deserves professional eyes. Most shrinkage-crack injections are one-and-done — the epoxy is stronger than the surrounding concrete, so the wall would sooner crack somewhere new than reopen the weld.
Keep the momentum going
All articles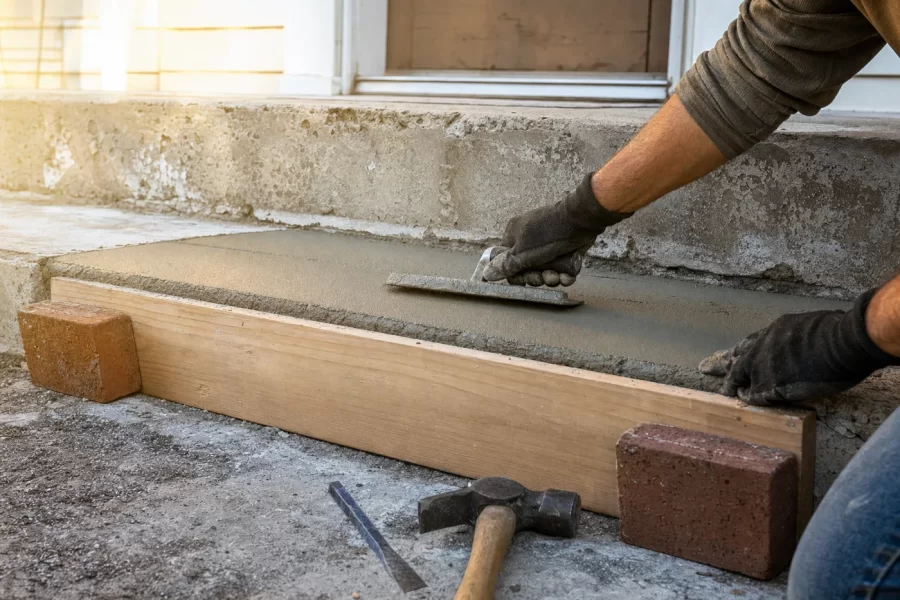
Repair Crumbling Concrete Steps With Resurfacer and Simple Forms
A step-by-step guide to rebuilding chipped concrete step edges and resurfacing worn treads: chiseling to sound concrete, edge forms, and finishing.
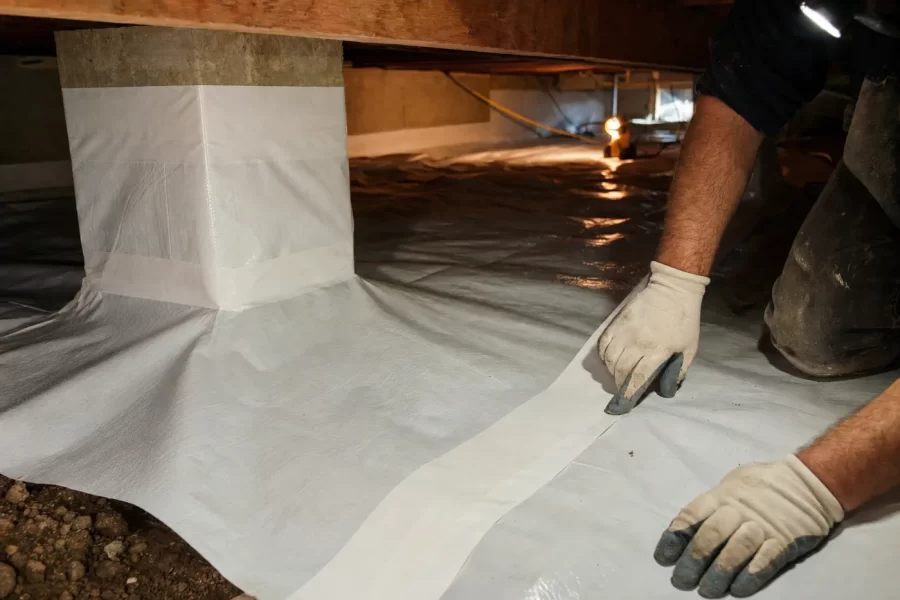
Install a Crawl Space Vapor Barrier That Actually Seals
A step-by-step guide to lining a crawl space with a sealed vapor barrier: 6-mil versus 12-mil poly, seam overlap and taping, and wrapping piers and walls.

How to Paint Kitchen Cabinets Like a Pro
A step-by-step DIY guide to painting kitchen cabinets: degreasing, sanding, priming, and roller technique for a factory-smooth finish on a weekend budget.