Repair Crumbling Concrete Steps With Resurfacer and Simple Forms
Crumbling front steps say nobody's minding the house — and every freeze makes them worse. A bag of resurfacer and two scrap boards buy them another decade.
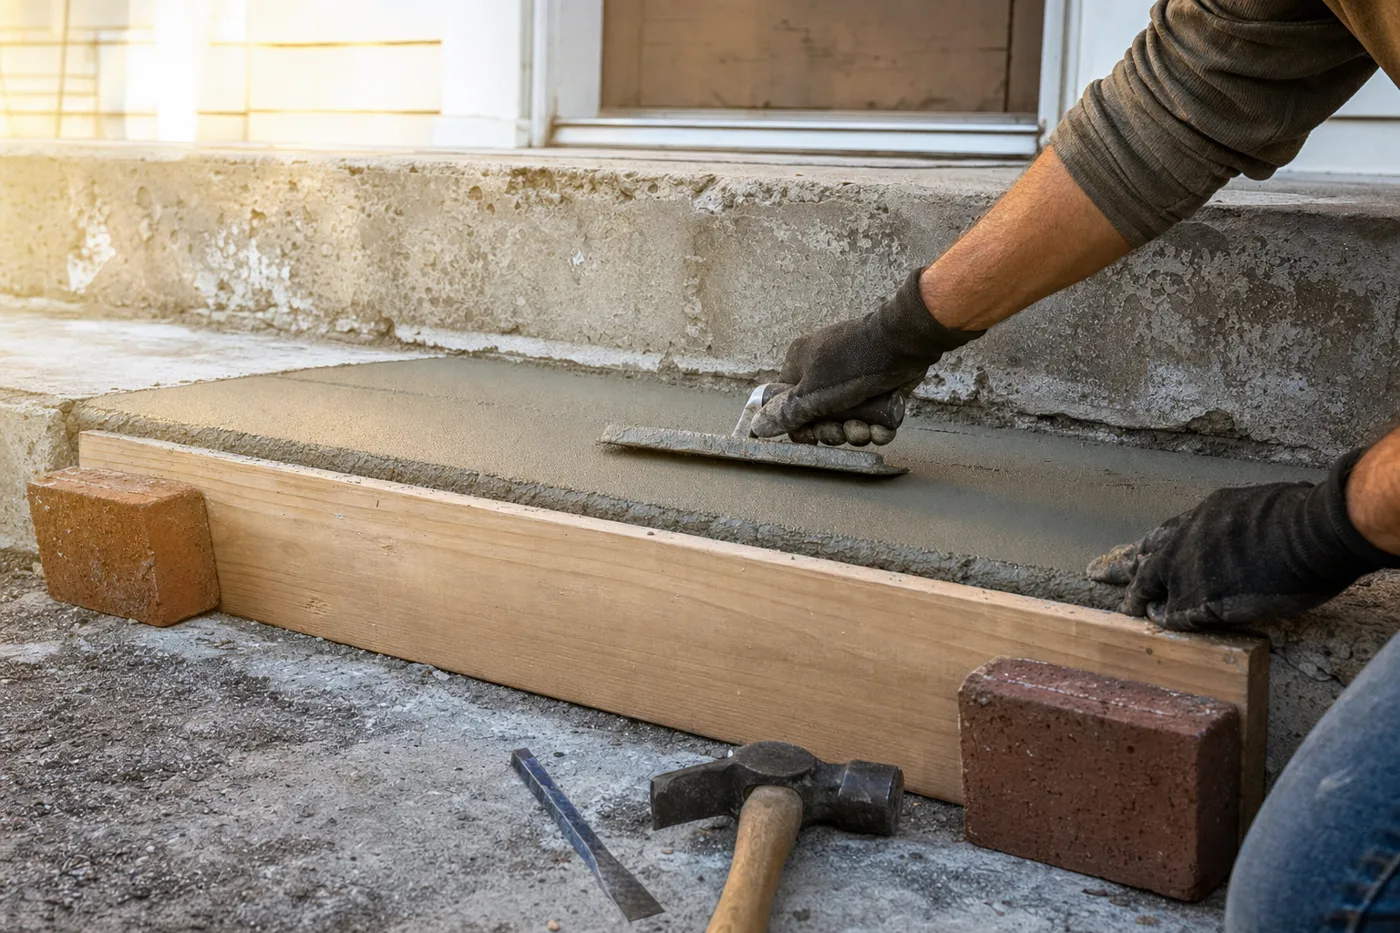
Concrete steps fail from the edges in. Water gets into a hairline chip, freezes, pops a bigger chip, and within a few winters the crisp nosing is a rounded crumble that catches toes and embarrasses the whole entry. The repair is honest work with cheap materials — the entire trick is chiseling away everything loose, giving new material something clean to grab, and holding the edge with a form while it cures.
Surface repair or structural problem?
Resurfacer and patch compound fix spalled surfaces, broken nosings, and worn treads. They do not fix steps that have settled away from the house, cracked clean through, or hollowed out underneath — tap the treads with a hammer and listen for the drummy sound of a void. Those call for mudjacking or replacement, and no coating will hold on a step that’s still moving. If the surface is merely ugly and the structure is sound, proceed.
Chisel to sound concrete
Put on the safety glasses first — this step throws shrapnel. Work the hammer and cold chisel across every crumbling area until the chisel rings instead of thuds and nothing more flakes off. Undercut edges slightly so the patch locks in like a dovetail. Then scrub or pressure-wash the whole staircase; patch material bonds to clean concrete and nothing else.
Form the broken edges
Stand a 2×6 against the riser face, its top edge exactly flush with the finished tread height, and brace it with bricks or blocks — no fasteners needed. Coat the board face with a little vegetable oil so it releases. This board is what turns a blob of patch into a crisp, factory-looking step nosing.
Bond, then fill deep repairs
Brush concrete bonding adhesive onto the damp (not wet) repair area and let it get tacky. Trowel vinyl-reinforced patch compound into deep breaks in lifts of no more than half an inch, packing each lift hard against the form. Deep repairs in one thick pour shrink and crack — patience here is structural.
Resurface the treads
Mix resurfacer to a pancake-batter consistency, dampen the tread, and pull a quarter-inch coat across it with a steel trowel. Broom-finish lightly front to back once it loses its wet sheen — a slick trowel finish is an ice-skating rink in November. Work one step at a time; resurfacer sets fast in the sun.
Cure it damp, strip the forms
Mist the repairs and cover with plastic sheeting for 24 hours; concrete gains strength from staying moist, not from drying out. Strip the forms the next day, ease any sharp edge with a rubbing stone, and keep foot traffic off for another day.
Don’t do this work below 50°F or when frost is coming within 48 hours — cold weather stops cement from curing and the repair powders off by spring. Hot direct sun is nearly as bad; it flash-dries the surface. Aim for a mild, overcast stretch.
The chisel decides whether the patch lasts ten years or one winter.
Keep the water out
After 28 days of full cure, apply a penetrating siloxane sealer and refresh it every three or four years. Sealed steps shed the water that freeze-thaw needs, so the repair you made this weekend becomes the last one for a long while. Salt sparingly in winter — sand grips just as well and doesn’t eat concrete.
Keep the momentum going
All articles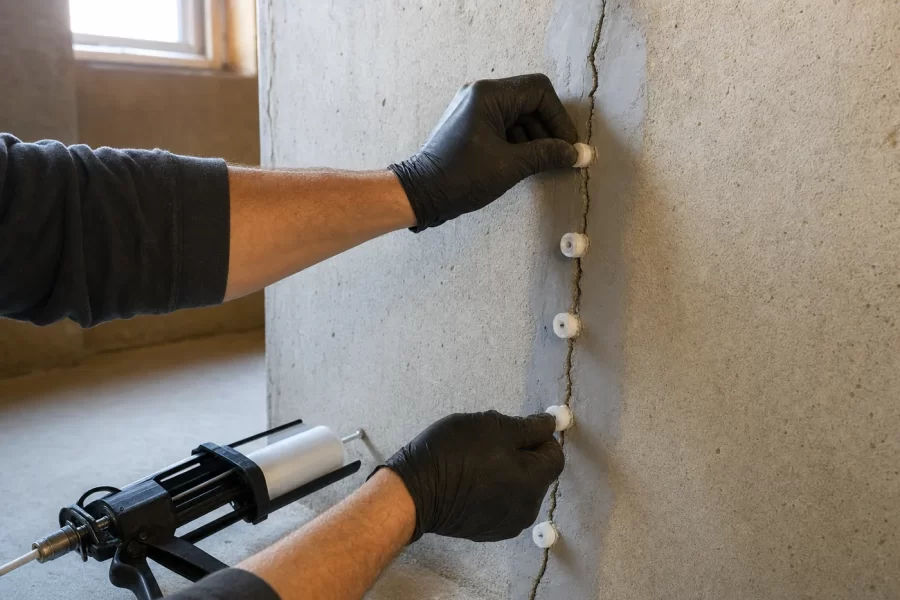
Seal Hairline Foundation Cracks With Epoxy Injection
A step-by-step guide to injecting epoxy into hairline foundation cracks: ports, surface paste, bottom-up injection, and the cracks that mean call a pro.
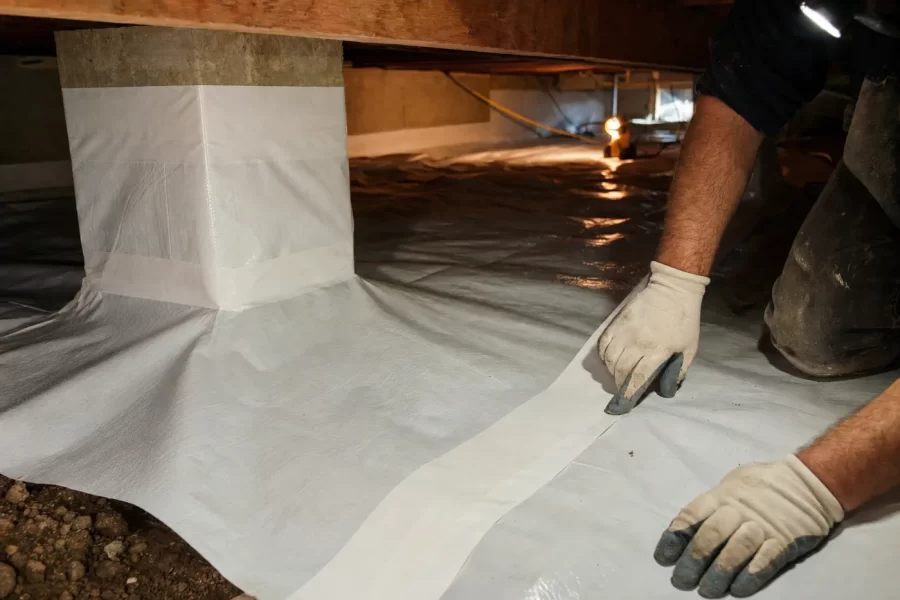
Install a Crawl Space Vapor Barrier That Actually Seals
A step-by-step guide to lining a crawl space with a sealed vapor barrier: 6-mil versus 12-mil poly, seam overlap and taping, and wrapping piers and walls.

How to Paint Kitchen Cabinets Like a Pro
A step-by-step DIY guide to painting kitchen cabinets: degreasing, sanding, priming, and roller technique for a factory-smooth finish on a weekend budget.