Build a Sturdy Entry Ramp With the Right Slope
A ramp is slope math wearing lumber: one foot of run for every inch of rise, or it isn't safe to use. Get that number right and the rest is a deck build.
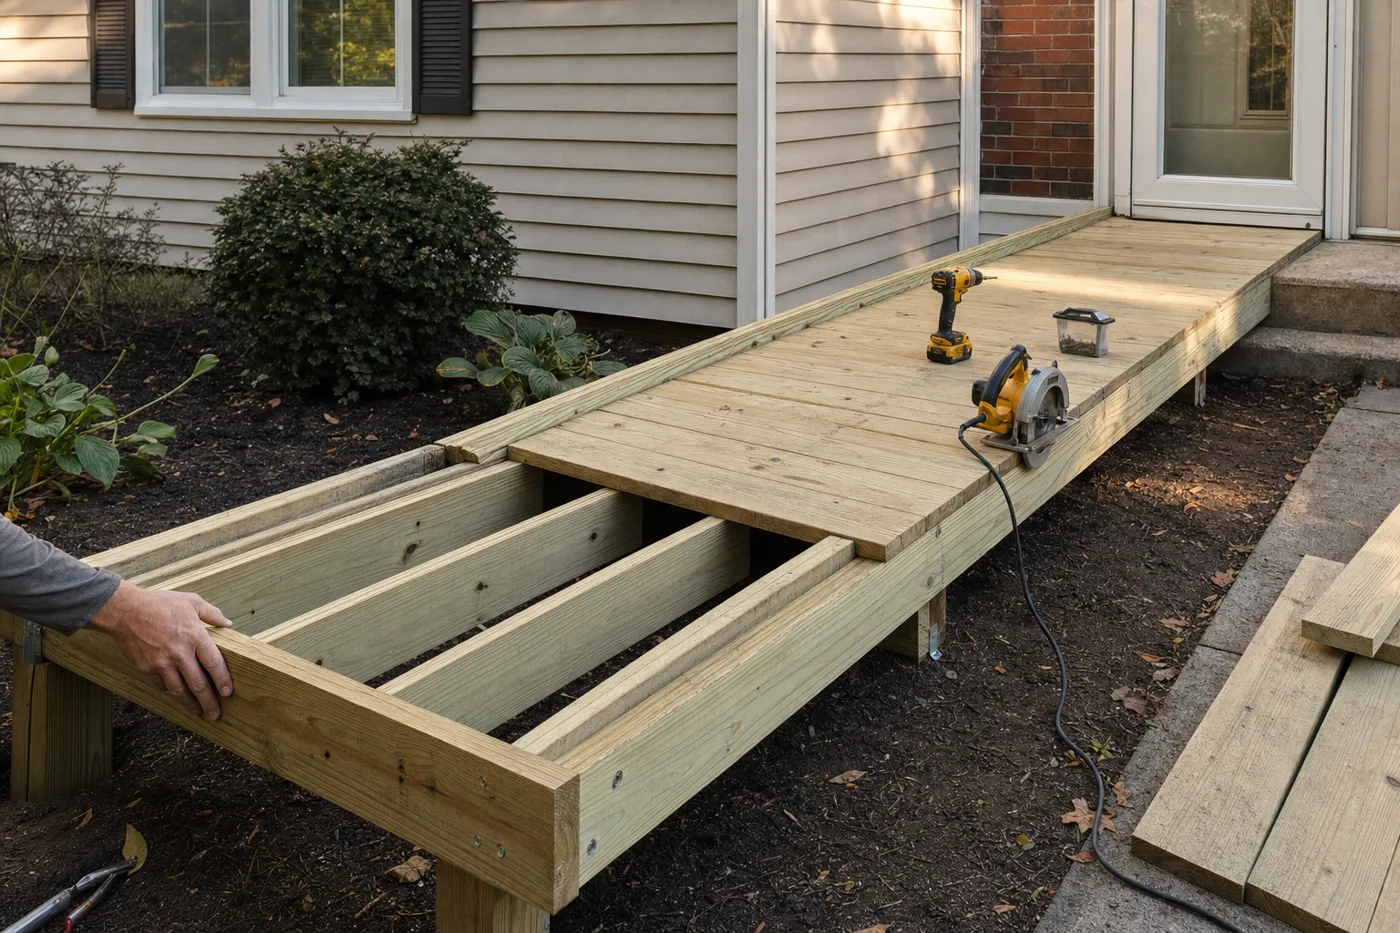
An entry ramp is the project where the design math is non-negotiable, because the user can’t compensate for your shortcuts. The standard is 1:12 — twelve inches of horizontal run for every inch of vertical rise. A 24-inch rise means 24 feet of ramp, full stop. Steeper ramps stall manual wheelchairs on the way up and run away on the way down; this is the one dimension in DIY where ‘close enough’ hurts someone. Once the slope is honest, the rest is careful deck carpentry.
Design on paper first
Measure the rise from grade to the door threshold. Multiply by 12 for run, then fit that run to the yard: a straight shot, an L with a flat switchback platform, or a U wrapped along the house. Every turn needs a level landing at least 5×5 feet, plus one at the door. Ramp width: 36 inches clear minimum between rails. Most jurisdictions want a permit for this — get it; the inspector is a free second set of eyes on something safety-critical.
Set footings below frost
Lay out post locations with string lines, then dig footings below your local frost line — 12 inches deep in the South, 42-plus in the North. Pour concrete, set 4×4 pressure-treated posts or post bases, and let everything cure. A ramp on surface blocks heaves out of level the first winter and never recovers.
Frame the slope with math, not eyeball
Mark each post height by working down from the threshold: drop one inch per foot of distance, minus decking thickness. Verify with a string line before cutting. Hang doubled 2×6 stringers on the posts, then joists on hangers at 12 inches on center — tighter than a deck, because point loads from wheels concentrate weight.
Deck it for grip, not looks
Run decking perpendicular to travel with gaps of a quarter inch or less — wider gaps grab front casters and cane tips. Grooved composite or grit-strip-augmented wood keeps traction when wet. At the bottom, feather onto the walk with a beveled transition no taller than a quarter inch.
Add rails and edge curbs
Handrails on both sides, gripable stock between 34 and 38 inches above the ramp surface, continuous past the top and bottom by a foot. Add a 2×4 curb at deck level along each edge so wheels can’t slip off. Rail posts bolt through the framing with structural hardware — a person’s full weight will yank on these.
Test with the real user and the worst weather
Roll it, walk it, wet it down and roll it again. Check the door landing lets the user stop, unlock, and swing the door without rolling backward. Any spot that feels sketchy in a test run is dangerous in a rainstorm — fix it now.
Never attach the ramp’s top landing to the house with nails or a ledger over siding without flashing. Bolt to framing, flash the ledger like a deck, or build the landing freestanding. And a rise over 30 inches, questionable soil, or a required ledger over brick veneer is the honest cue to bring in a pro or a certified aging-in-place contractor.
One inch of rise, one foot of ramp. Every shortcut in that ratio is paid back on the way down.
Keep it safe year-round
Re-torque structural bolts and rail posts each spring, renew grit strips as they wear, and keep the surface swept — wet leaves are the ramp’s ice. Built to the math, on real footings, a treated-lumber ramp serves reliably for 15 years and makes the front door everyone’s front door.
Keep the momentum going
All articles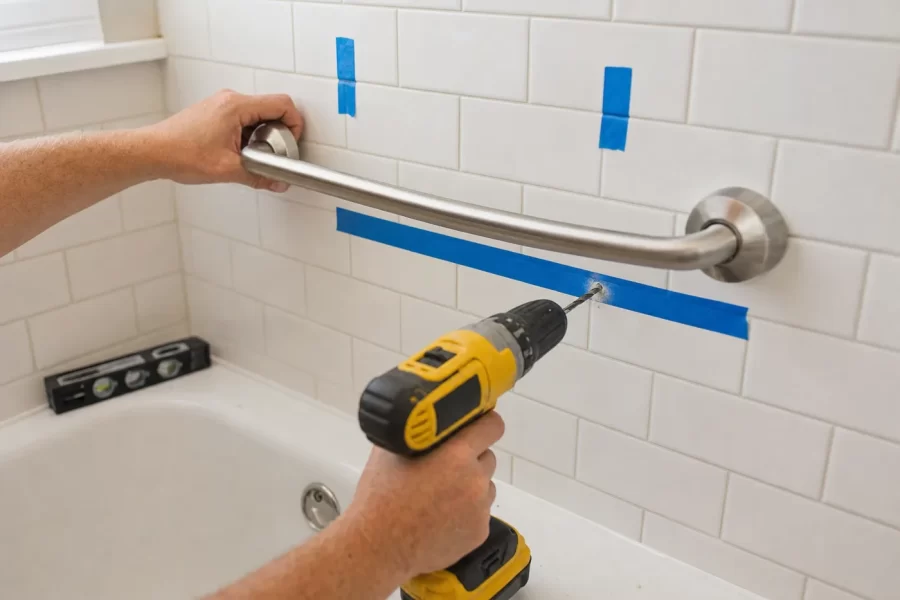
Install Grab Bars That Actually Hold 250 Pounds
A safety-first guide to mounting bathroom grab bars: finding studs behind tile, drilling porcelain without cracking it, rated anchors, and placement heights that work.
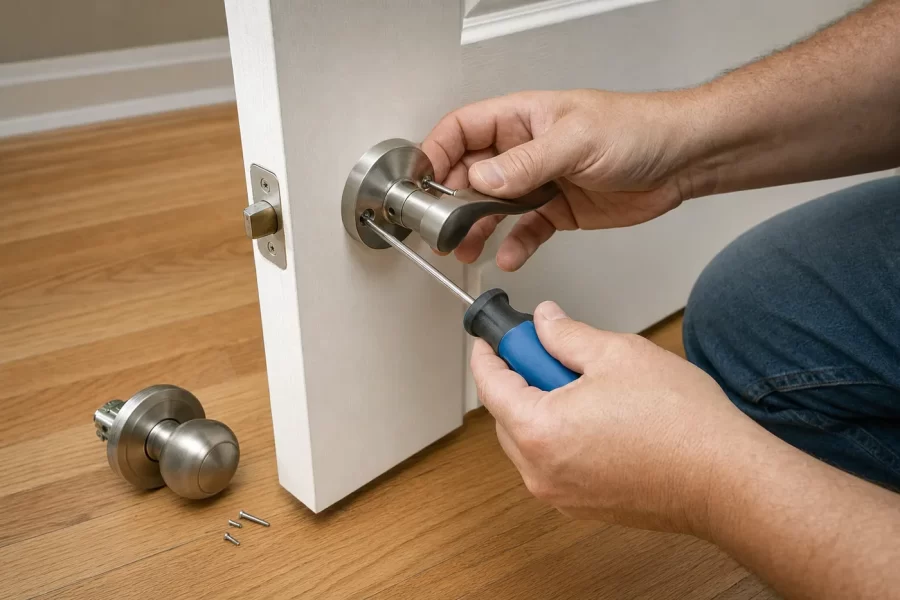
Ten One-Hour Universal Design Swaps Anyone Can Make
A practical guide to ten fast universal design upgrades: lever handles, rocker switches, brighter stair lighting, low thresholds, and faucets everyone can use.

How to Paint Kitchen Cabinets Like a Pro
A step-by-step DIY guide to painting kitchen cabinets: degreasing, sanding, priming, and roller technique for a factory-smooth finish on a weekend budget.