Build a Kitchen Island From Stock Base Cabinets
A custom island quote starts around $3,000. Two stock base cabinets, a platform of 2x4 cleats, and a weekend get you the same footprint for a third of that.
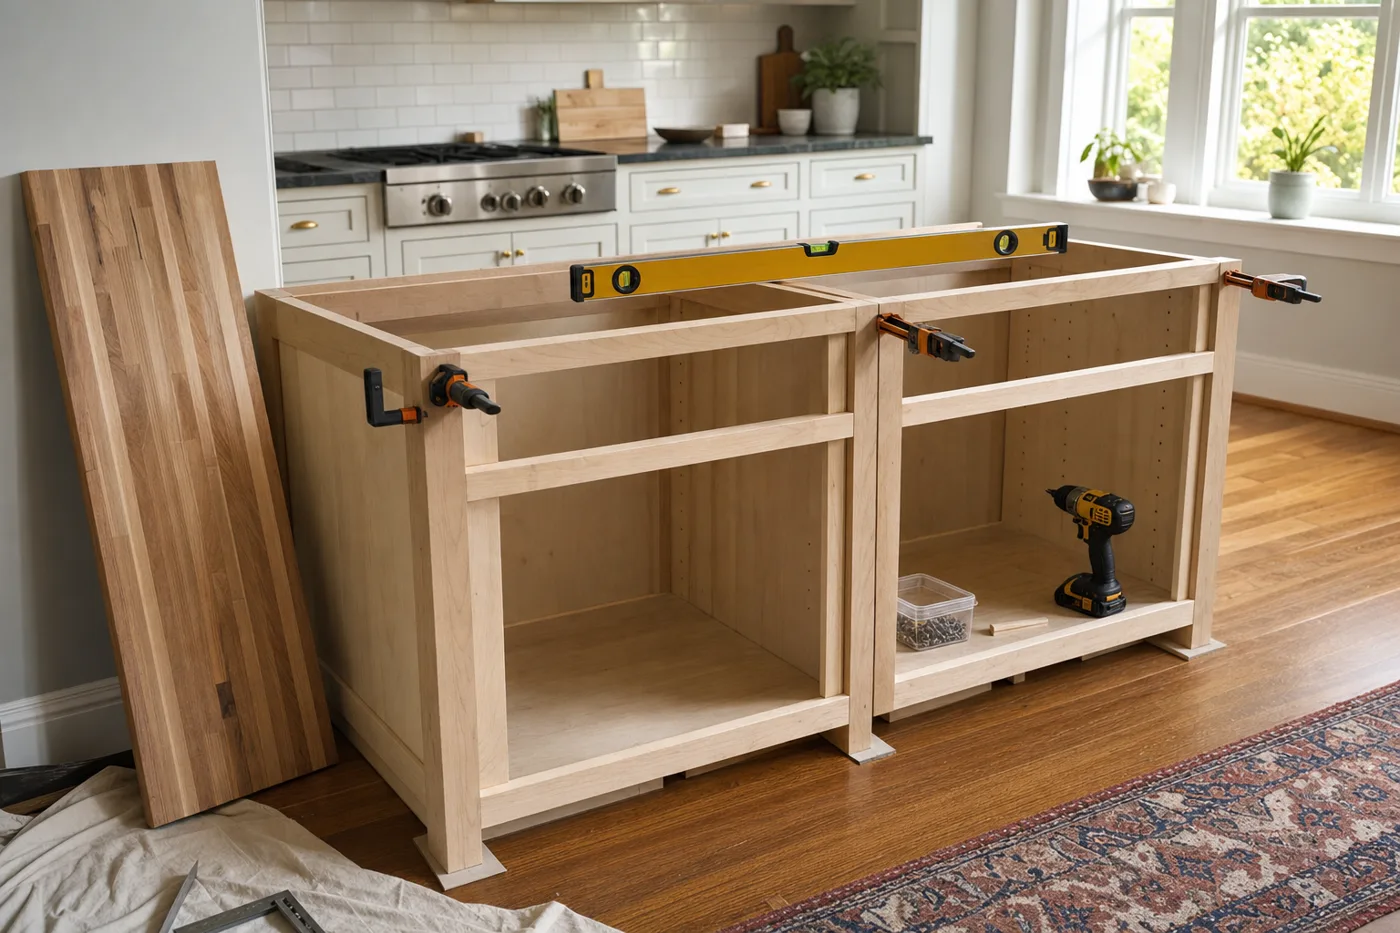
An island is the most-requested feature in kitchen remodels, and the industry’s dirty secret is that most of them are ordinary base cabinets wearing nice panels. Buy two stock cabinets, anchor them back-to-back or side-by-side, skin the exposed faces, and top them with butcher block, and you have built the same thing a shop would charge thousands for. The build is straightforward carpentry — success is decided before you buy anything, by the layout.
Clearance math comes first
An island needs 36 inches of walkway on every working side, and 42 inches on the side facing the range or dishwasher — a door that can’t open fully will make you regret the whole project daily. Mock the footprint on the floor with painter’s tape, including a 12-inch countertop overhang if you want seating, and live with the tape for two days before committing. If the tape footprint pinches any path, shrink the island, not the walkway.
Build the anchor platform
Cabinets can’t just sit on the floor — an island gets leaned on, bumped, and shoved. Cut 2×4 cleats to form a rectangle 1 inch smaller than the cabinet footprint on all sides, so the cabinet base slips over it like a sleeve. Screw the cleats to the subfloor with 2.5-inch screws; on a slab, use a hammer drill and concrete anchors. Level the cleats with shims now, while it’s easy.
Join the cabinets into one box
Set the cabinets on the platform, clamp the face frames flush, and check the tops with a 4-foot level in both directions. Join the boxes with 1.25-inch cabinet screws through the frame stiles — two clamps per joint, pre-drilled, so the frames pull tight without splitting. Then screw down through the cabinet base rails into the floor cleats.
Skin the exposed sides and back
Stock cabinets have unfinished backs and sides that were never meant to be seen. Cut 3/4-inch finished panels to cover the back and both ends, attach with construction adhesive plus a few brads, and wrap the base with toe-kick trim. This skin step is 90% of what makes the island read as furniture instead of boxes.
Top it, with support for the overhang
A seating overhang up to 10 inches in 1.5-inch butcher block generally needs no brackets; past that, add steel countertop brackets every 24 inches, recessed into the cabinet back so knees never find them. Fasten the top from below through the cabinet corner blocks with screws in slotted holes — wood tops move seasonally and need room to do it.
Finish the details that sell it
Caulk the panel seams, fill brad holes, and paint or seal everything as one piece. Oil a butcher block top with food-safe mineral oil until it stops drinking it — usually three coats a day apart.
Most electrical codes require a receptacle on any island with a countertop 24 inches or longer, and that circuit is not a DIY add-on for most people. Get an electrician’s hour into the budget before the cabinets are anchored — running the wire is far easier while the floor cleats are still exposed.
Nobody who leans on a well-anchored island ever asks what the cabinets cost.
Living with it
Re-oil a wood top monthly for the first year, then quarterly. Check the floor anchor screws once after six months of use — a settled island can develop a tiny rock that one turn of a screwdriver cures. And keep the leftover panel offcuts: they are exact color matches for the day a chair gouges the skin.
Keep the momentum going
All articles
How to Paint Kitchen Cabinets Like a Pro
A step-by-step DIY guide to painting kitchen cabinets: degreasing, sanding, priming, and roller technique for a factory-smooth finish on a weekend budget.
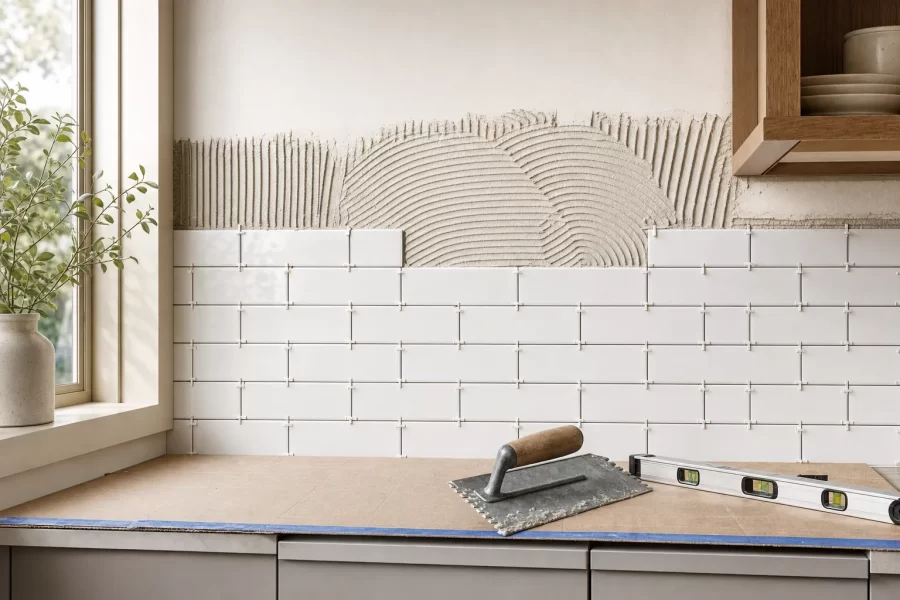
Tile a Subway Tile Backsplash in a Weekend
A weekend DIY guide to tiling a kitchen subway tile backsplash: layout, thinset, cutting, grouting, and caulking — with beginner-friendly techniques.
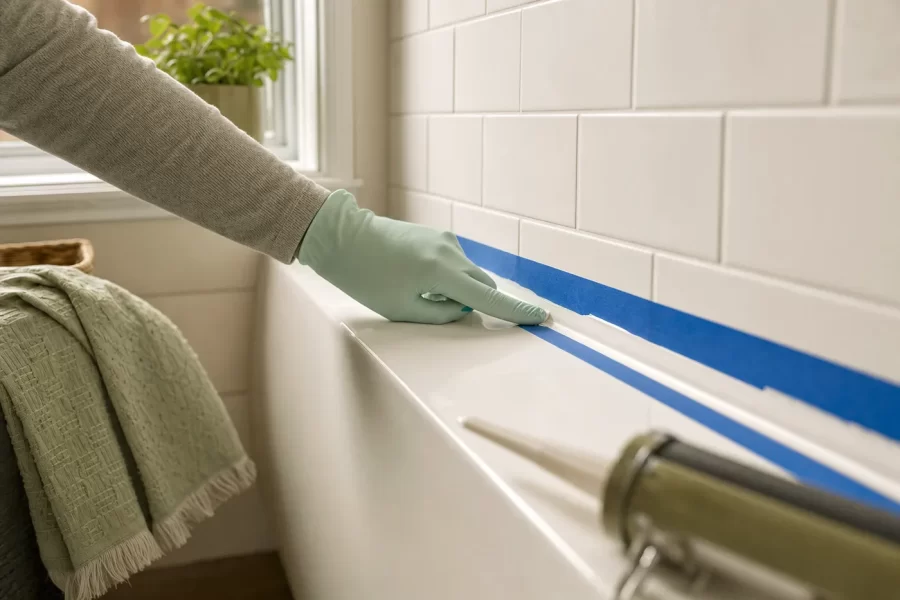
Re-Caulk a Shower So It Looks Factory-Fresh
A beginner's guide to removing failed shower caulk and laying a clean, mildew-resistant bead: removal, prep, taping, and tooling technique.