Install a Board-and-Batten Accent Wall That Looks Built-In
Board and batten is the highest-impact wall treatment per dollar in the house — about $150 of primed boards, if the layout math is right before the first cut.
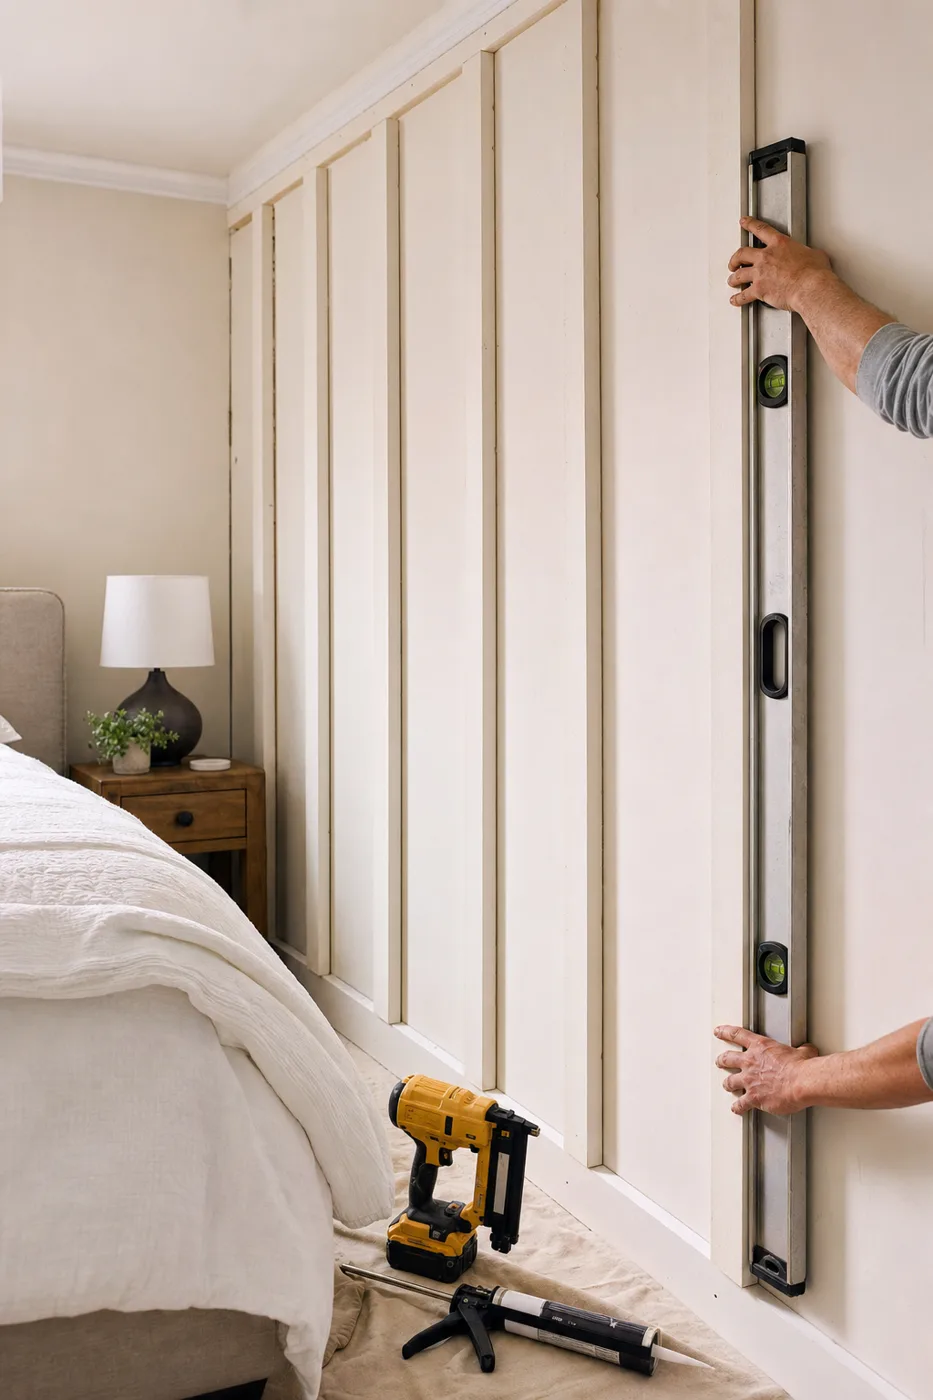
Board and batten reads as architecture, but it’s really arithmetic wearing a tool belt. The battens are just flat boards; what makes a wall look custom-built is spacing that lands perfectly even, edges that meet the wall with no shadow lines, and paint that turns twenty separate pieces into one solid assembly. All three are decided before the first nail: at the calculator, at the caulk gun, and at the paint can.
The layout math, once, on paper
Measure the wall width, subtract the total width of all battens, and divide the remainder by the number of spaces — spaces are always battens-minus-one plus two end conditions. For a 12-foot wall with 1×4 battens (3.5 inches actual), seven battens gives six spaces of about 20 inches, which sits nicely in the classic 16-to-24-inch range. Nudge the batten count until the spacing lands clean, and let outlets, windows, and corners veto any layout that centers a batten on top of them.
Prep and paint the field first
If the wall has orange-peel texture, decide now: skim-coat flat for a true built-in look, or embrace the texture in the spaces. Either way, roll the wall with your final color before the battens go up — cutting in twenty inside corners later is the tedium you’re buying your way out of.
Set the horizontal rails
Run the baseboard-top rail and the top rail level, not parallel to the floor or ceiling — neither is straight. Adhesive on the back, 2-inch brads angled into studs where they cross. A classic height is 60 to 66 inches to a cap rail, or floor-to-ceiling for a full-height modern grid.
Install battens with adhesive plus brads
Cut each batten to its exact spot — walls taper, so measure every one. Back each with a zigzag of construction adhesive, set it plumb with the level, and pin with brads. The adhesive does the holding; the brads are just clamps. Use a spacer block cut to your spacing so you stop measuring and start repeating.
Fill, then caulk like it’s the whole job
Spackle every nail hole and sand flush. Then caulk every long edge where batten meets wall — that shadow line is what screams DIY from across the room. Cut the tip small, run steady beads, and tool with a damp finger. A big accent wall drinks two or three tubes; buy four.
Paint it as one piece
Prime any raw cuts, then brush and roll two coats of enamel over battens and field together. The moment the sheen unifies, the wall stops being boards on drywall and becomes millwork. Satin hides wavy walls; semi-gloss rewards flat ones.
MDF battens are cheap, straight, and paint beautifully, but they swell if they wick water. In bathrooms, laundries, or anywhere near a splash zone, spend up for poplar or PVC boards and prime every cut end before it goes on the wall.
Nobody sees the nails or the math. Everybody sees the caulk lines.
After the reveal
Enamel cures for about a week — go easy on furniture contact until then. Keep a labeled jar of touch-up paint; battens take chair bumps for the team. The math file in your notes app will get reused, because one board-and-batten wall has a way of multiplying.
Keep the momentum going
All articles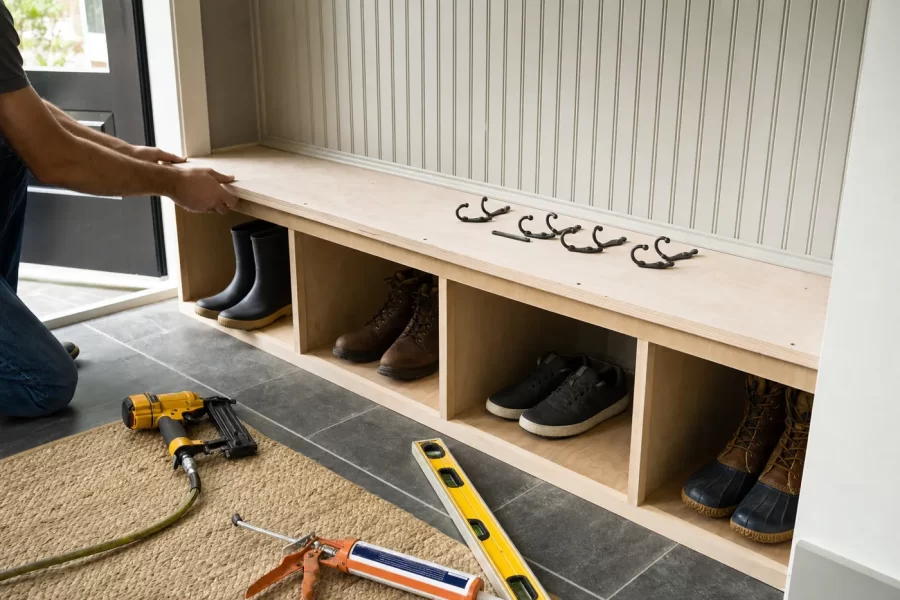
Build a Mudroom Bench With Hooks and Cubbies
A weekend build for a mudroom drop zone: a sturdy plywood bench with shoe cubbies, a beadboard hook wall, and a shelf — anchored to studs and sized to real coats.
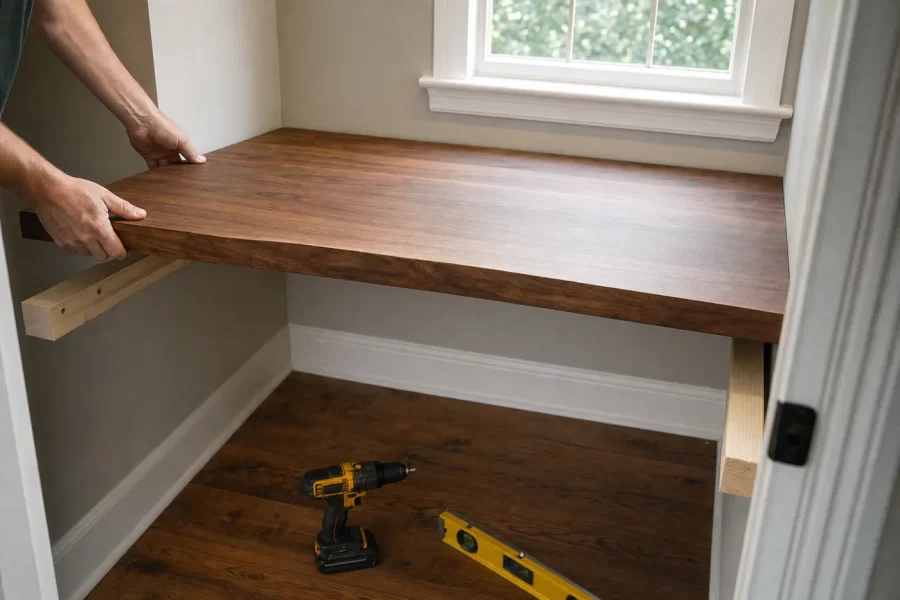
Build a Wall-to-Wall Home Office Desk on Cleats
A step-by-step guide to a built-in desk spanning two walls: level cleats into studs, a solid-core door as the top, scribed edges, and hidden cable management.

How to Paint Kitchen Cabinets Like a Pro
A step-by-step DIY guide to painting kitchen cabinets: degreasing, sanding, priming, and roller technique for a factory-smooth finish on a weekend budget.