Dry Out a Damp Basement in the Right Order
Most damp basements aren't a foundation problem — they're a roof-water problem wearing a disguise. Fix the cheap stuff outside before you spend a dime inside.
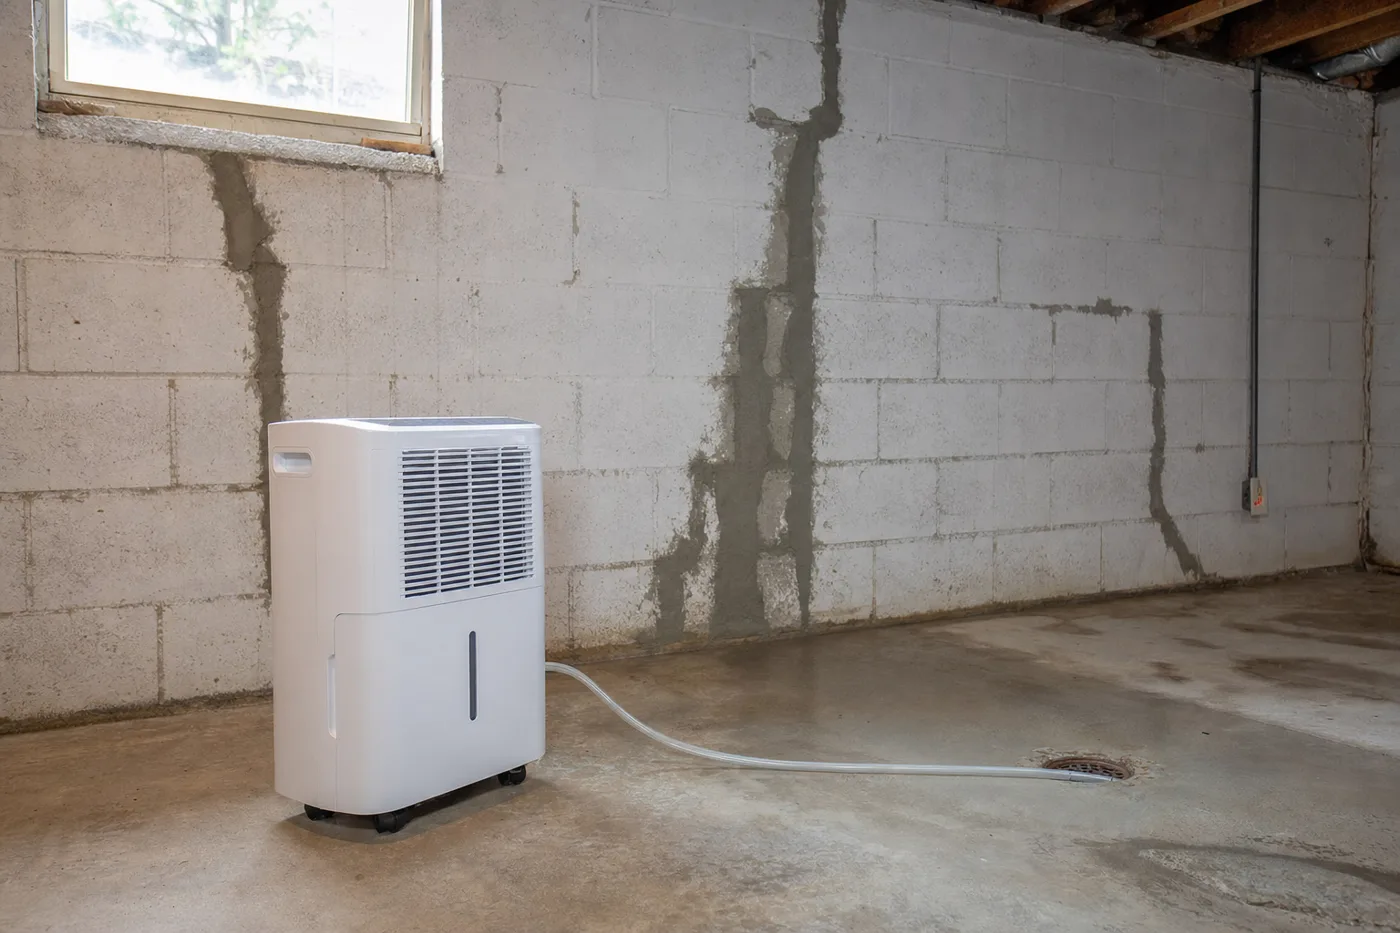
A damp basement announces itself quietly — a musty smell, white mineral bloom on the block, cardboard boxes that feel cool and soft. The instinct is to buy waterproofing paint and a dehumidifier, but that treats the symptom while thousands of gallons of roof water keep landing next to the foundation every year. The fix is a sequence, cheapest and most effective steps first, and most homes never need to get past step two.
Diagnose before you spend
Tape a square of plastic sheeting to the wall for 48 hours. Wet on the wall side means water is coming through the foundation — an outside-water problem. Wet on the room side means humid indoor air is condensing on cool concrete — an air problem the dehumidifier owns. Many basements have both, which is why the order below works: outside water first, then the air.
Send the roof water somewhere else
Clean the gutters, then run a hose into them and watch each downspout. A single downspout can dump 600 gallons in one storm right against your footing. Add extensions that carry discharge at least 4 to 6 feet out, or pipe it to daylight. This one afternoon fixes more wet basements than any product sold in a bucket.
Regrade the first six feet
Soil should fall 6 inches over the first 10 feet away from the house. Years of settling reverse that slope, turning flowerbeds into moats. Add and rake compactable fill against the foundation — keeping it 6 inches below siding — and slope it away. Skip mulch volcanoes and plastic edging that trap water where you least want it.
Patch cracks and the cove joint
Inside, wire-brush any visible cracks and the cove joint where wall meets floor, vacuum the dust, and pack hydraulic cement into anything wider than a hairline. It sets in minutes and expands as it cures, locking into the crack. Hairline shrinkage cracks are normal; a crack you can fit a nickel into, or one that’s wider at the top, deserves a structural engineer’s eyeball before cosmetics.
Seal the masonry
With cracks patched and walls dry, roll or brush masonry waterproofing sealer into bare block or poured concrete — two coats, worked into the pores, at the coverage rate on the pail rather than stretched thin. Sealer resists damp wicking through the wall face; it is the finishing layer of this system, not a substitute for the three steps before it.
Size the dehumidifier, then automate it
A 50-pint unit handles most basements up to about 1,500 square feet. Set it to 50% relative humidity, run the drain hose to a floor drain or condensate pump so you never babysit a bucket, and check your hygrometer a week later. Below 60% humidity, mold loses; below 50%, the musty smell packs up and leaves.
Standing water, water that arrives during every rain despite good gutters and grading, or a floor crack that heaves is beyond this playbook. That’s when interior drain tile and a sump system earn their price — get three quotes and ask each contractor what the water table is doing, not just what their system costs.
The cheapest gallon of water to manage is the one that never reaches the foundation.
Keeping it dry
Put gutter cleaning on the calendar for spring and fall, walk the grading every year after the ground thaws, and let the hygrometer be the referee. If humidity holds at 50% through a wet spring, the basement has graduated — and everything you store or build down there gets to stay boring.
Keep the momentum going
All articles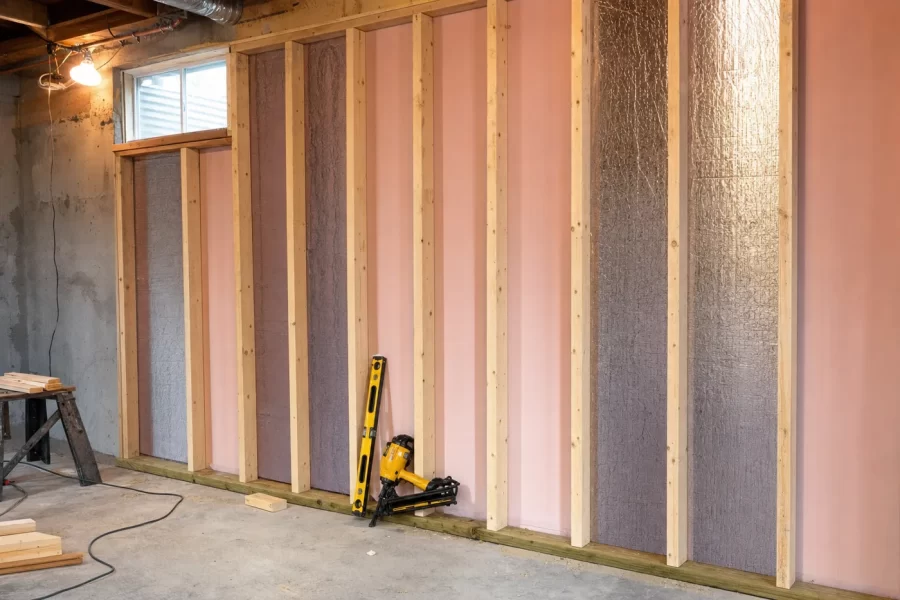
Frame and Insulate Basement Walls That Stay Dry
A step-by-step guide to framing basement walls the moisture-smart way: rigid foam against concrete, treated bottom plates, and a straight stud wall.

Build a Basement Home Theater on a Real Budget
A step-by-step guide to building a basement home theater: screen wall layout, projector throw, wiring runs, light control, and sound treatment.

How to Paint Kitchen Cabinets Like a Pro
A step-by-step DIY guide to painting kitchen cabinets: degreasing, sanding, priming, and roller technique for a factory-smooth finish on a weekend budget.