Build a Basement Home Theater on a Real Budget
A dedicated theater sounds like a luxury build, but a basement already has the hard parts: darkness, isolation, and a rectangle. The rest is planning and wire.
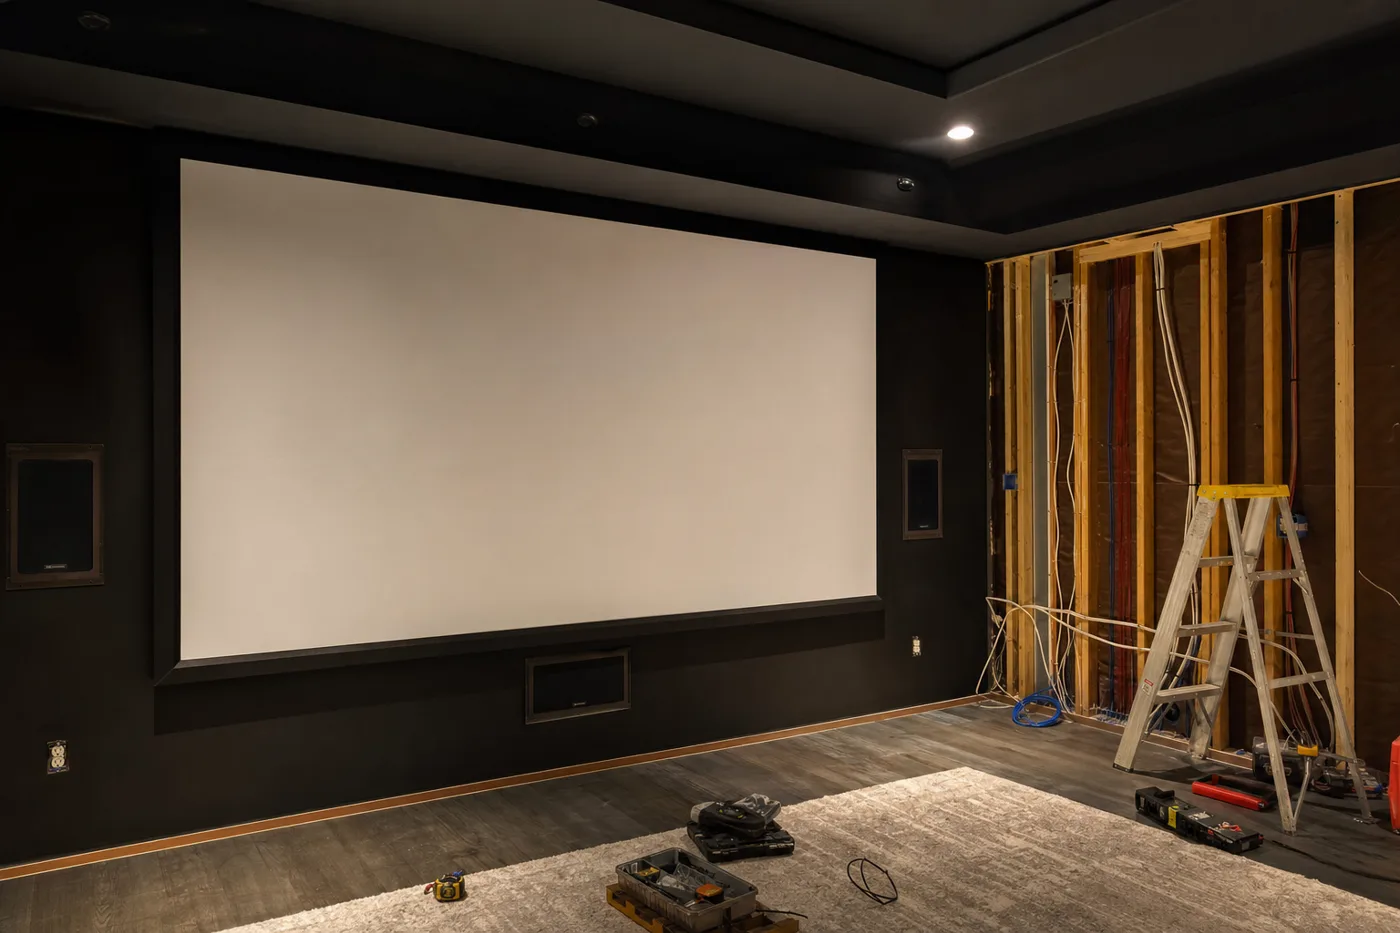
The difference between a TV in the basement and a home theater is not the price of the projector — it’s whether the room was designed around sitting positions, sight lines, and darkness. Basements are the best theater candidates in the house: no sun to fight, concrete mass to contain bass, and a footprint nobody else is competing for. Plan the room on paper first and even a modest budget produces a space that embarrasses the local cineplex.
The seating distance decides everything
Start where the couch goes, not where the screen goes. A comfortable rule: screen diagonal of about half the seating distance for movies — sit 10 feet back and a 100- to 120-inch image is right at home. That number then dictates projector throw distance, mounting height, and where every wire has to end up. Sketch the room to scale, mark seats, screen, projector, and equipment shelf, and only then pick up a drill.
Build the screen wall dark and dead flat
The screen wall gets no windows, no doors, and no gloss. Skim-coat or patch it smooth, then paint the wall and ideally the ceiling’s first few feet in flat, dark paint — reflected light is the enemy of contrast, and a light ceiling bounces the projector’s own image back onto itself. A fixed-frame screen beats paint alone; center it with the image middle near seated eye height, roughly 40 inches off the floor.
Run the wires like walls will close forever
Pull in-wall rated HDMI from the equipment shelf to the projector position, speaker cable to all surround locations, and — the veteran move — one run of 1.5-inch conduit with a pull string alongside everything. Formats change every five years; conduit means the next cable takes ten minutes instead of a drywall patch. Label both ends of every run.
Kill every light leak
Blackout cellular shades on any window, weatherstripping and a sweep on the door, and electrical tape over every status LED on the gear. Then add controlled light back: dimmable sconces or LED strips behind the seats so nobody breaks an ankle, on a dimmer you can reach from the couch.
Treat the first reflections, not the whole room
A bare rectangle sounds like a racquetball court. Sit in the main seat while a helper slides a mirror along each side wall; wherever you can see a speaker in the mirror, hang an acoustic panel. Four to six 2-by-4-foot panels at those first-reflection points, plus a rug, deliver 80% of a full treatment for a tenth of the cost.
Calibrate before you upgrade
Run the receiver’s built-in room calibration, set the projector to its cinema picture mode, and watch a familiar movie before spending another dollar. Most first-night complaints — thin bass, harsh brightness, muffled dialogue — are settings, seating position, or an untreated wall, not gear.
Ordinary HDMI and lamp cord are not legal inside walls — cable must be in-wall rated (CL2 or CL3), and any new outlets for the projector or equipment rack are electrician territory unless you genuinely know code. Fire inspectors read wire jackets; so do home inspectors at sale time.
Great theaters are built out of darkness and geometry. The projector is just the last thing you buy.
Upgrade path
Live with the room for a month, then upgrade the one thing that bothers you most — usually a subwoofer or seating. Because the conduit is in the wall and the layout was built from the seats outward, every future upgrade is a swap, not a remodel.
Keep the momentum going
All articles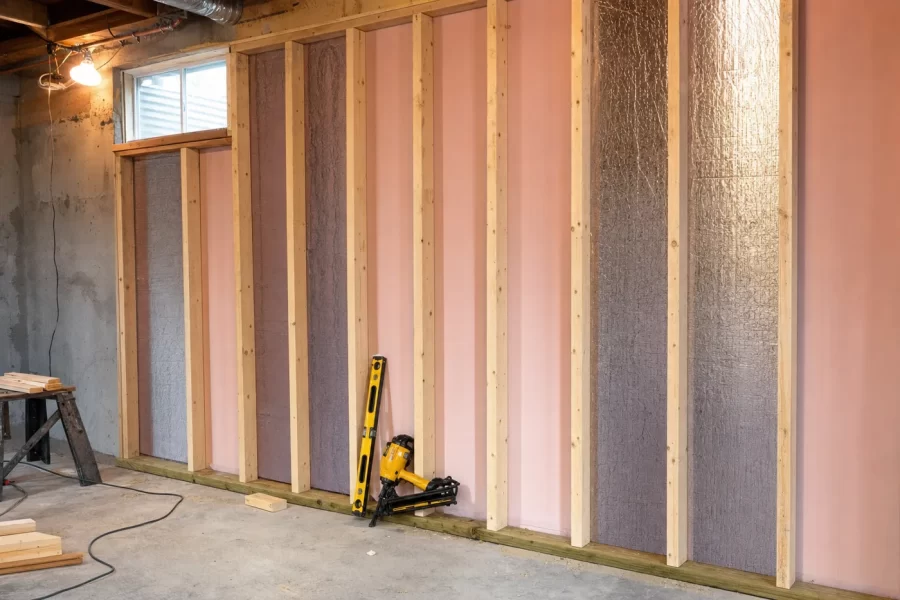
Frame and Insulate Basement Walls That Stay Dry
A step-by-step guide to framing basement walls the moisture-smart way: rigid foam against concrete, treated bottom plates, and a straight stud wall.
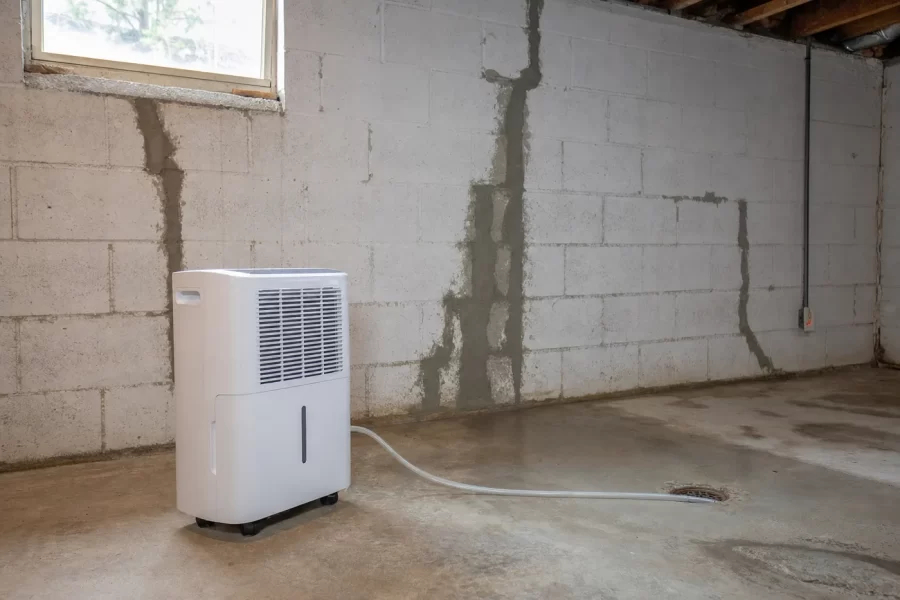
Dry Out a Damp Basement in the Right Order
A step-by-step guide to drying a damp basement: gutters and grading first, then crack sealing, masonry sealer, and a properly sized dehumidifier.

How to Paint Kitchen Cabinets Like a Pro
A step-by-step DIY guide to painting kitchen cabinets: degreasing, sanding, priming, and roller technique for a factory-smooth finish on a weekend budget.