Frame and Insulate Basement Walls That Stay Dry
Basements don't forgive framing mistakes — they hide them behind drywall until the smell arrives. Foam first, treated lumber down low, and a wall that never touches concrete.
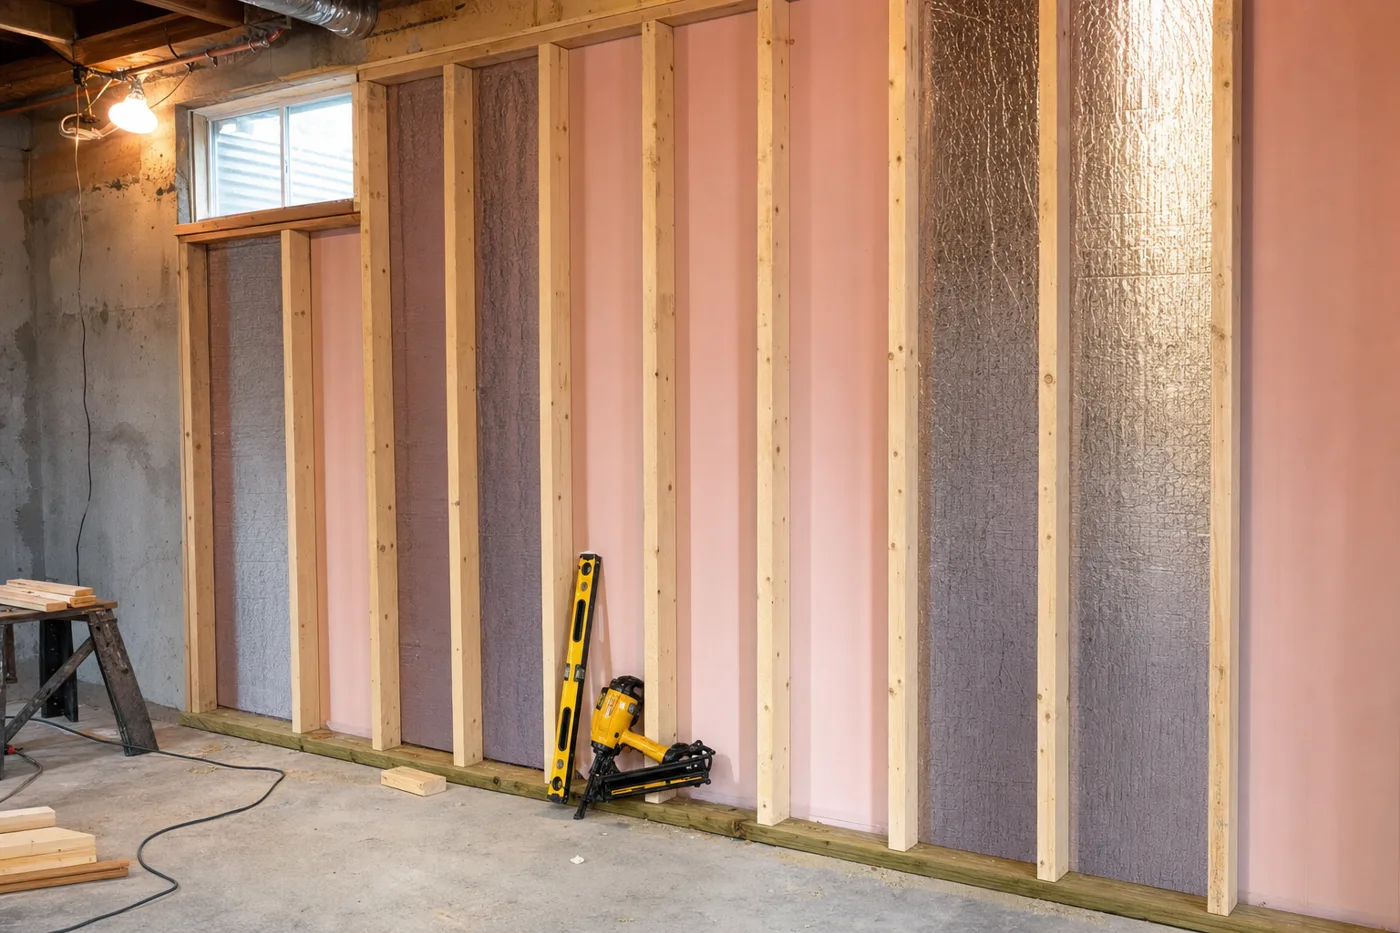
More finished basements are ruined by framing shortcuts than by floods. Concrete is never fully dry — it wicks ground moisture year-round and exhales it into whatever touches it. The moisture-smart assembly is settled science: rigid foam sealed directly against the concrete, a pressure-treated bottom plate, and a stud wall that stands proud of the foundation without touching it. Get that sandwich right and the drywall above it stays boring for decades.
Prove the wall is ready
Tape a 2-foot square of plastic sheeting to the bare concrete, edges sealed, and leave it for 48 hours. Condensation on the wall side means moisture is migrating through the foundation — fix gutters, grading, and cracks before framing, not after. And never frame with fiberglass batts directly against concrete: they soak up wall moisture like a sponge and grow the mold you were finishing the basement to escape.
Foam the concrete, seal every seam
Glue 1.5- to 2-inch rigid foam panels to the foundation with foam-compatible adhesive, tight to the wall, joints butted. Seal the perimeter and every seam with sealant or foam-rated tape. The goal is a continuous vapor and thermal break so warm room air can never reach cold concrete and condense — that condensation point is where basement mold is born.
Snap the wall line
Chalk a line on the slab a half inch clear of the foam face at the foundation’s proudest bulge — foundations bow, and the wall must be straight even where the concrete isn’t. That half-inch air gap is cheap insurance; concrete contact anywhere along the wall is a moisture bridge.
Treated plate down, sill seal under it
The bottom plate is pressure-treated lumber over a foam sill gasket, fastened to the slab with a powder-actuated nailer or concrete screws every 24 inches. Ordinary lumber on a slab violates code in most places and rots in all of them. The top plate is regular kiln-dried stock, nailed or screwed to the joists above.
Stud it at 16 on center
Lay out both plates together so studs land in identical positions, then cut studs individually — basement floor-to-joist heights wander by a half inch or more along one wall. Plumb each stud with a level, toenail or screw top and bottom, and add horizontal blocking wherever a TV mount or cabinet will land later. Frame around windows so the drywall can return neatly to the jamb.
Rough-ins before anything gets covered
Now — while every bay is open — run electrical boxes at consistent heights, pull any speaker or network wire, and photograph every wall with a tape measure in frame. Those photos are the map you’ll thank yourself for the day you need to find a wire in year five.
Finishing a basement almost always requires a permit, and the inspector wants to see the framing and insulation before drywall. Egress rules are strict too: a bedroom down there needs a code-size escape window. Skipping the permit doesn’t just risk fines — it surfaces at sale time, when it’s most expensive to fix.
Frame a basement so that nothing that can rot ever touches anything that stays damp.
Before the drywall goes up
Walk the room with a straightedge held across stud faces and plane down any proud crowns — basement walls get raking light from small windows and show every bump. Then let the space run through one rainy week as a stress test. A dry, sealed, straight skeleton is the whole battle; everything after this is decorating.
Keep the momentum going
All articles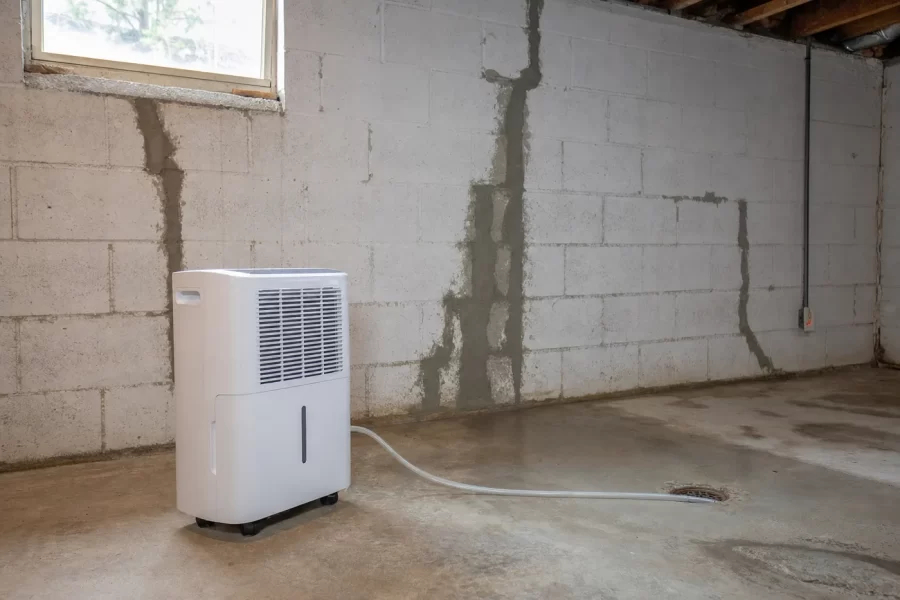
Dry Out a Damp Basement in the Right Order
A step-by-step guide to drying a damp basement: gutters and grading first, then crack sealing, masonry sealer, and a properly sized dehumidifier.
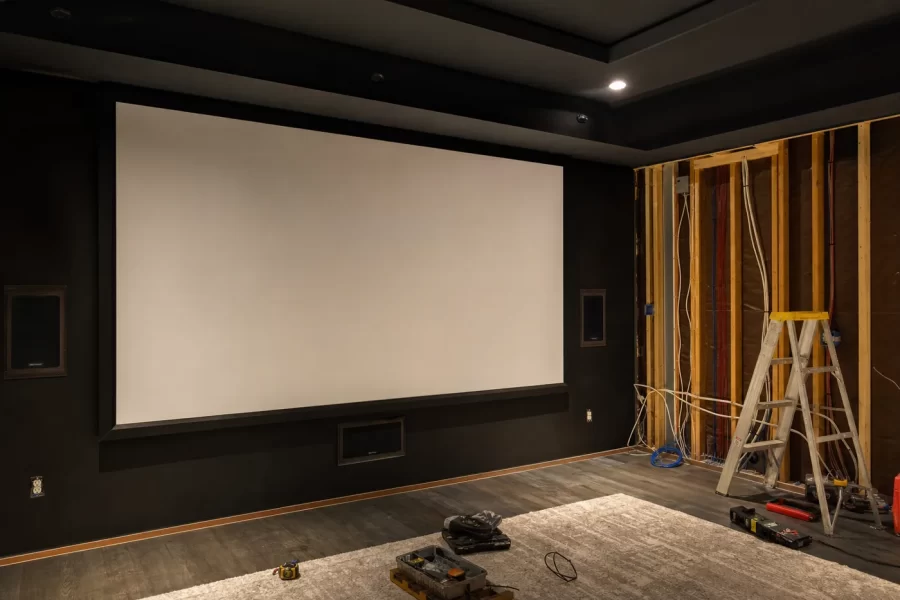
Build a Basement Home Theater on a Real Budget
A step-by-step guide to building a basement home theater: screen wall layout, projector throw, wiring runs, light control, and sound treatment.

How to Paint Kitchen Cabinets Like a Pro
A step-by-step DIY guide to painting kitchen cabinets: degreasing, sanding, priming, and roller technique for a factory-smooth finish on a weekend budget.