Hang Peel-and-Stick Wallpaper Straight, Seamless, and Bubble-Free
Peel-and-stick promises a designer wall in an afternoon with no paste bucket. It delivers — if you treat the first strip like the foundation it is.
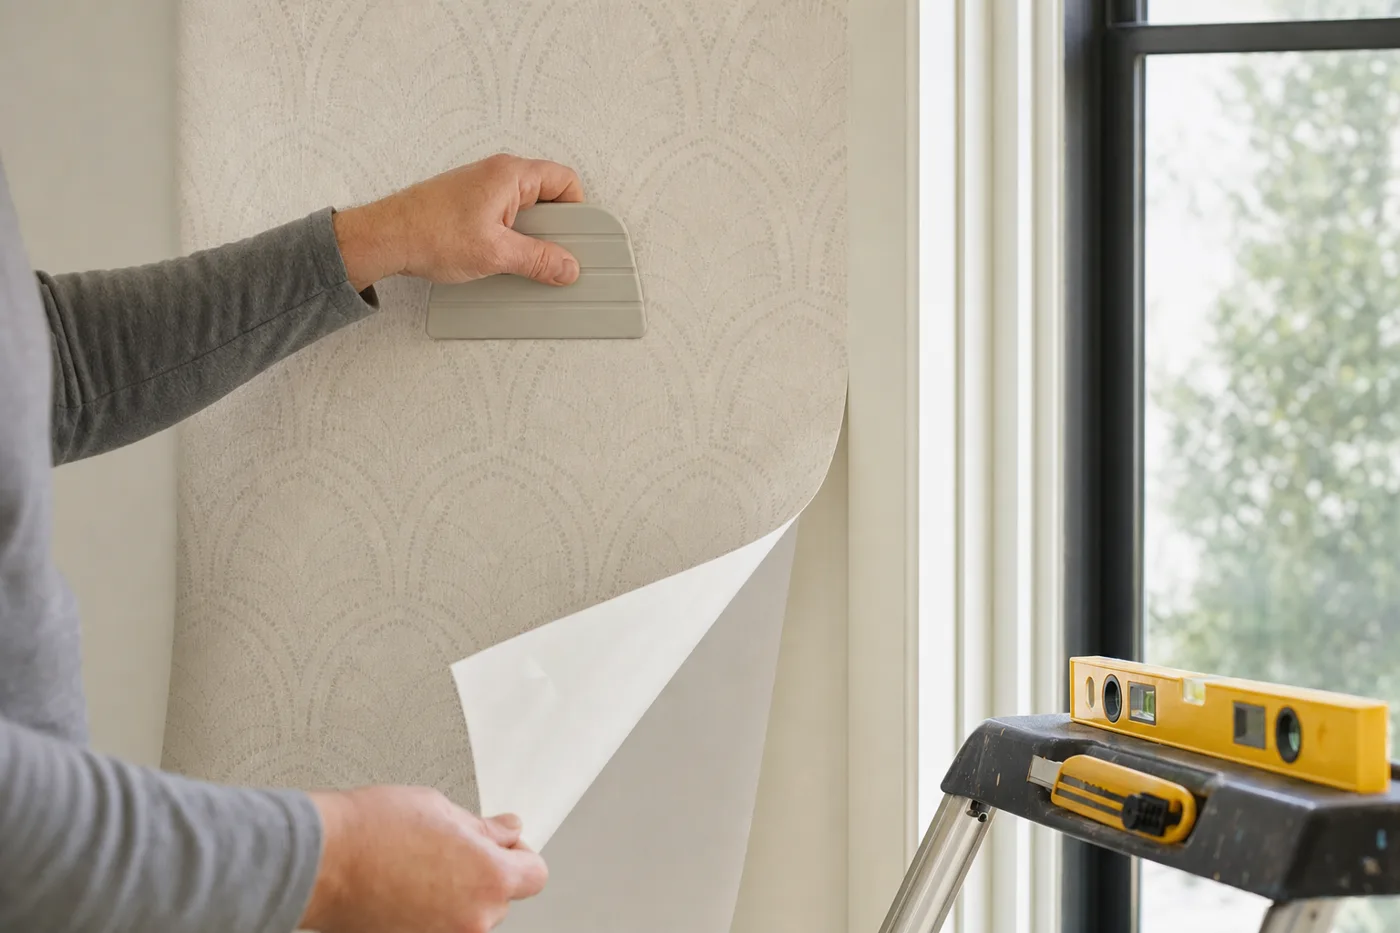
Peel-and-stick wallpaper is the rare shortcut that actually works: real pattern, real texture, removable when you change your mind, and no paste table in the hallway. But the adhesive is unforgiving of dirty walls, and the pattern is unforgiving of a crooked start. The whole afternoon is decided in the first twenty minutes — prep and the plumb line.
What the adhesive needs from your wall
Peel-and-stick grips paint, not drywall dust or kitchen film. Wash the wall with a degreaser, rinse, and let it dry fully. Fill dings with spackle and sand smooth — the vinyl telegraphs every bump at raking light. Freshly painted walls need a full four weeks of cure before application, or the adhesive can pull paint off in sheets on removal day. Matte and eggshell surfaces hold better than slick semi-gloss.
Strike a plumb line, ignore the ceiling
Measure out from the least-visible corner one strip-width minus half an inch, and draw a floor-to-ceiling vertical line with a level. Ceilings and corners are never straight; if you align to them, every seam inherits the error and the pattern visibly tips by the third strip. The pencil line is the only truth on the wall.
Hang the first strip top-down
Cut the strip 4 inches longer than the wall height. Peel back only the top 12 inches of backing, align the strip’s edge to your line with 2 inches of overhang at the ceiling, and tack it. Then work down: peel the backing away in stages with one hand while the other smooths from the centerline outward. Never peel the whole backing at once — a full strip of exposed adhesive finds itself instantly.
Smooth like you’re squeegeeing water
Overlapping strokes with the smoothing tool, center out, top to bottom, firm pressure. Small bubbles chase out to the nearest edge; a stubborn one gets a pin prick and a press. If a strip lands crooked, peel it back to the problem and re-lay it — the adhesive tolerates several repositions while it’s fresh.
Match the pattern, then butt the seams
Align each new strip to the pattern at eye level first — that’s where guests look — and let any drift hide near the floor. Butt seams edge-to-edge without overlapping; overlaps cast a shadow line that reads from across the room. Roll each seam with firm thumb pressure through a cloth.
Trim with a fresh blade, every wall
Press the vinyl into the ceiling and baseboard junctions with a wide putty knife, and slice along its edge with a utility knife held at a low angle. Snap to a fresh blade segment every two or three cuts — a dulling blade doesn’t cut vinyl, it drags and tears it.
Kill the power and remove outlet and switch plates before papering, and trim the openings with the power still off. Cutting around a live receptacle with a metal blade is exactly as bad an idea as it sounds.
The ceiling is crooked. The corner is crooked. The pencil line is the only thing on that wall you can trust.
Removal-day insurance
Keep the leftover roll — sun-faded replacements never match. If a corner ever lifts, a hair dryer on low re-activates the adhesive for a press-down cure. When it’s time for a change, peel from a bottom corner slowly at a 45-degree angle and the wall underneath comes back paint-ready.
Keep the momentum going
All articles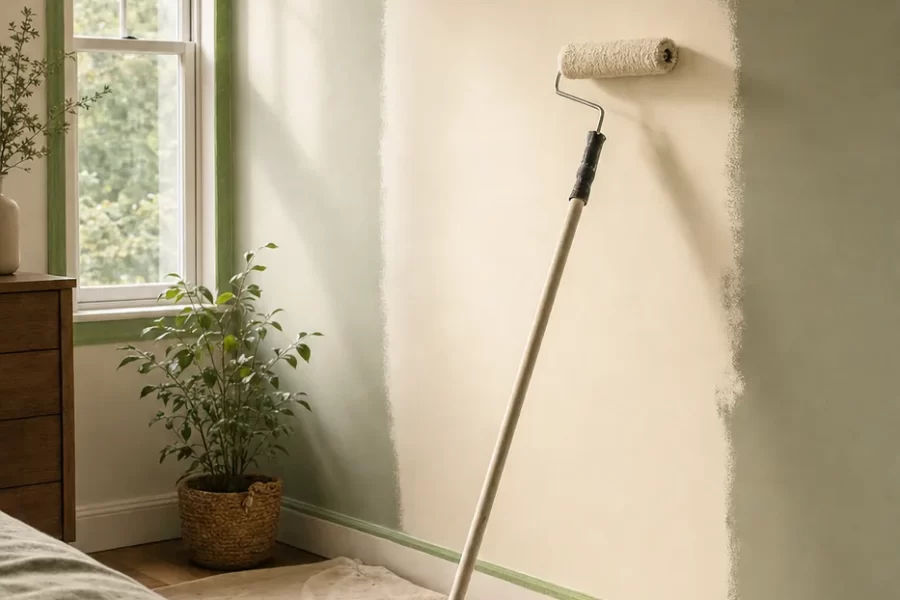
Paint a Room Like a Pro: The Order of Operations
The professional sequence for painting a room: prep and patching, ceiling first, cutting in, rolling technique, and why order matters more than expensive tools.
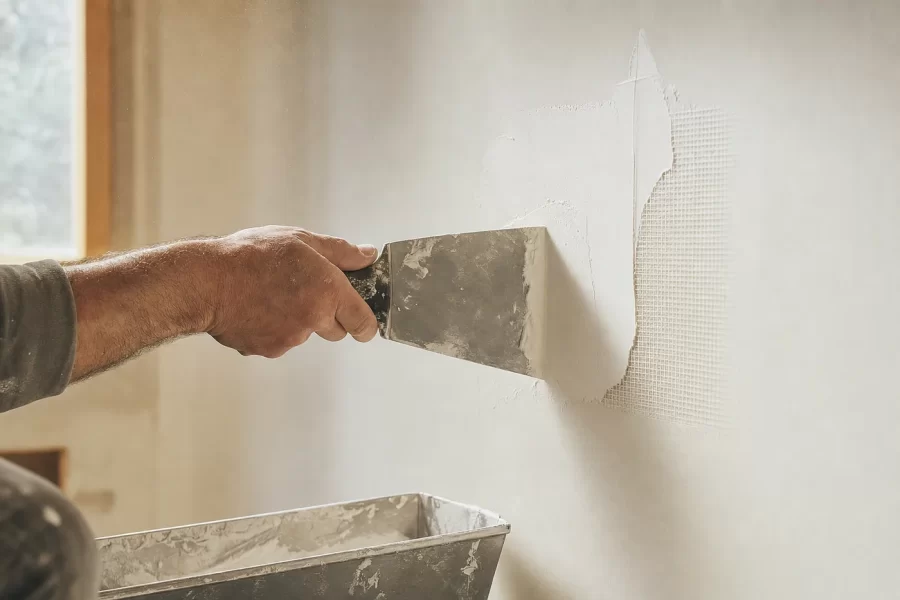
Patch Any Drywall Hole, From Nail Pops to Doorknob Craters
Four sizes of drywall repair — nail holes, screw pops, fist-size holes with mesh, and large cutouts with a California patch — plus feathering and texture matching.

How to Paint Kitchen Cabinets Like a Pro
A step-by-step DIY guide to painting kitchen cabinets: degreasing, sanding, priming, and roller technique for a factory-smooth finish on a weekend budget.