Patch Any Drywall Hole, From Nail Pops to Doorknob Craters
Every drywall repair is the same three moves at a different scale: bridge the hole, build the mud in thin coats, and feather until the edge disappears.
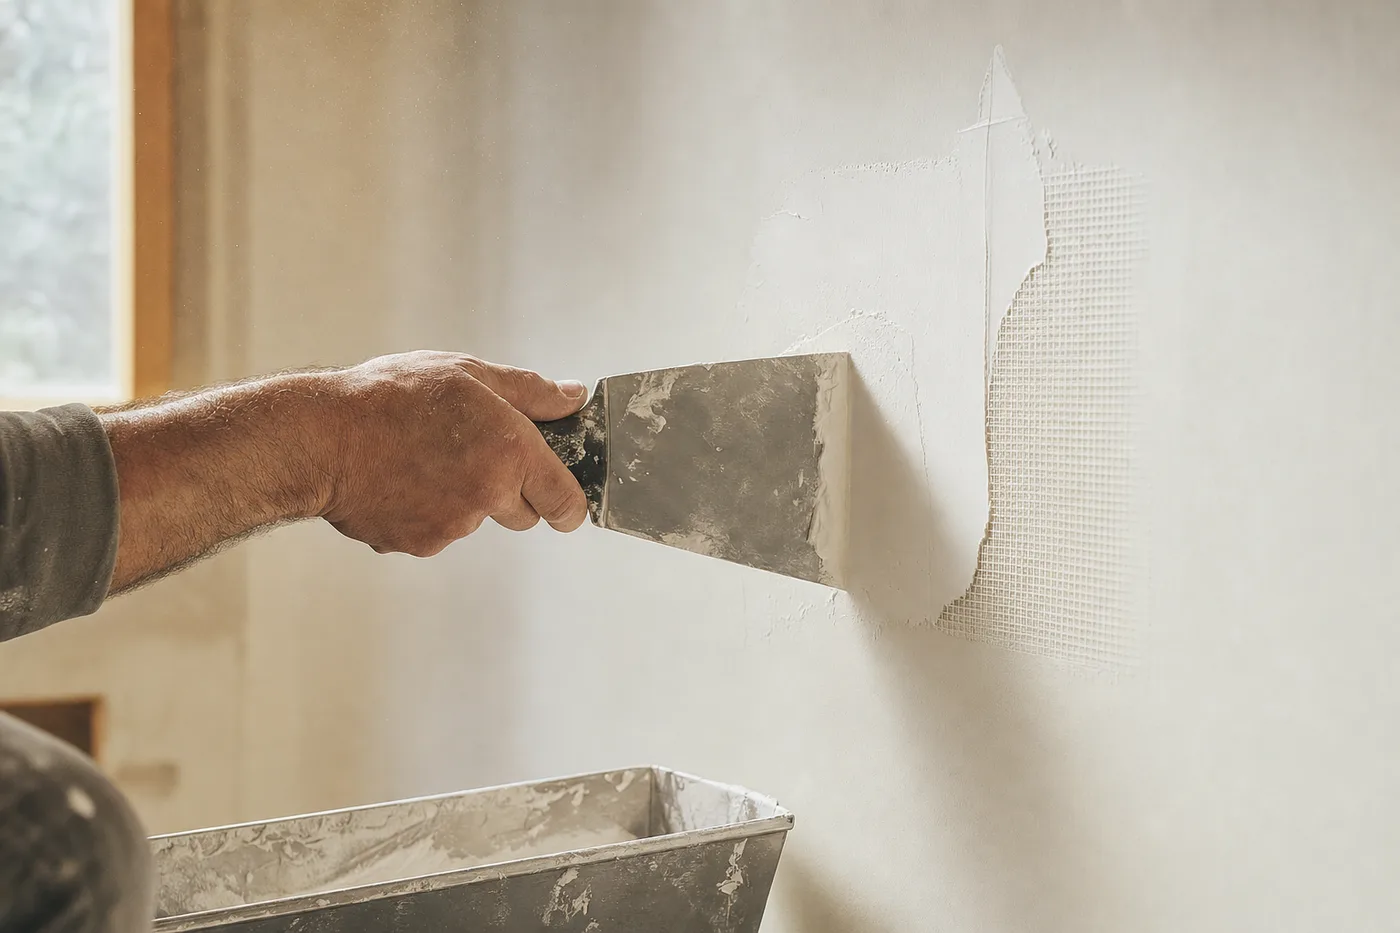
Drywall damage is democratic — moving day, door handles, kids, picture hooks — and repairing it is the most forgiving skill in home improvement, because joint compound sands back to zero. Nothing is permanent until you prime it. The craft is matching the repair method to the hole size, then having the patience to build thin coats.
Pick the right fix for the hole
Under a quarter inch: spackle alone, two passes. Up to three inches: a self-adhesive mesh patch and three coats of compound. Up to six inches: a California patch — a piece of scrap drywall with a paper flange, no framing needed. Bigger than that: cut back to studs and screw in a proper drywall piece. Nail pops get a screw an inch above and below to re-pin the board first, or they return.
Stabilize the wound
Cut away loose paper facing with a utility knife and press in any crushed gypsum edges. Compound over torn, fuzzy paper bubbles forever — a clean, slightly recessed crater is the goal. For mesh patches, the wall must be dust-free or the adhesive lets go under the mud’s weight.
First coat: fill, don’t smooth
Press compound firmly through mesh or over the patch with a 4-inch knife, filling voids completely. It will look bad. That’s correct — the first coat’s job is structure, not beauty. Let it dry fully; shrinkage cracks in a thick first coat are normal and get buried by coat two.
Build wider, not thicker
Each coat extends 2–3 inches past the last with a wider knife — 6-inch, then 10-inch — with pressure on the outer edge so the compound feathers to nothing. The repair should end up a barely-domed area 2–3 times the width of the original hole. Thin coats dry overnight; thick ones lie about being dry.
Sand with a light, not just sandpaper
Sand with a fine sponge in light circles, then hold a work light flat against the wall. Raking light shows the ridge or hollow your palm can’t feel and your ceiling fixture will announce forever. Prime the patch — always — or the repair flashes as a dull ghost through the finish paint.
Before cutting any hole larger than your fist, check what’s behind it. Wiring runs horizontally between outlets and vertically above switches; a $2 stud-finder pass beats a nicked cable every time.
Joint compound forgives everything except impatience.
Matching texture and paint
Smooth walls need nothing more. Orange-peel texture comes in rattle cans — test the spray pattern on cardboard first. For paint, feather the new paint past the patch in an irregular shape rather than a hard rectangle, or repaint corner to corner; a color that’s aged on the wall for five years never quite matches the can it came from.
Keep the momentum going
All articles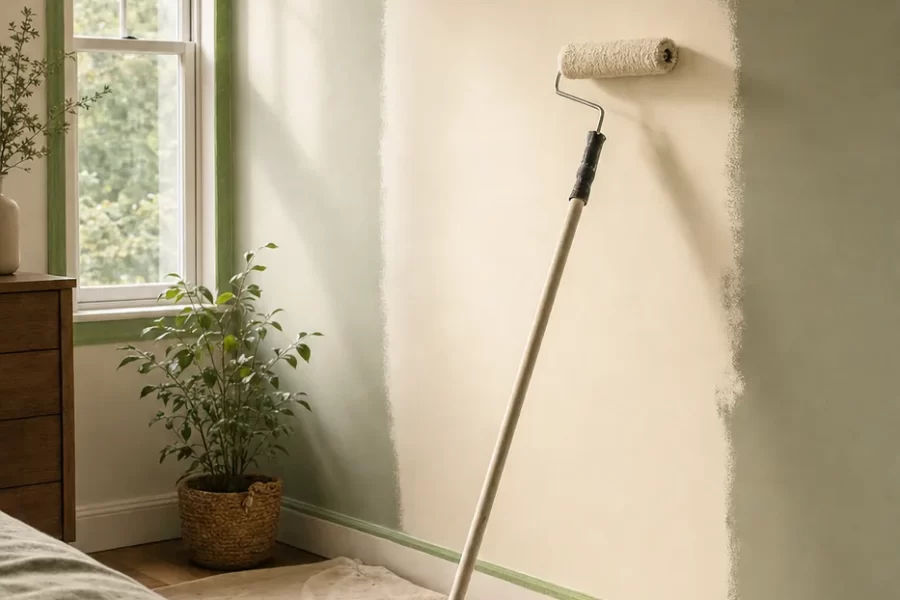
Paint a Room Like a Pro: The Order of Operations
The professional sequence for painting a room: prep and patching, ceiling first, cutting in, rolling technique, and why order matters more than expensive tools.
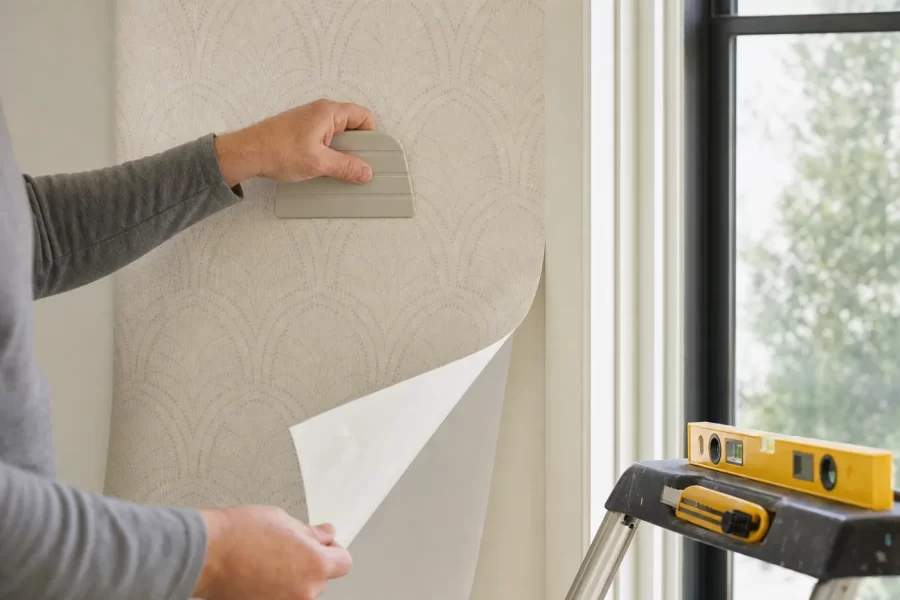
Hang Peel-and-Stick Wallpaper Straight, Seamless, and Bubble-Free
A step-by-step guide to hanging peel-and-stick wallpaper: wall prep, striking a plumb line, pattern matching, smoothing, and trimming clean edges.

How to Paint Kitchen Cabinets Like a Pro
A step-by-step DIY guide to painting kitchen cabinets: degreasing, sanding, priming, and roller technique for a factory-smooth finish on a weekend budget.