Swap a Builder-Grade Vanity Without Calling a Plumber
The vanity is the face of the bathroom, and swapping one is 90% carpentry and 10% plumbing — all of it behind shutoff valves. Here's the sequence.
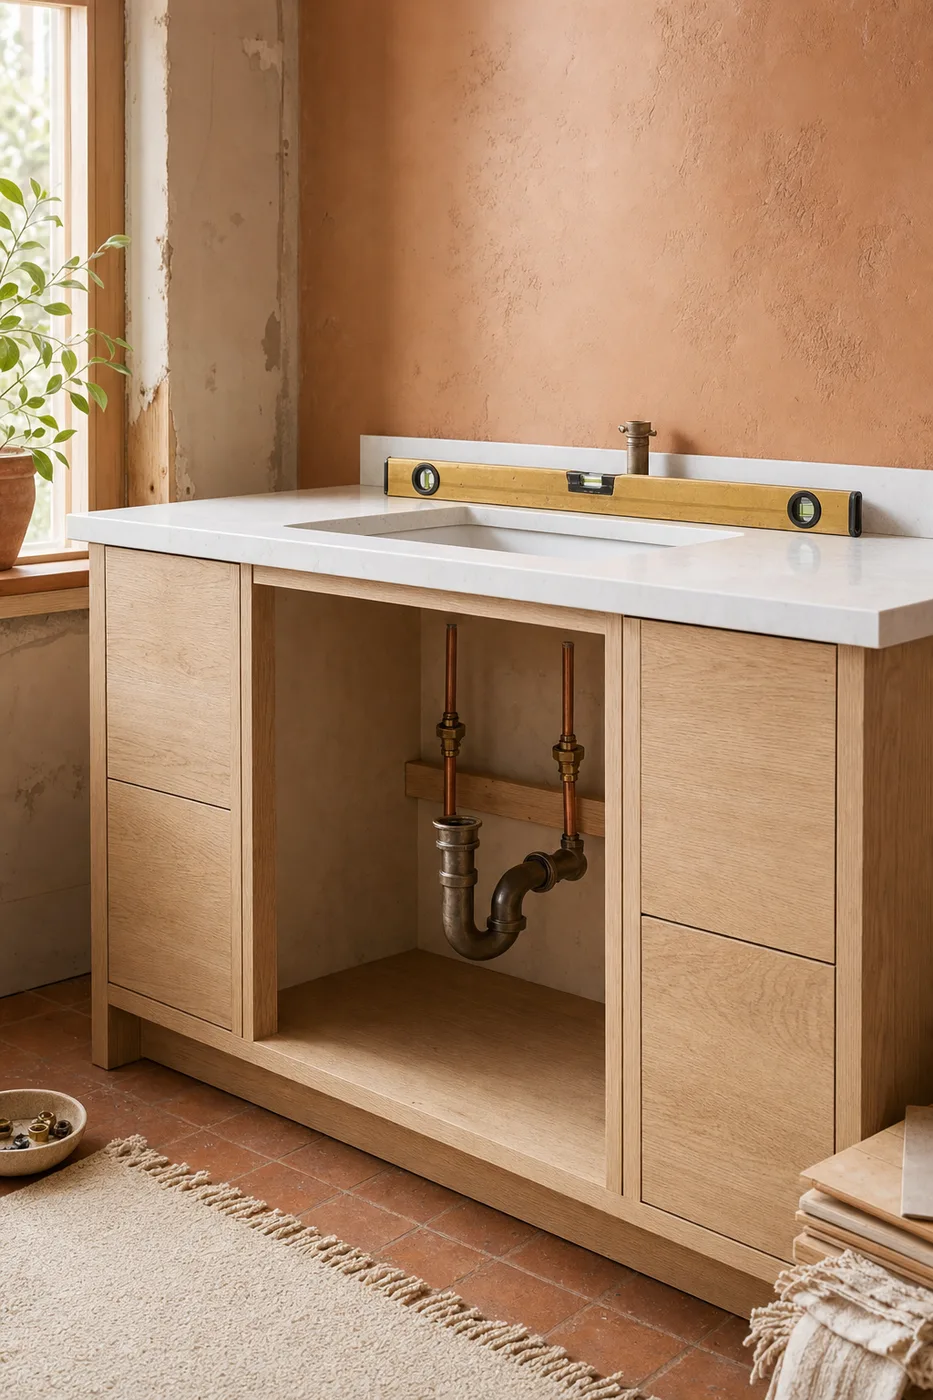
A dated vanity drags a whole bathroom backward, and replacing one is the most approachable project that involves plumbing. Everything you touch is downstream of two shutoff valves, the connections are designed to be made and unmade by hand, and the carpentry is just leveling a box against a wall.
Before you buy
Measure three things: width of the old cabinet, distance from the wall to the center of the drain, and the swing of the bathroom door. Buy a vanity that puts its plumbing openings in roughly the same place — moving supply lines is a plumber’s job, but a few inches of drain offset is what flexible tailpieces are for.
Shut off and disconnect
Close both shutoff valves under the sink, open the faucet to drain pressure, and put a bucket under the trap. Disconnect the supply lines at the valves, then unscrew the P-trap slip nuts by hand. If the shutoffs are stiff or weep when closed, replace them now — with the house water off — because a valve that won’t close is the thing you least want to discover mid-project.
Free the old cabinet
Slice the caulk line where the top meets the wall with a utility knife, remove the screws anchoring the cabinet to the studs, and walk the unit out. Now you have the one sight nobody plans for: the unpainted rectangle and the state of the floor. Fix, patch, and paint while everything is open — it’s twenty minutes now or never.
Set the new cabinet level
Find and mark the studs. Set the cabinet, then shim until it’s level side-to-side and front-to-back — a vanity that’s off level telegraphs through the countertop seam and every drawer. Screw through the back rail into two studs with 3-inch screws.
Mount the faucet and drain before the top goes on
Install the faucet and the drain flange with the countertop on sawhorses, at comfortable height, with room to swing a wrench. Bed the drain flange in plumber’s putty or silicone per the manufacturer. Then set the top on a thin bead of caulk and check level once more.
Reconnect and hunt for leaks
New braided supply lines — never reuse old ones — go hand-tight plus a quarter turn with a wrench. Assemble the new P-trap hand-tight. Open the valves slowly, then run water and check every joint with a dry paper towel: it shows a seep instantly. Check again in an hour, and once more the next morning.
Slip-joint nuts on a P-trap seal with gentle hand pressure on a properly seated washer. Reaching for channel-locks to crank them down cracks the washer and guarantees the drip you were trying to prevent.
Everything under a sink was designed to be taken apart by hand. Trust the washers, not the wrench.
The finishing pass
Caulk the seam where the top meets the wall, reinstall the mirror hardware if it moved, and label the shutoff valves with the date. A vanity swap done this way runs a weekend at a relaxed pace — most of it waiting for caulk and checking for drips.
Keep the momentum going
All articles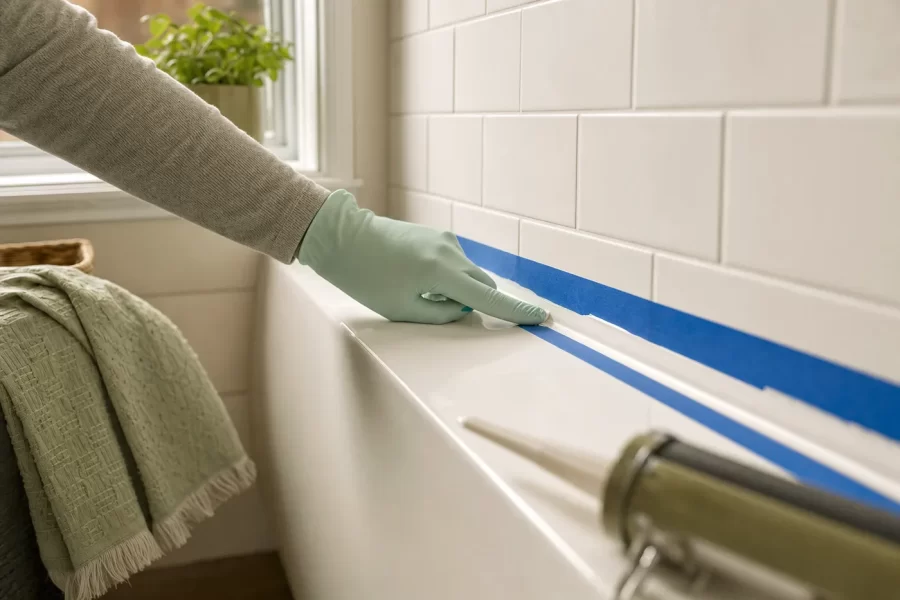
Re-Caulk a Shower So It Looks Factory-Fresh
A beginner's guide to removing failed shower caulk and laying a clean, mildew-resistant bead: removal, prep, taping, and tooling technique.
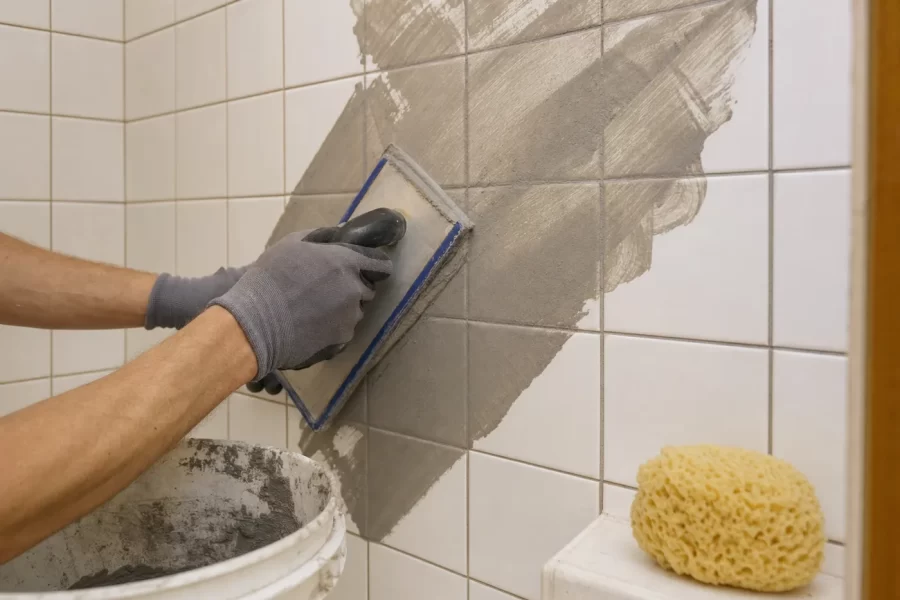
Regrout Tile Without Replacing a Single Tile
A step-by-step guide to regrouting a shower or tile floor: removing old grout to depth, cleaning, packing new grout, and sealing it right.

How to Paint Kitchen Cabinets Like a Pro
A step-by-step DIY guide to painting kitchen cabinets: degreasing, sanding, priming, and roller technique for a factory-smooth finish on a weekend budget.