Tile a Subway Tile Backsplash in a Weekend
A backsplash is the perfect first tile job: it’s a small area, at eye level, with no foot traffic and mostly straight cuts. One wall, one weekend, one notched trowel.
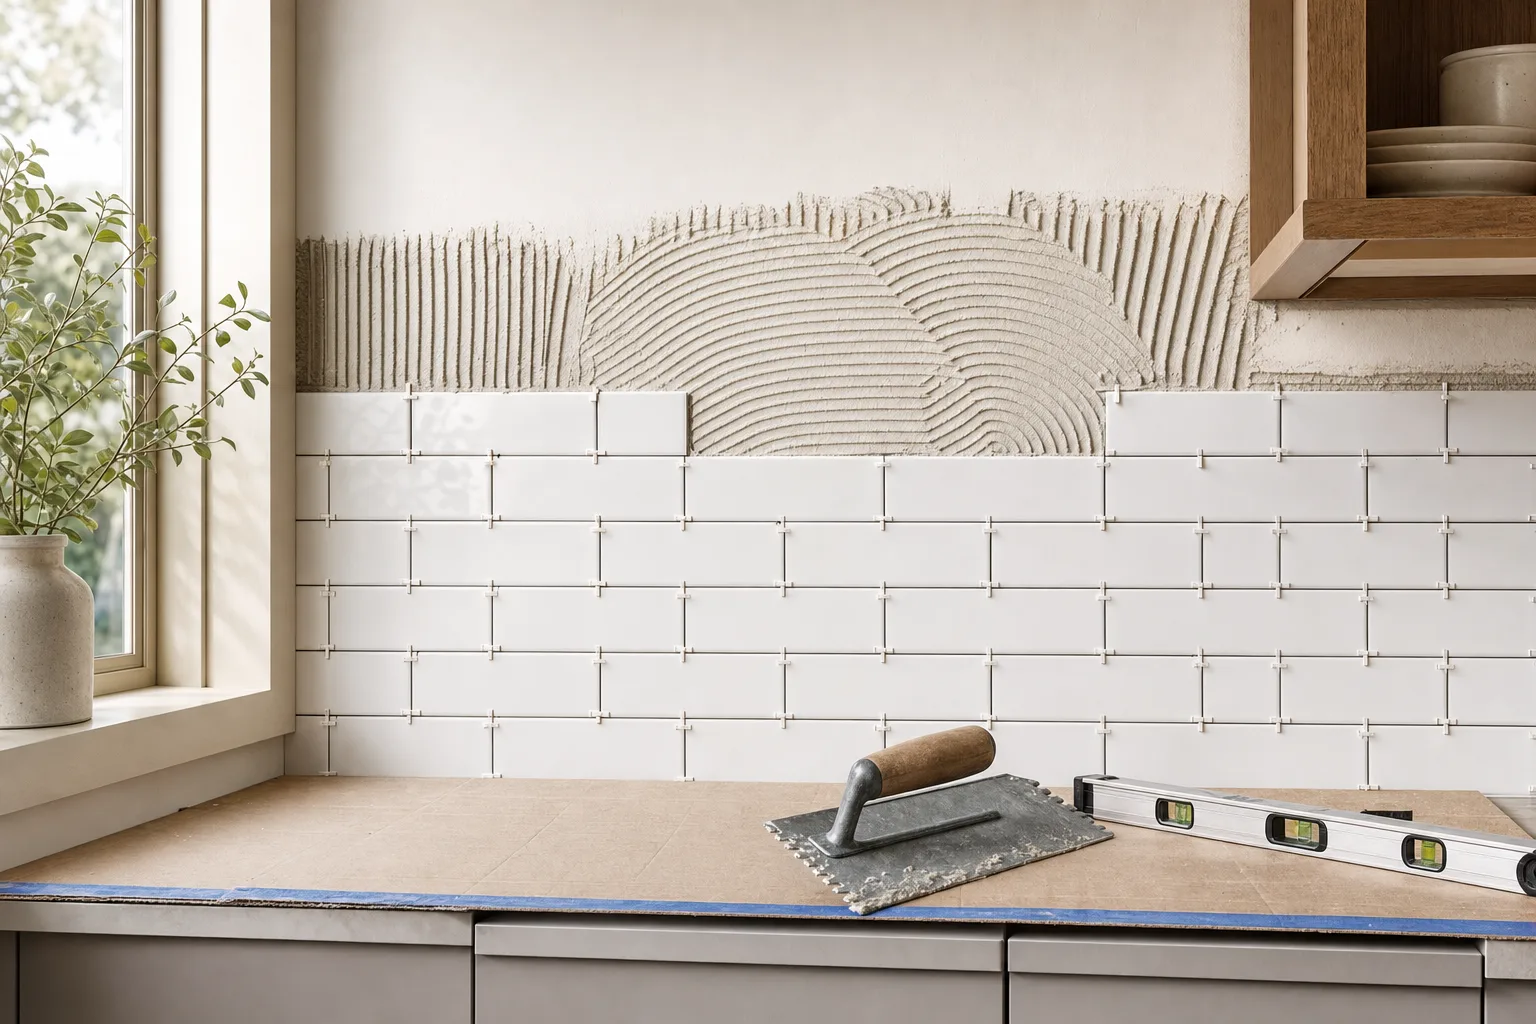
Tile intimidates people because bathroom floors and showers are genuinely unforgiving. A kitchen backsplash is a different animal: the area is small (usually 30–50 square feet), the surface is vertical and dry, nobody walks on it, and classic 3×6 subway tile hides beginner wobble inside its grid. If you can draw a level line and butter toast, you can tile a backsplash.
Layout decides everything
Before any adhesive comes out, find the wall’s focal point — usually the run behind the range or the sink window — and plan for symmetry there, letting cut tiles die into the corners where eyes don’t go. Mark a level line for your first course off the countertop’s highest point; counters are rarely level, and the tile grid must be, because every course stacks on the first.
Protect and prep
Kill power to outlets on the wall and remove cover plates. Tape rosin paper over the counters. Wash the wall, and scuff glossy paint with 120-grit. Fill any gouges — mastic wants a flat, clean wall.
Comb on the adhesive
Working in a 2×2-ft section, spread adhesive with the flat side of the trowel, then comb it at a consistent 45° angle with the notched side. The ridges should stand crisp, not slump. Only cover what you can tile in 15 minutes — adhesive that skins over grips nothing.
Set the field tile
Press each tile with a slight wiggle to collapse the ridges, spacers at every joint. Classic running bond means each course offsets by half a tile — start alternate courses with a half tile. Check level every third course; small errors compound fast in a stacked grid. Pull one tile off early and check its back: you want 90%+ adhesive coverage.
Make your cuts
Straight cuts at corners and the top course happen on a manual score-and-snap cutter — score once, firmly, snap confidently. Outlet notches are two nibbles with tile nippers or a jigsaw with a tile blade; cuts just need to hide under the replaced cover plate, not win awards. Wear safety glasses for every cut.
Grout on day two
After the adhesive cures overnight, pull spacers and pack unsanded grout diagonally across the joints with the float. Wait ten minutes until it hazes, then wipe diagonally with a barely-damp sponge, rinsing constantly. Two gentle passes beat one aggressive one — dragging a wet sponge along a joint pulls grout right back out.
Caulk the change of plane
The joint where tile meets countertop gets flexible color-matched caulk, never grout — the counter and wall move independently, and rigid grout there cracks by Christmas. Seal the grout after it cures for 72 hours, and reinstall the outlet plates with longer screws if the tile depth needs them.
Grout haze that dries overnight becomes a chisel job. Before you quit for the day, buff the tile faces with a dry microfiber cloth until they squeak.
Cut tiles belong in the corners where nobody looks. Symmetry belongs behind the range where everybody does.
Grout color, the free design decision
White tile with white grout reads seamless and calm; white tile with warm gray grout turns the grid itself into the pattern and hides cooking splatter besides. Whatever you pick, buy all the grout you need from one batch — dye lots vary, and a mid-wall color shift is forever.
Keep the momentum going
All articles
How to Paint Kitchen Cabinets Like a Pro
A step-by-step DIY guide to painting kitchen cabinets: degreasing, sanding, priming, and roller technique for a factory-smooth finish on a weekend budget.
Build a Kitchen Island From Stock Base Cabinets
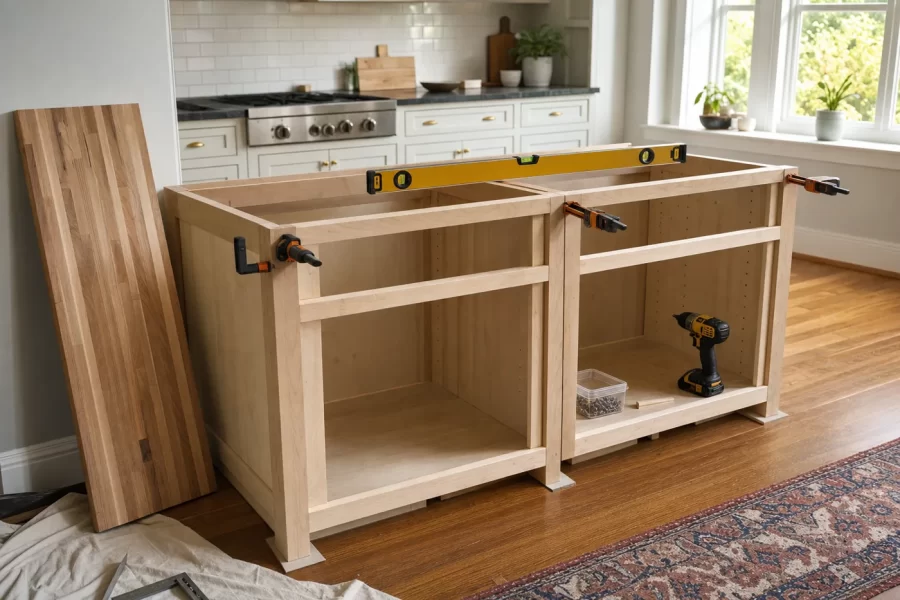
A step-by-step guide to building a kitchen island from stock base cabinets: layout clearances, floor anchoring, panels, and a seating overhang.
Re-Caulk a Shower So It Looks Factory-Fresh
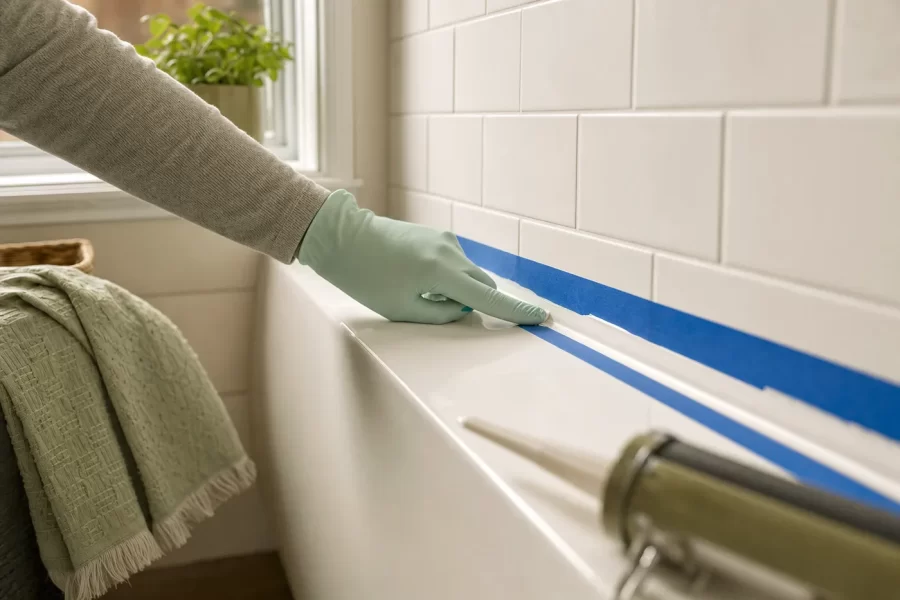
A beginner's guide to removing failed shower caulk and laying a clean, mildew-resistant bead: removal, prep, taping, and tooling technique.