Install a Crawl Space Vapor Barrier That Actually Seals
Bare crawl space dirt breathes gallons of water vapor into your floor framing every day. A weekend of unglamorous crawling under the house shuts that faucet off.
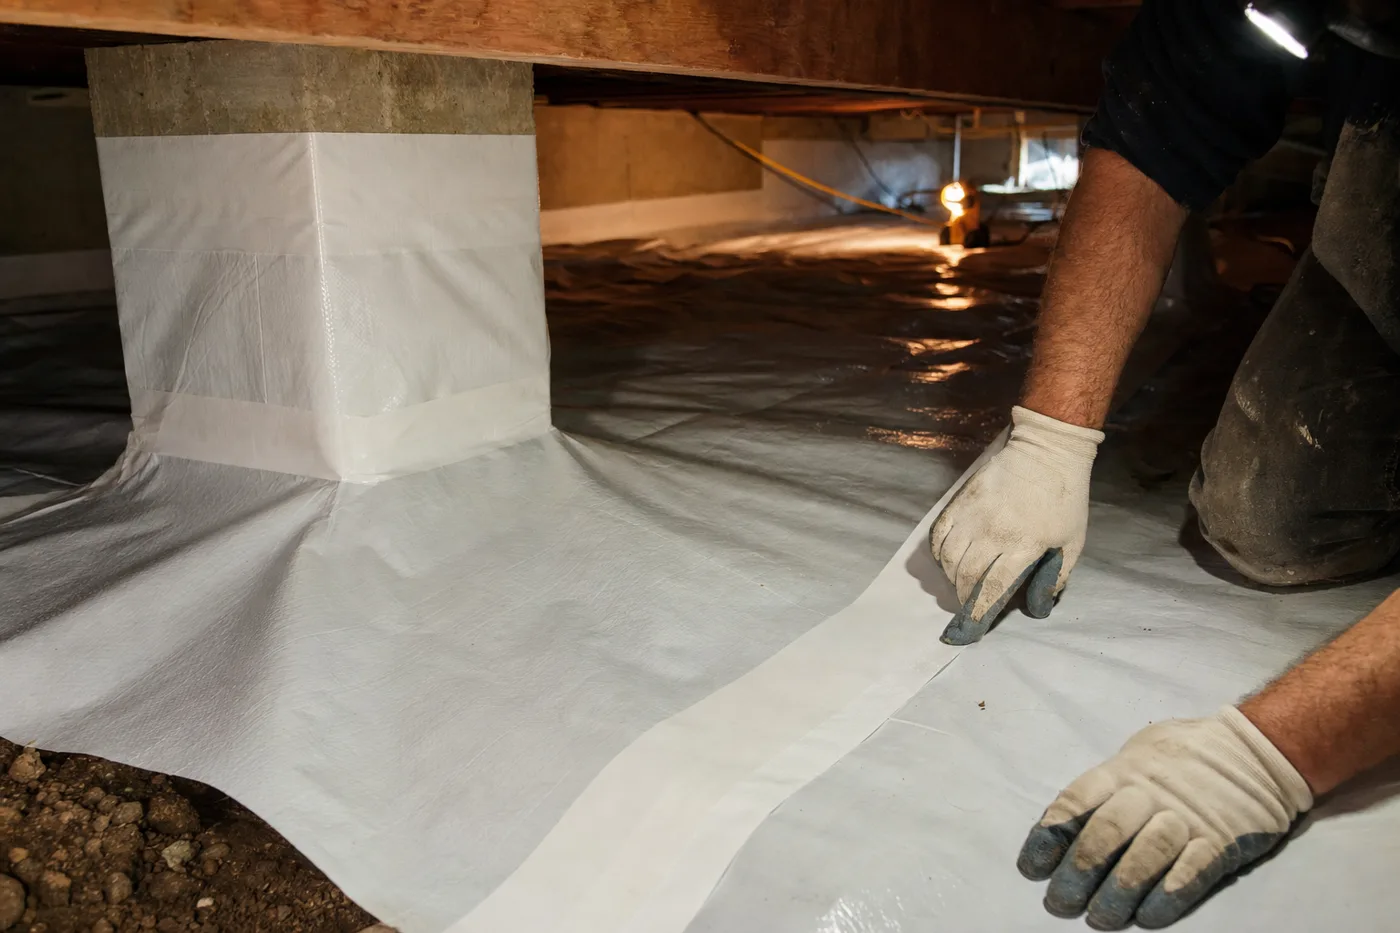
The dirt under your house is never dry. Even in a crawl space that looks dusty, ground moisture is evaporating upward around the clock, condensing on joists, feeding mold, and rusting duct straps — and because up to half the air on your first floor rises out of the crawl space, you’re breathing the results. A sealed vapor barrier is the highest-value fix per dollar in the whole foundation category, and it demands no skill beyond measuring, cutting, and taping. What it demands instead is willingness to spend a weekend on your back in a headlamp.
6-mil is code-minimum, not good
Cheap 6-mil poly meets most codes, but it tears on the first crawl across it and punctures on every pebble. For a space you’ll ever enter again — and you will, for plumbing or ducts — buy reinforced 10- or 12-mil liner. It costs roughly twice as much and lasts ten times longer. Before any plastic goes in: rake out sharp rocks and construction debris, fix plumbing leaks, and confirm dryer and bath fans actually vent outside, not into the crawl. Standing water or active flooding means you need drainage or a sump first; a liner over a pond is a waterbed.
Map the space and cut panels outside
Sketch the footprint, piers included, and cut panels in the yard where you can actually move — nobody cuts straight lines lying down. Size every panel 12 inches oversize in each direction for overlap and wall run-up. Number the panels with a marker to match your sketch.
Lay the field, overlap 12 inches
Start at the corner farthest from the access door and work toward the exit so you never crawl over finished taping. Overlap every seam a full 12 inches, running the uphill panel over the downhill one if the grade slopes, then tape the seam with 4-inch poly tape, pressing it down with a rag wrapped around your fist. Tape sticks to plastic, not to dust — wipe each seam first.
Wrap the piers like presents
Cut a collar of liner for each pier, wrap it, and seal it to the pier with double-sided butyl tape a few inches up the block, then tape the floor liner to the collar. Piers are where lazy installs leak; each unwrapped pier is a bare dirt chimney venting straight into your framing.
Run the liner up the walls
Carry the barrier at least 6 inches up the foundation wall and fasten it with butyl tape or a termination bar. Stop 3 inches below the sill plate in termite country — inspectors need that strip of bare block to spot mud tubes. Trim around the access opening last and tape the edge so it survives traffic.
Suit up before you slide under there: coveralls, gloves, and a respirator. Crawl spaces collect rodent droppings, insulation fibers, and mold spores, and you’ll be stirring all of it at nose level. Check for wasp nests at the access door before committing your whole body.
A vapor barrier is only as good as its worst seam — moisture finds the gap you didn’t tape.
After the plastic
Give the space two weeks, then go back with a flashlight: joists should read visibly drier and the musty smell should be fading. If humidity stays above 60 percent on a cheap hygrometer, add a small dehumidifier or talk to a pro about full encapsulation with sealed vents. The liner itself is a 20-year install — just repair punctures with tape whenever trades crawl through.
Keep the momentum going
All articles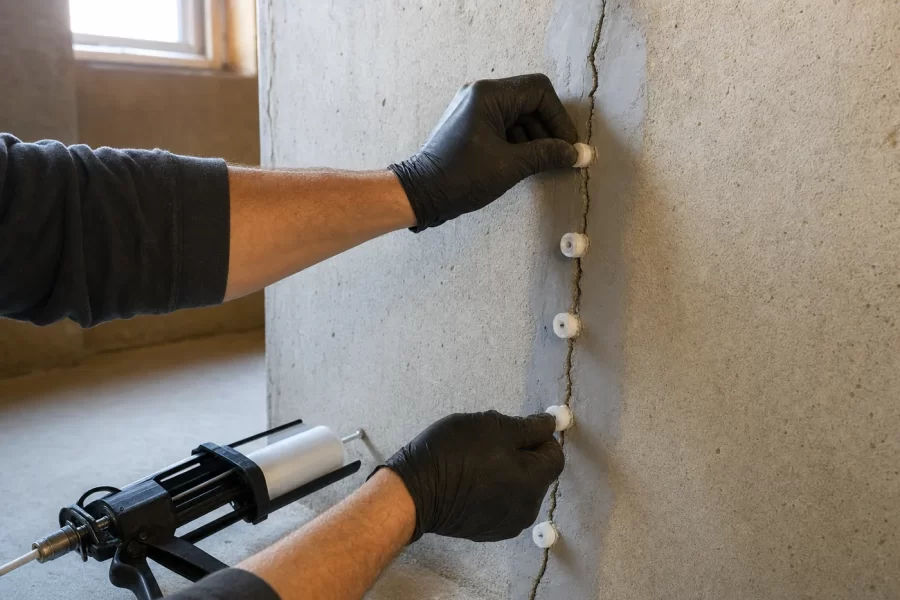
Seal Hairline Foundation Cracks With Epoxy Injection
A step-by-step guide to injecting epoxy into hairline foundation cracks: ports, surface paste, bottom-up injection, and the cracks that mean call a pro.
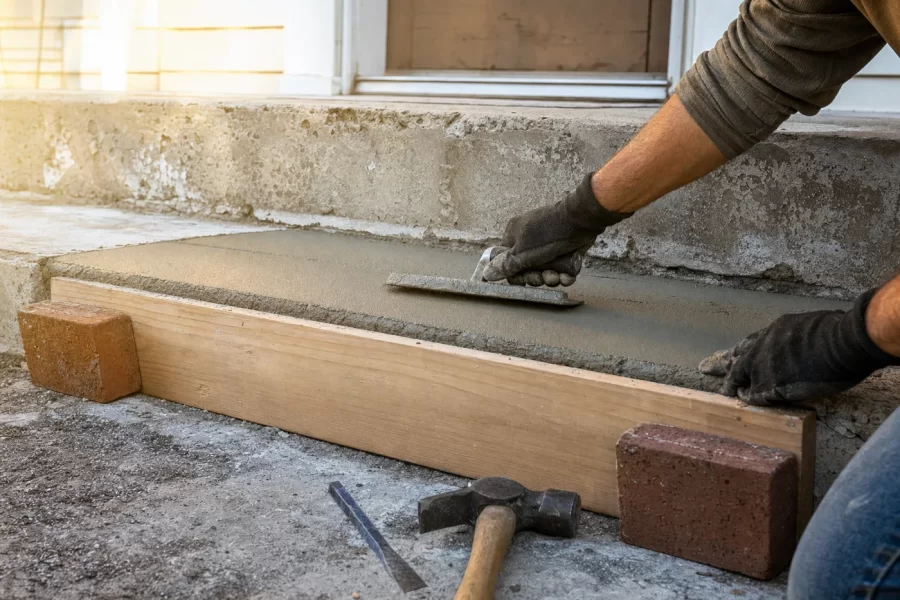
Repair Crumbling Concrete Steps With Resurfacer and Simple Forms
A step-by-step guide to rebuilding chipped concrete step edges and resurfacing worn treads: chiseling to sound concrete, edge forms, and finishing.

How to Paint Kitchen Cabinets Like a Pro
A step-by-step DIY guide to painting kitchen cabinets: degreasing, sanding, priming, and roller technique for a factory-smooth finish on a weekend budget.