Replace Damaged Asphalt Shingles Safely, One Tab at a Time
One missing shingle is a hole in your roof's armor, and the fix costs less than lunch. The skill isn't roofing — it's working safely on a slope and finding all eight nails.
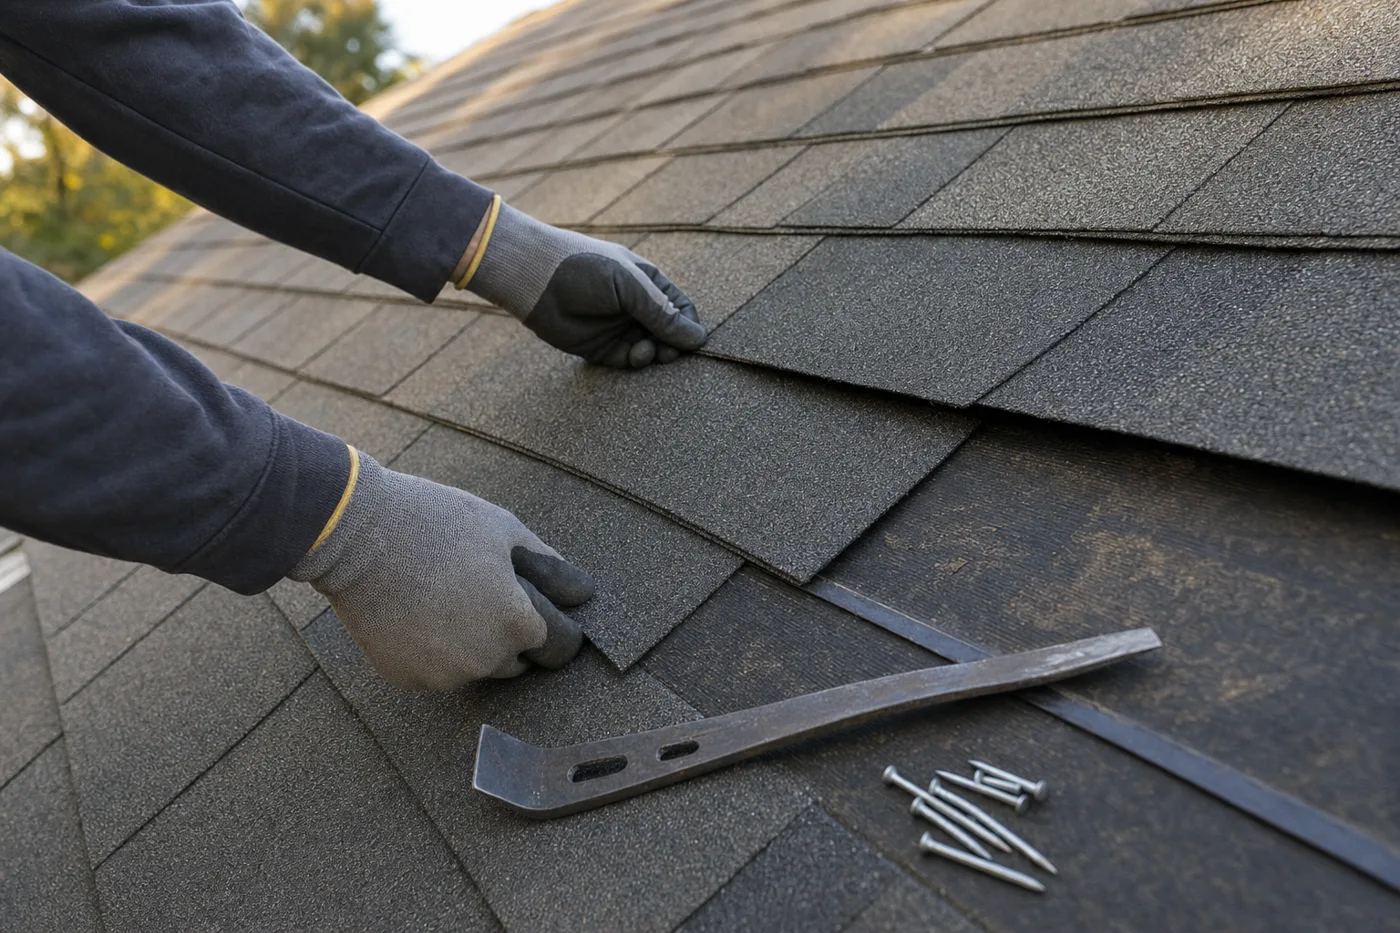
Wind lifts a tab, the seal strip lets go, and suddenly there’s a black rectangle in the lawn and a bare patch on the roof. Under that patch, only underlayment stands between rain and your ceiling drywall — a clock, not a barrier. The repair itself is genuinely simple: eight nails, one shingle, ten minutes. Everything that deserves your respect is the part where you’re standing on a slope two stories up.
Have the safety talk with yourself first
A single-story walkable roof — 6/12 pitch or less — on a dry, cool morning is reasonable DIY territory. Steeper than that, two stories up, damp, or brittle-hot in afternoon sun: rent or buy a roof harness kit (about $100, with an anchor that screws to the ridge) or hire the repair out without embarrassment. Ladder rules are non-negotiable: 3 feet above the eave, feet on solid ground, and never step sideways off it onto the roof edge. Roofing kills more DIYers than any electrical panel ever has.
Break the seal on the course above
Every shingle is glued down by a factory seal strip and pinned by nails — its own, plus the nails from the course above that pass through its top edge. On a cool morning, slide the flat bar under the tabs above the damaged shingle and gently pop the seal. Cold shingles release; hot ones stretch and tear, which is why this is a morning job.
Pull all eight nails
Lift the freed tabs and work the pry bar under each nail head: four in the damaged shingle, four from the course above that pierce its top edge. Miss one and the new shingle will not seat — and a shingle forced over a hidden nail head will crack there next winter. The old shingle should slide out with no drama once all eight are gone.
Slide in the new shingle and nail on the line
Slip the replacement into position, aligned with its course and the cutout pattern. Nail through the nailing strip — just above the cutouts, below the seal line — with four 1.25-inch galvanized roofing nails driven flush, never sunk through the mat. High nails miss the course below; overdriven nails cut the shingle. Flush is the whole art.
Hand-seal everything you disturbed
The factory seal you broke will not fully re-bond on an aged roof, so help it: a quarter-size dab of roofing cement under each lifted tab, then press down firmly. Dab the pry-bar scars too. Skip this step and the next strong gust flips the very tabs you loosened — the classic signature of a DIY repair that almost worked.
If you find damaged shingles across multiple areas, granules filling the gutters, or curling edges roof-wide, stop patching. Those are end-of-life symptoms, and money spent on spot repairs is better saved for the replacement — get two or three roofing quotes instead.
The shingle takes ten minutes. The ladder and the pitch deserve the rest of your attention.
After the repair
Check your work from the ground with binoculars after the next hard rain, and glance at the ceiling below the repair for any new staining. Keep the leftover bundle scraps in the garage, labeled — the color match will be gone from stores years before your roof is. A properly nailed, hand-sealed replacement shingle lasts as long as the roof around it.
Keep the momentum going
All articles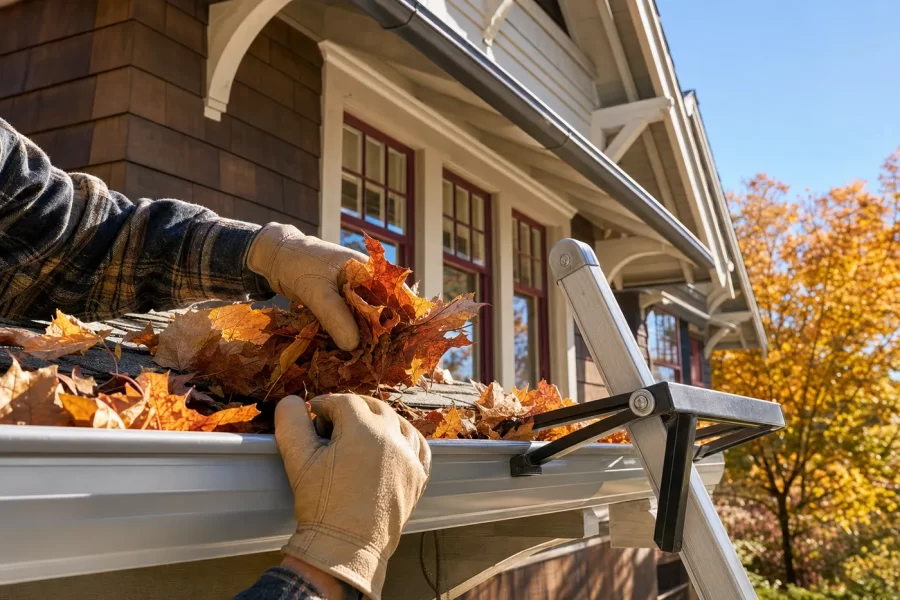
The One-Morning Gutter Tune-Up That Prevents Basement Water
A seasonal gutter maintenance routine: safe ladder work, clearing and flushing, resealing end caps and seams, correcting pitch, and extending downspouts.
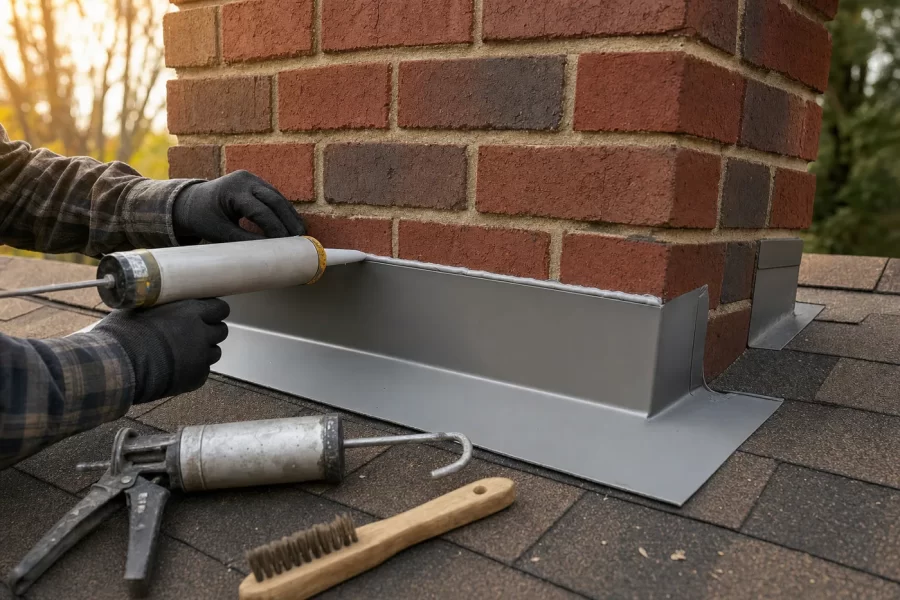
Reseal Chimney Flashing Before It Stains Your Ceiling
A step-by-step guide to resealing chimney flashing: reading the two-layer system, cleaning the reglet joint, choosing the right sealant, and when to call a pro.

How to Paint Kitchen Cabinets Like a Pro
A step-by-step DIY guide to painting kitchen cabinets: degreasing, sanding, priming, and roller technique for a factory-smooth finish on a weekend budget.