Install Low-Voltage Landscape Lighting That Looks Designed, Not Decorated
Twelve volts, no electrician, no permit — and the difference between a runway of dots and a landscape that glows is entirely in the planning.
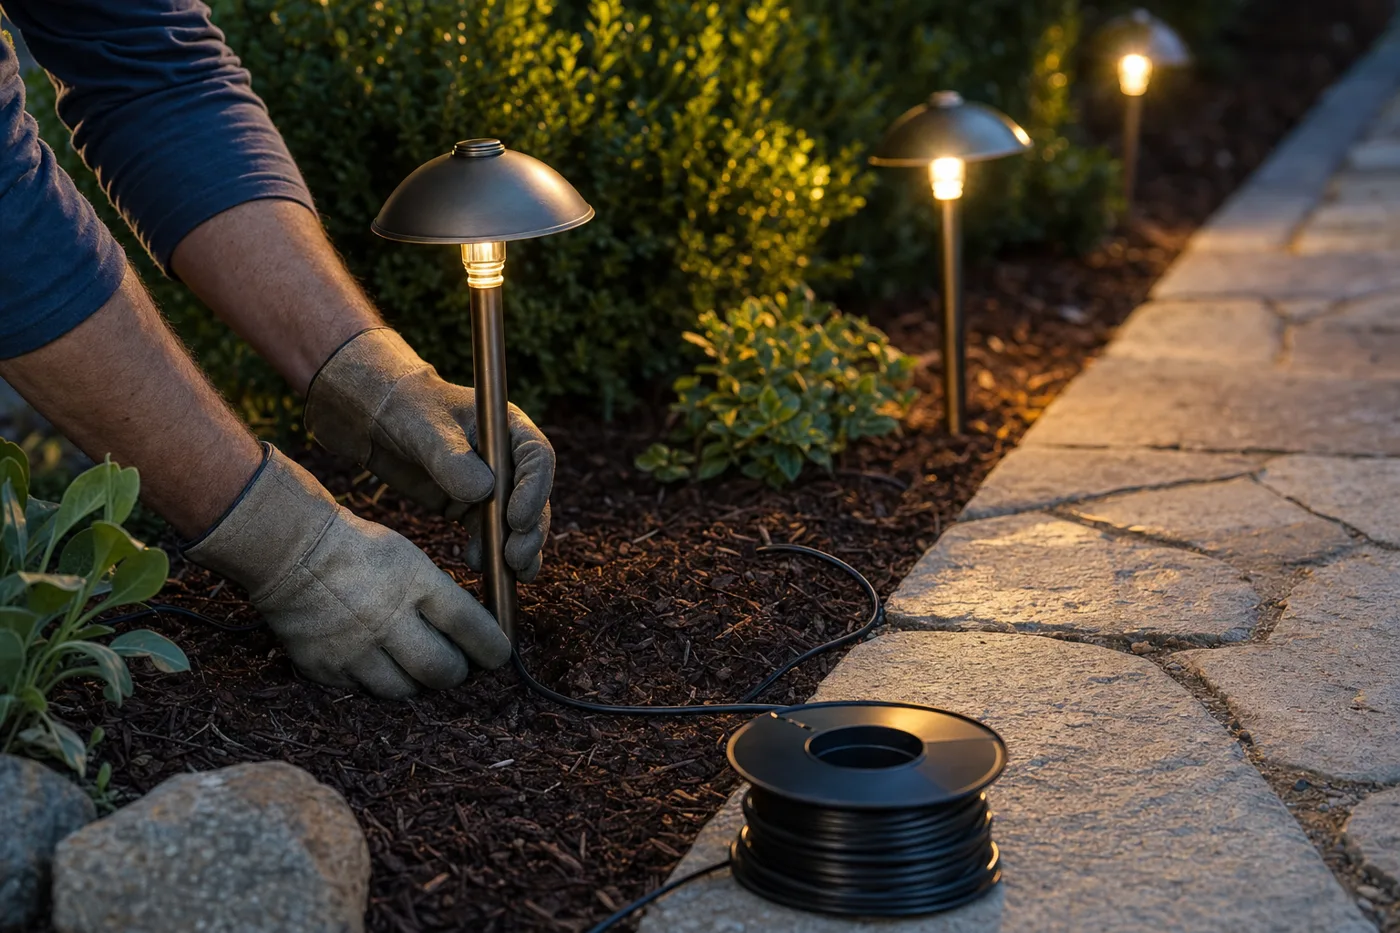
Landscape lighting is the highest-return, lowest-risk electrical project a homeowner can touch. The system runs on 12 volts — safe to handle, no permit, no electrician — and modern LED fixtures sip so little power that one modest transformer can light an entire front yard. The gap between amateur and professional results has nothing to do with wiring skill. It’s design: what you choose to light, and what you deliberately leave dark.
Light destinations and textures, not the lawn
Pros follow two habits. First, light things: the front door, a specimen tree, stone, the grade change where a guest could stumble — never empty grass. Second, hide the source: you should see glow on bark and walls, not a bright bulb glaring back. And resist the runway. Path lights every four feet look like an airstrip; stagger them every eight to ten feet, alternating sides, and the walk reads as a stroll instead of a taxiway.
Plan on paper, then size the transformer
Sketch the yard, place fixtures, and add up the wattage — a modern LED spot draws 4 to 6 watts, a path light 2 to 4. Buy a transformer rated at least a third above your total so you can add fixtures later without starting over: 200 watts of lights wants a 300-watt unit. A built-in photocell with a timer means it runs itself from day one.
Mount the transformer and run heavy cable
Hang the transformer beside an exterior GFCI outlet, at least a foot off the ground. Use 12-gauge direct-burial cable even for small systems — thin 16-gauge wire loses voltage over distance, which is why the far end of cheap kits always looks dim. For bigger yards, run separate home-run cables to each zone rather than one long daisy chain, so the first fixture and the last see nearly the same voltage.
Set fixtures loose and connect with gel connectors
Place every fixture in position and connect it with waterproof gel-filled connectors — the pierce-style connectors bundled with kits corrode in a season or two and become the source of every future flicker. Leave a foot of slack cable coiled at each fixture for repositioning later. Don’t bury anything yet.
Aim everything at night
Wait for full dark, power up, and walk the yard with a headlamp. Swivel spots up tree trunks so the canopy catches light, graze walls at a sharp angle to pull out stone texture, and shield any fixture that glares at a window or the street. This pass is the whole difference between installed and designed — give it a full unhurried hour.
Bury the cable and check voltage
Cut a 3-inch-deep slot with a flat spade along each run, tuck the cable in, and step the turf closed; in mulch beds, burying under the mulch is plenty. Then put a multimeter on the farthest fixture: LEDs want roughly 9 to 15 volts. Below that, shorten the run or move it to its own home-run cable.
Call 811 before any trenching deeper than a few inches, and keep low-voltage cable at least a foot away from buried line-voltage runs. And never plug the transformer into a non-GFCI outlet — outdoors, that protection is not optional.
Good landscape lighting shows off everything except itself.
The system grows with you
Because you oversized the transformer, adding a fixture is a ten-minute job: place, connect, aim. Wipe lenses each spring, re-aim anything the frost heaved, and swap any early-failing lamp promptly — one dark fixture in a lit composition is more visible than no lighting at all. A well-planned 12-volt system runs for decades on pocket change a month.
Keep the momentum going
All articles
Weekend Curb Appeal: Seven Projects That Transform Your Front Yard
Seven high-impact DIY curb appeal projects ranked by payoff per hour: front door paint, house numbers, lighting, mulch edges, and more.
Lay a Paver Walkway That Won’t Heave, Wander, or Grow Weeds
Build a paver walkway from the ground up: excavation depth, compacted base lifts, screeded bedding sand, edge restraints, and polymeric sand joints.

How to Paint Kitchen Cabinets Like a Pro
A step-by-step DIY guide to painting kitchen cabinets: degreasing, sanding, priming, and roller technique for a factory-smooth finish on a weekend budget.