Paint Your Front Door and Swap the Hardware in a Day
No single square yard of a house changes its curb appeal like the front door. One can of enamel, one hardware set, one day off the hinges.
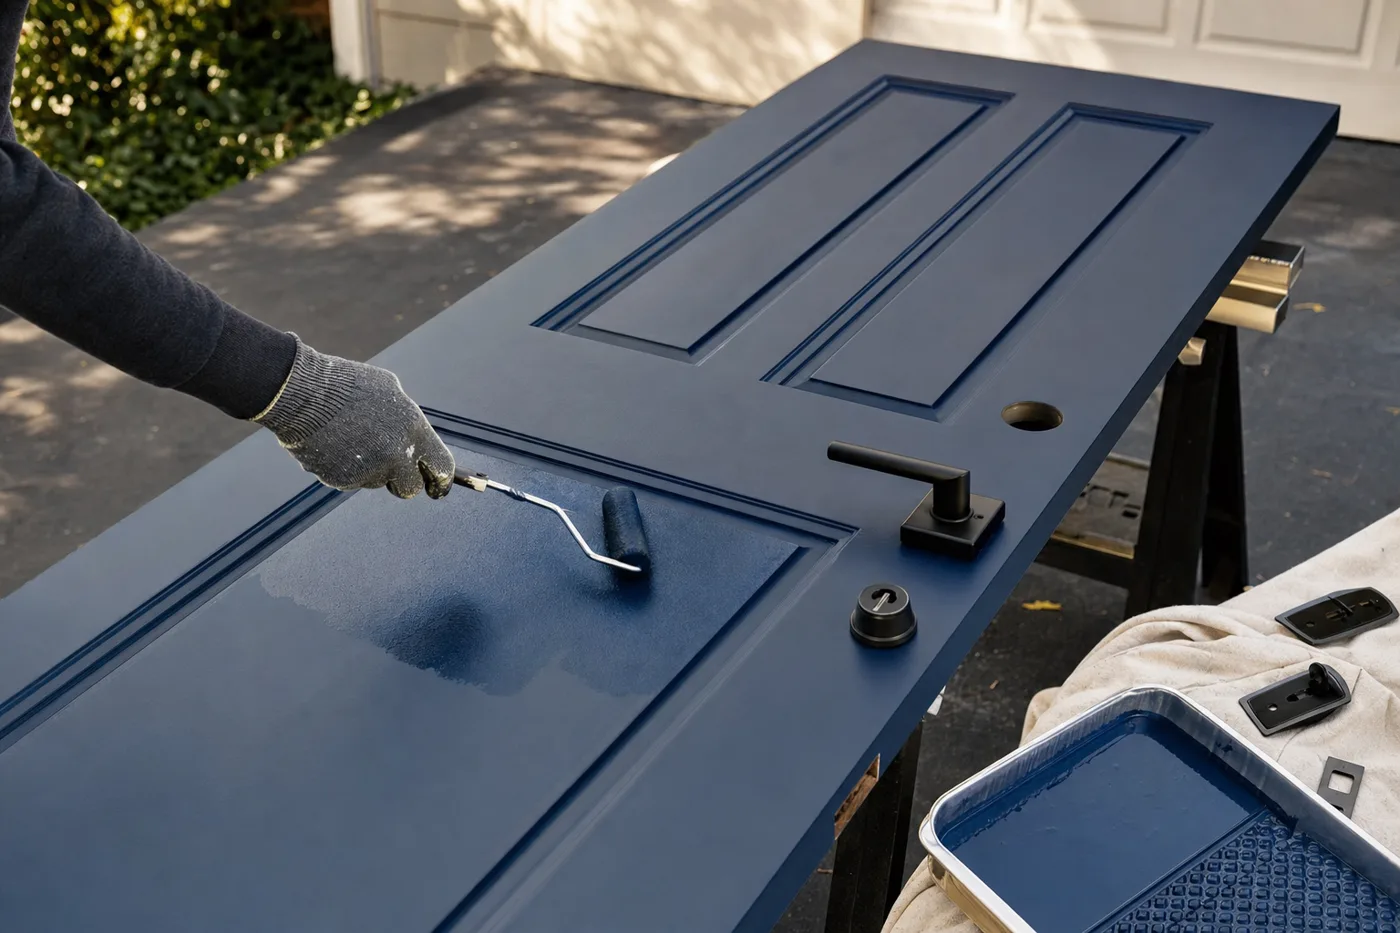
Real-estate photographers know the trick: shoot the front door straight on, because that one rectangle sets the tone for the whole house. A tired, chalky, fingerprinted door drags everything down; a crisp painted slab with fresh hardware reads like a renovation from the street. The difference between a brushy, drippy amateur door and a furniture-smooth one is almost entirely one decision — whether you paint it hanging or pull it and lay it flat.
Why the door comes off the hinges
Paint on a vertical door wants to sag and drip, and you’re racing the sun on the hinge side. Flat on sawhorses, gravity becomes your leveling tool: the enamel flows out, brush marks relax, and you can inspect every inch in raking light. Tap the hinge pins out with a nail set, carry the door to sawhorses in the garage or shade, and screw a scrap of plywood over the open doorway — or plan the job for a day someone’s home.
Strip the hardware, sand to dull, and clean
Remove the handleset, deadbolt, knocker, and numbers — taping around hardware is the giveaway of every rushed door job. Scuff-sand the entire surface with 220 grit until the old sheen is uniformly dull; enamel grips a scratched surface and sheds off a glossy one. Vacuum, then wipe with a tack cloth. Bare spots, repairs, or a drastic color change get a coat of bonding primer first.
Paint in panel-first sequence
Order matters on a paneled door: recessed panels first (brush the profiles, roll the flats), then the horizontal rails, then the vertical stiles, always finishing with strokes along the wood’s long direction. A 4-inch foam roller lays enamel smooth and a light brush pass tips off the texture. Thin coats — enamel builds beautifully and sags spitefully.
Second coat by the can, edges by the code
Respect the recoat window, usually 4 to 6 hours for exterior enamel, then repeat the sequence. Paint the top and bottom edges too — unsealed edges are where doors drink moisture and start to swell and stick. Convention for the latch edge: it matches the color of the room the door swings into.
Fit the new hardware while paint cures
Modern handlesets are built for standard bores — a 2-1/8-inch hole with a 2-3/8- or 2-3/4-inch backset — so swapping is screwdriver work. Install the latch with its bevel facing the strike, keep the deadbolt throw fully extending into the jamb, and don’t over-tighten through-bolts on a freshly painted surface. New hinges in the same finish are a $15 upgrade nobody skips twice.
Rehang and check the reveal
Hang the door, tap the pins home, and check the gap around the slab — an even eighth-inch reveal, a latch that clicks without lifting the handle, a deadbolt that throws with two fingers. Adjust the strike plate now, in the flush of finishing energy, not in November when it’s a daily annoyance.
Enamel feels dry in hours but cures for days. A door closed tight against weatherstripping on night one will bond to it and peel on opening. Rehang late in the day, then leave it cracked open a few hours if you can — or lay wax paper along the weatherstrip for the first two nights.
Gravity is the best paint leveler ever invented. Lay the door flat and let it work.
Keeping the wow
A front door in full sun wants a wash each spring and a fresh topcoat every four to six years — south- and west-facing doors on the shorter end. Keep the leftover quart labeled by the water heater; chips and paw scratches touch up invisibly for years when the can and the door started the same day.
Keep the momentum going
All articles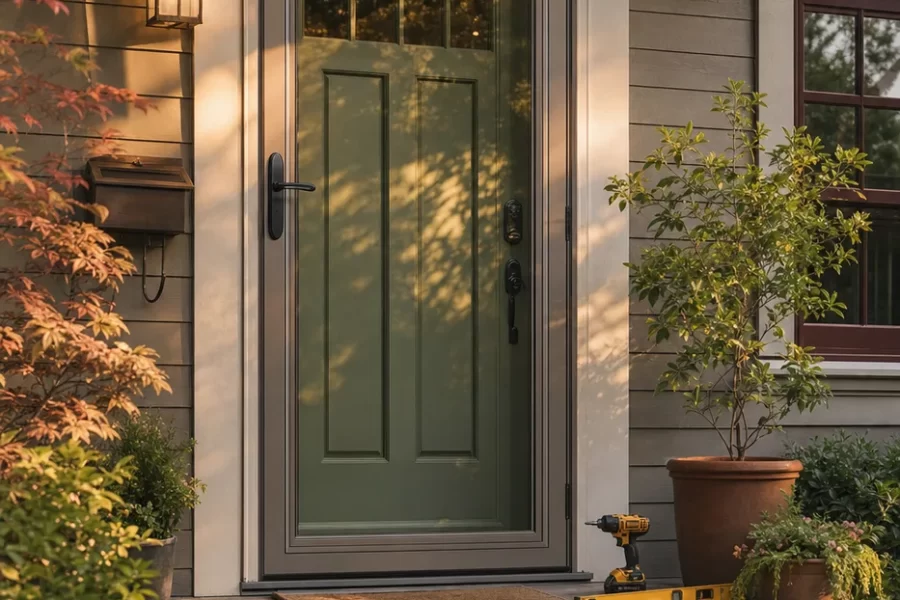
Hang a Storm Door in a Day (and Have It Close Itself Softly)
Install a full-view storm door: measuring the opening, hinge-side selection, mounting rail plumb, closer adjustment, and the expander sweep that seals the sill.
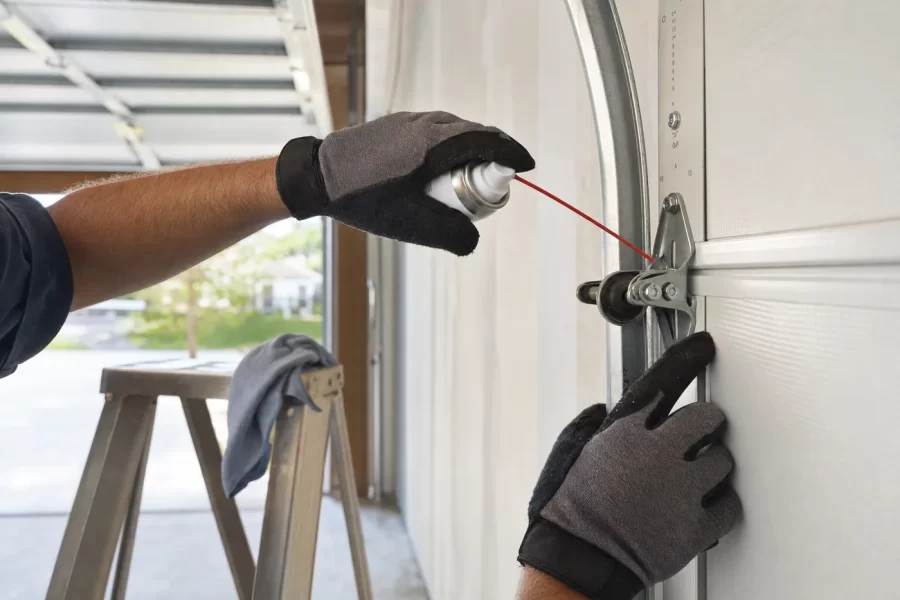
Tune Up a Noisy Garage Door Without Touching the Springs
A step-by-step guide to quieting a garage door: tightening hardware, lubricating rollers and hinges, testing balance and safety reverse — springs strictly off-limits.

How to Paint Kitchen Cabinets Like a Pro
A step-by-step DIY guide to painting kitchen cabinets: degreasing, sanding, priming, and roller technique for a factory-smooth finish on a weekend budget.