Replace Rotted Exterior Trim Before the Leak Reaches the Framing
Soft, flaking trim is the house telling you where water gets in. The board costs $30 — ignoring what's behind it costs a wall.
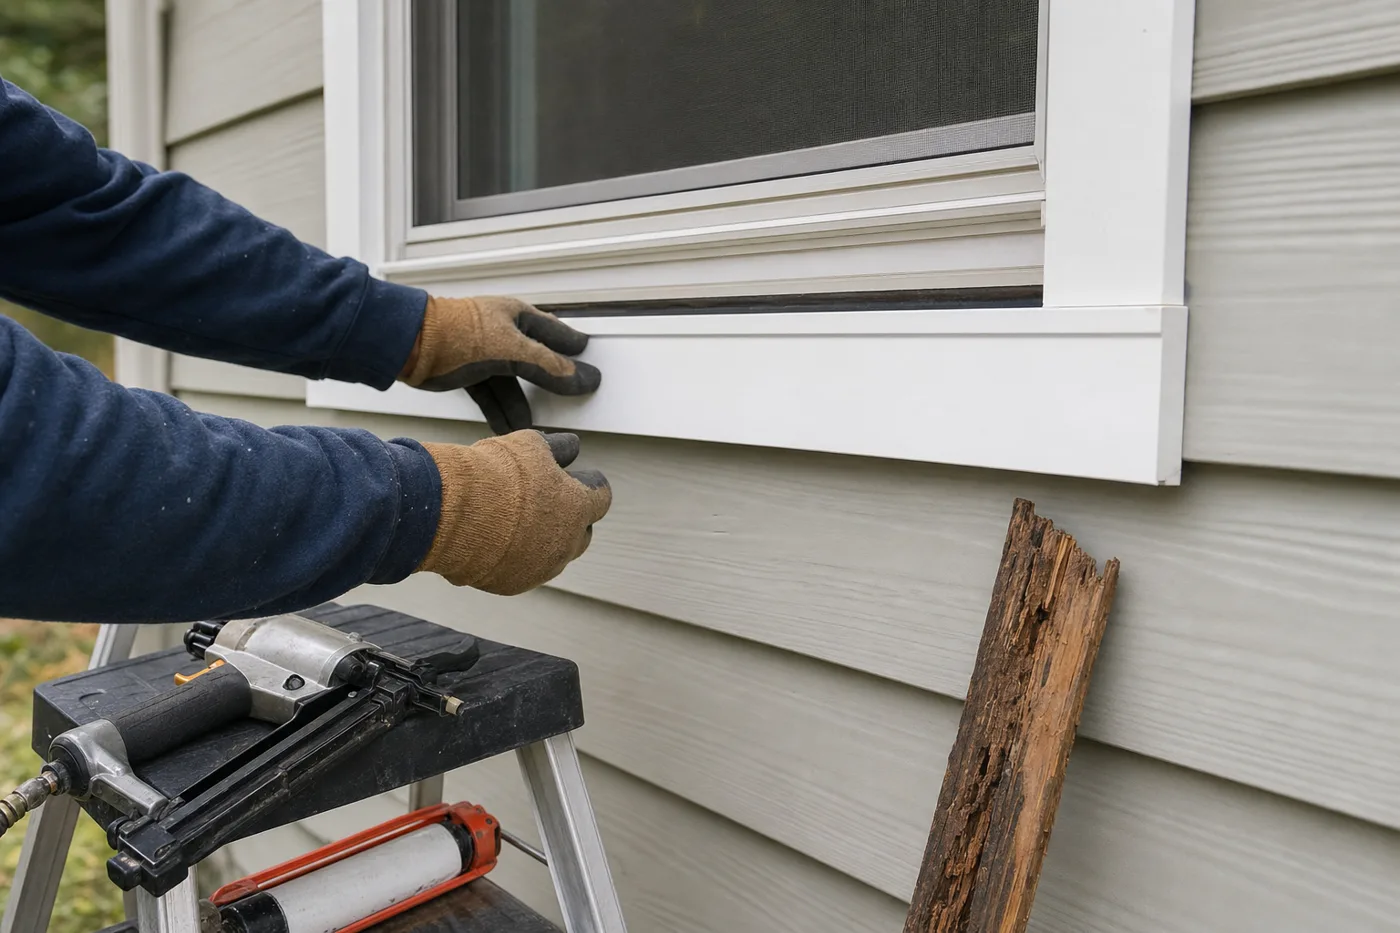
Trim is the sacrificial layer of an exterior — it takes the sun, the splash, and the sprinkler so the sheathing doesn’t have to. When a corner board or window sill goes punky, the temptation is to swap the board and repaint. Resist it for one hour. Rotted trim is a symptom; somewhere above it, water is getting past the paint, the caulk, or the flashing, and the repair that lasts is the one that fixes the path, not just the casualty.
Probe first, shop second
Walk the house with an awl and push it into every suspect board. Sound wood refuses the tip; rot swallows it. Map how far the softness runs, then pull the worst board and look behind it: stained or spongy sheathing means the leak has been working for years and the repair grows. Dry, bright sheathing means you caught it early and this really is a one-weekend job.
Remove the rot without wrecking the siding
Slice the caulk joints with a utility knife, then work a stiff putty knife behind the board before the pry bar goes in — prying directly against siding creases it. Where trim tucks under a course of siding, cut the nails with an oscillating tool blade slipped into the gap rather than muscling the board out.
Trace the water to its entry point
Common culprits, in order: a missing drip cap over the window or door, a failed caulk joint above, gutter overflow, and sprinklers hitting the wall daily. Fix what you find now — bend and slip in a metal drip cap, re-line the joint, adjust the sprinkler head. This step is the actual repair; the new board is just the trim.
Flash before you fill
Run self-adhering flashing tape over the exposed sheathing, shingle-style: lower pieces first, upper pieces overlapping them, so every drop that ever gets behind the trim is handed back outside. Tape that laps the wrong way is a funnel with good intentions.
Fit the new board — PVC where it’s wet
Cellular PVC never rots and is the right call for sills, near-grade boards, and splash zones; primed wood is cheaper and fine higher up. Cut for a snug fit with a 1/8-inch gap at butt joints for movement, prime any cut wood ends, and fasten with stainless or hot-dip galvanized nails into framing, two per bearing point.
Caulk and paint like it matters
Fill joints with polyurethane caulk — it stays flexible for a decade where cheap acrylic cracks in two years — but leave the bottom edge of horizontal boards uncaulked so trapped water can drain. Two topcoats over primer, and paint the end grain wherever you can reach it. End grain drinks water ten times faster than the face.
Homes built before 1978 likely have lead paint on exterior trim. Don’t dry-sand or power-grind old coatings — score, pry, and remove boards whole, bag the debris, and keep kids and pets away from the drop zone.
New trim over an unfixed leak isn’t a repair. It’s a countdown with better paint.
The five-year check
Once a year, walk the same route with the same awl, especially the bottom two feet of every trim run and everything under a roof valley. Caulk joints get a touch-up the moment they crack, not the season after. Trim replaced this way — source fixed, flashed, sealed, painted — is a repair you make once per decade instead of once per spring.
Keep the momentum going
All articles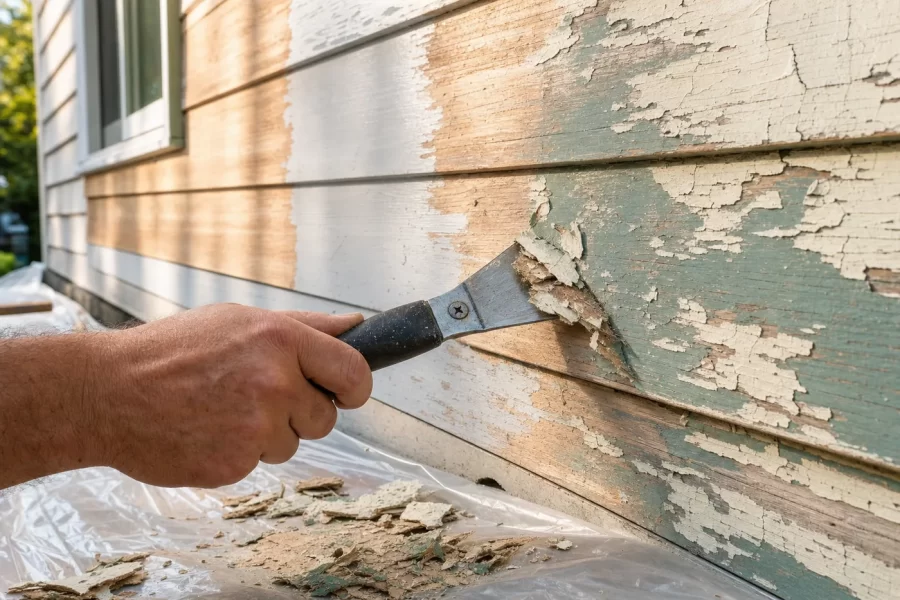
Wash, Scrape, Prime: The Prep That Makes Exterior Paint Last
Exterior paint prep done right: washing siding, scraping and feather-sanding failed paint, spot-priming bare wood, caulking, and reading the weather window.
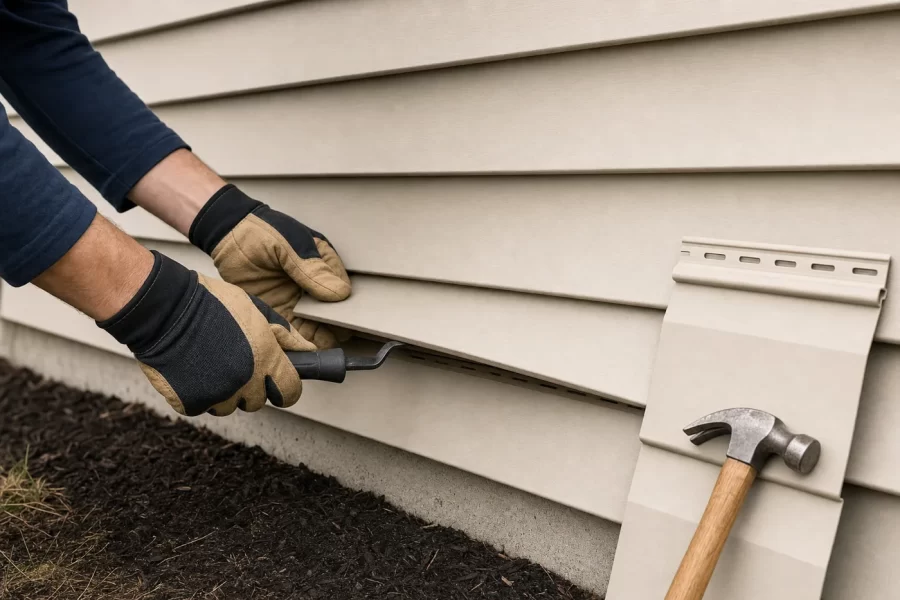
Fix Cracked or Blown-Off Vinyl Siding With a $6 Zip Tool
A step-by-step guide to replacing a damaged vinyl siding panel: unlocking courses with a zip tool, nailing loose for movement, and matching faded color.

How to Paint Kitchen Cabinets Like a Pro
A step-by-step DIY guide to painting kitchen cabinets: degreasing, sanding, priming, and roller technique for a factory-smooth finish on a weekend budget.