Build a Pergola Over Your Patio That Stands Plumb for Decades
A pergola turns a bare slab into an outdoor room for the price of the lumber. The whole project is decided in the first hour, when you set the posts.
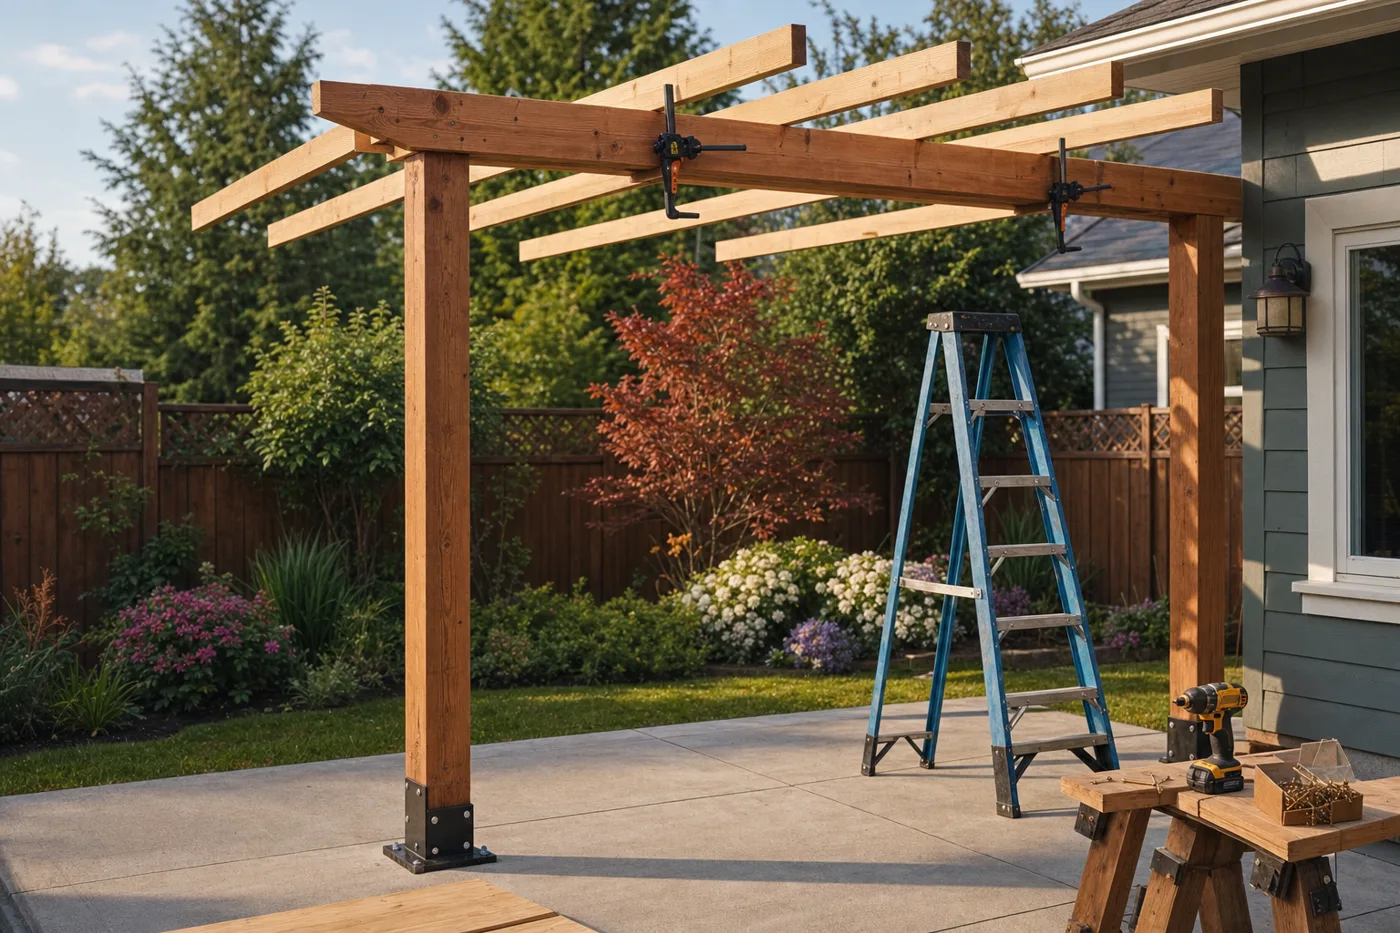
A pergola is the rare structure that looks architectural but is honestly just four posts, two beams, and a stack of rafters. What separates the ones that still look sharp in fifteen years from the ones that lean by year three is not carpentry skill — it’s whether the posts were anchored plumb and the frame was squared before anything got its final screws. Slow down at the start and the rest of the build is assembly.
Check the rules before you buy lumber
Many towns treat a pergola over about 100 square feet, or one attached to the house, as a permitted structure. A freestanding unit under the threshold often needs nothing, but a ten-minute call to the building department beats a tear-down order. While you’re at it, call 811 if any digging is involved — post bases on an existing slab avoid that entirely, which is why this guide anchors to concrete.
Lay out the posts and check the diagonals
Snap the post locations on the slab, then measure both diagonals of the rectangle. When the diagonals match, the layout is square; a quarter inch of difference at the base becomes a visible lean at nine feet. Keep posts at least a few inches in from the slab edge so the anchors bite into solid concrete, not a spalling corner.
Set cast post bases with wedge anchors
Drill 1/2-inch holes 3 inches deep with a hammer drill, blow out the dust — a dusty hole halves an anchor’s grip — and tap in wedge anchors. Torque the nuts snug, not heroic. Use standoff bases that hold the post an inch off the concrete; a post sitting in a puddle rots from the bottom up no matter what species you bought.
Stand the posts plumb and brace them
Stand each 6×6, strap a post level on, and brace it in two directions with scrap 2x4s screwed to stakes or blocks. Do not trust your eye. Every post gets checked again after the beams go on, because lifting a 16-foot beam has a way of shoving things around.
Sandwich the beams, then clamp before you screw
Run a 2×8 on each face of the posts — a sandwiched pair is stiffer than a single beam and easier to lift one board at a time. Clamp both, check the tops level, then drive structural screws in a staggered pattern through beam and post. Cut the decorative rafter-tail profile on the ends before lifting; it’s miserable work on a ladder.
Space rafters for the shade you want
Rafters on 16-inch centers give dappled shade; 12-inch centers with the boards on edge block noticeably more midday sun. Mark the layout on both beams so the rafters land parallel, notch or clip each one, and fasten with hurricane ties. A top layer of 2×2 purlins run perpendicular deepens the shade and stiffens the whole roof plane.
Never anchor a pergola to a floating slab that’s badly cracked or heaving — the structure will ride the slab’s movement and rack itself apart. If the patio moves seasonally, set posts on proper footings beside it instead.
A pergola is built in the first hour. The rest is just carrying the decision out to the last rafter.
Keep it standing straight
Seal or stain every surface within the first month, end grain twice, and recoat every two to three years. Each spring, put a wrench on the anchor nuts and a level on one post — five minutes of checking is the entire maintenance plan for a structure that should outlast the patio furniture under it several times over.
Keep the momentum going
All articles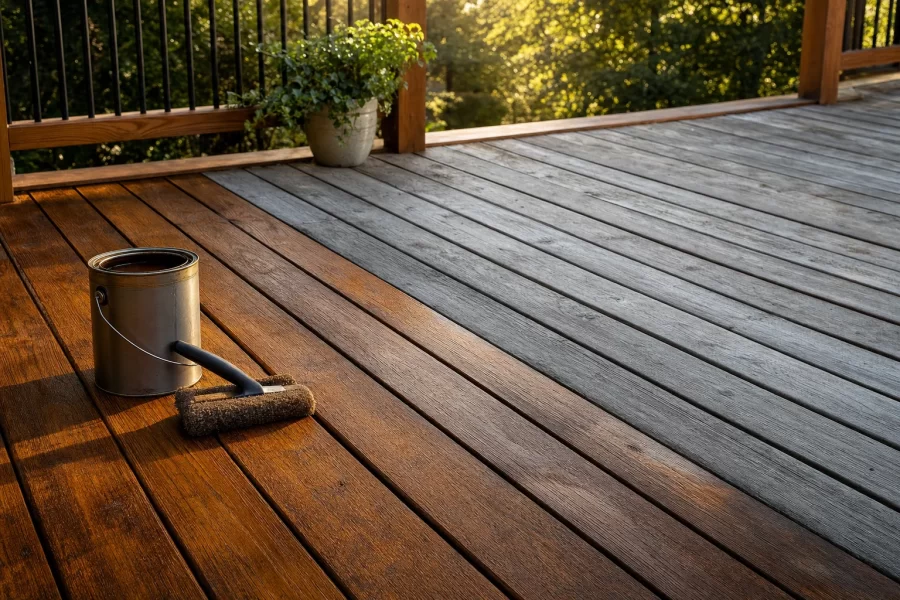
How to Clean and Restain a Weathered Deck
Bring gray, weathered deck boards back to life: cleaning, brightening, drying, and staining in the right sequence, with product and weather guidance.
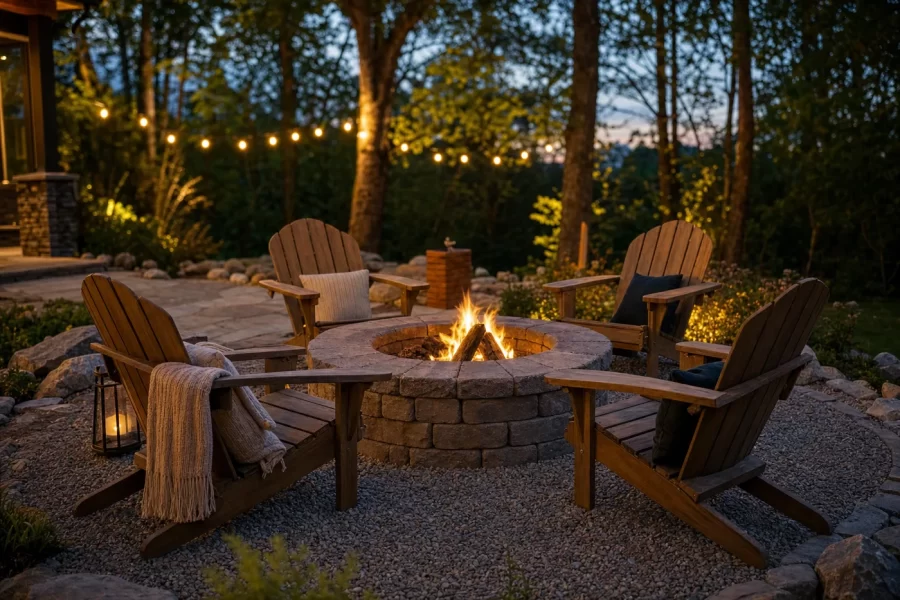
Build a Fire Pit Patio in a Weekend
Build a circular gravel patio with a stacked-block fire pit: siting for safety and codes, excavation, compacted base, ring assembly, and first-burn rules.

How to Paint Kitchen Cabinets Like a Pro
A step-by-step DIY guide to painting kitchen cabinets: degreasing, sanding, priming, and roller technique for a factory-smooth finish on a weekend budget.