Wash, Scrape, Prime: The Prep That Makes Exterior Paint Last
Exterior paint doesn't fail because of the paint. It fails because of what was — or wasn't — under it. Prep is 70% of the hours and 90% of the lifespan.
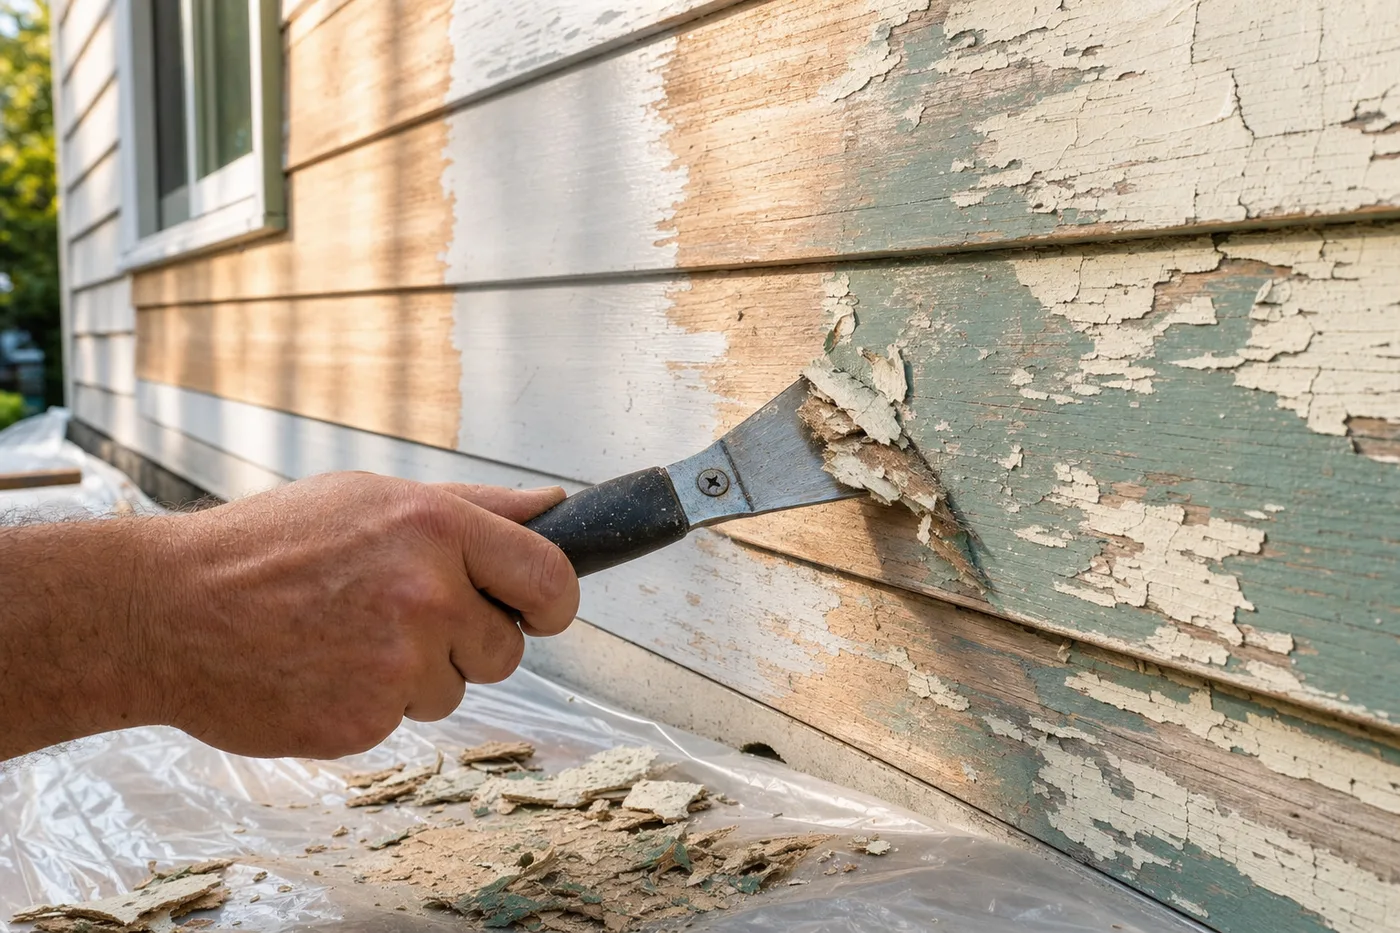
Two identical houses, painted the same summer with the same paint: one is peeling in three years, the other looks fresh in twelve. The difference is invisible in the after photos — it’s the washing, scraping, sanding, and priming that happened before the color ever came out of the can. Prep is unglamorous, which is exactly why skipping it is so tempting and so expensive.
Read the wall first
Walk the house and diagnose the failures. Peeling in sheets down to bare wood usually means moisture behind the siding — find the source (gutter, grade, bathroom vent) or the new paint peels too. Cracked alligatoring means too many old layers. Chalky powder on your palm is normal oxidation and washes off. Mildew (dark spots that lighten with a drop of bleach) needs killing, not just covering.
Wash the house, then leave it alone
Paint bonds to clean, dull, dry surfaces — none of which describe unwashed siding. Work top down with house wash and a soft siding brush, rinsing before it dries. A pressure washer is a rinsing tool here, not a paint remover: wide tip, 10 feet back, never driving water up under laps. Then the hard part: give the wall two to four rain-free days to dry. Wood holds water long after it looks dry.
Scrape to sound edges, not to perfection
You’re not stripping the house; you’re removing everything loose. Scrape until the scraper stops lifting paint and the remaining edges are stuck fast. A carbide pull scraper does in one pass what a flat scraper does in four. Bag the chips on plastic sheeting below — and if the house predates 1978, test for lead first and follow EPA RRP practice: wet methods, no power sanding, full cleanup.
Feather-sand and kill the gloss
Sand the scraped edges flush with 80-grit so old-paint islands don’t telegraph through the new coat, then scuff any glossy intact paint with 120 so the next coat has tooth. This is dusty, meditative, and the single biggest determinant of whether the finished wall looks repainted or just painted-over.
Spot-prime the same week, caulk after
Every square inch of bare wood gets primer within days of being exposed — UV degrades unprimed wood fast enough to ruin adhesion in two sunny weeks. Prime first, then caulk every joint where trim meets siding with paintable urethane-acrylic, tooled smooth. Caulk over primer sticks; caulk over dust doesn’t. Skip caulking the horizontal undersides of lap boards — walls need to drain.
Homes built before 1978 very likely carry lead paint layers. Test kits are cheap; dry-scraping or power-sanding lead paint is how it gets into your soil and your lungs. Wet-scrape, contain, and clean up per EPA Renovation, Repair and Painting rules — or hire an RRP-certified painter for the prep.
Nobody photographs the scraping. Everybody lives with it for fifteen years.
The weather window
Paint when the surface — not the air — is between roughly 50 and 85°F, no rain for 24 hours ahead, and never in direct hot sun, which flashes the paint before it levels. Follow the shade around the house through the day like the pros do. Prep done right, the painting itself is the victory lap.
Keep the momentum going
All articles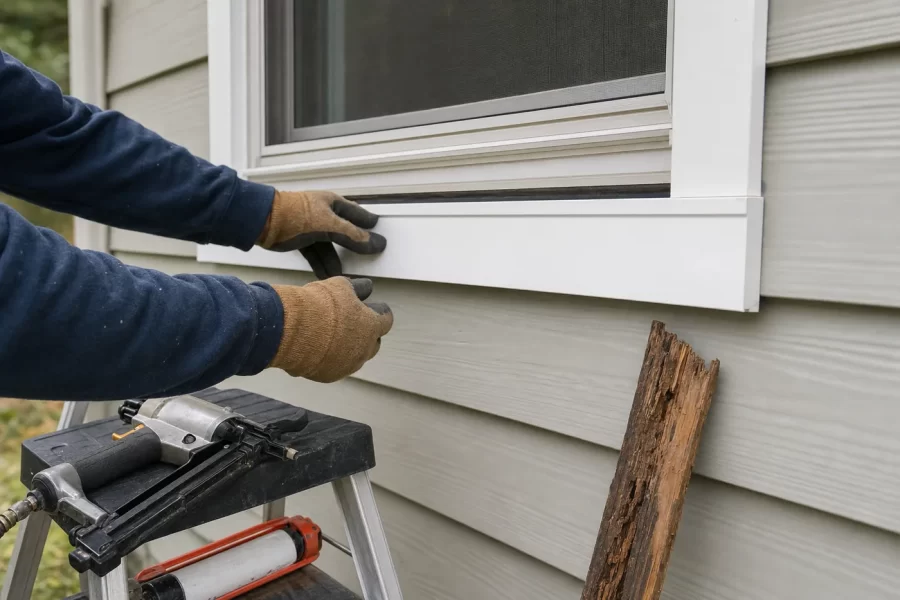
Replace Rotted Exterior Trim Before the Leak Reaches the Framing
A step-by-step guide to replacing rotted window and corner trim: finding the water source, choosing PVC or primed wood, flashing, and caulking.
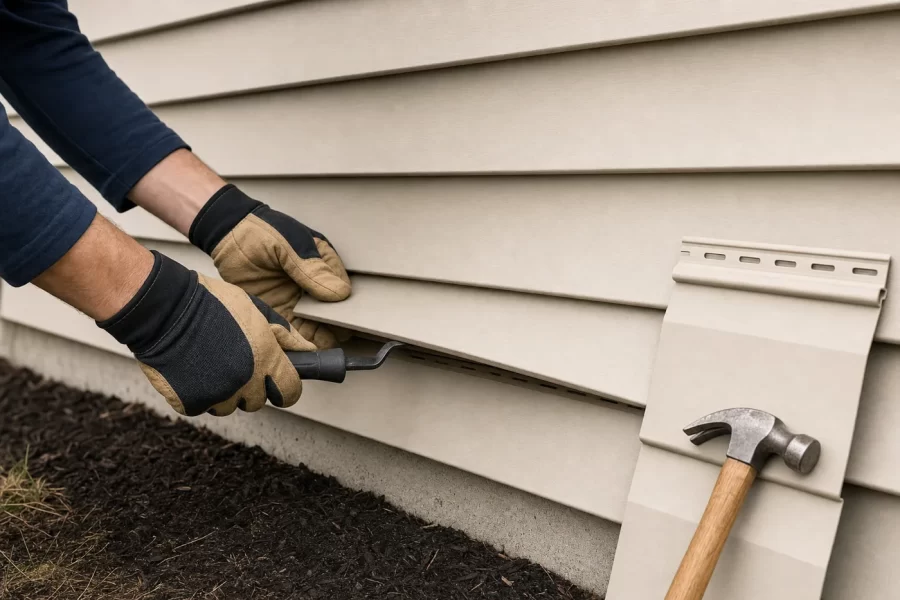
Fix Cracked or Blown-Off Vinyl Siding With a $6 Zip Tool
A step-by-step guide to replacing a damaged vinyl siding panel: unlocking courses with a zip tool, nailing loose for movement, and matching faded color.

How to Paint Kitchen Cabinets Like a Pro
A step-by-step DIY guide to painting kitchen cabinets: degreasing, sanding, priming, and roller technique for a factory-smooth finish on a weekend budget.