How to Clean and Restain a Weathered Deck
Gray boards aren’t dead boards. Under a decade of UV damage and mildew there’s usually sound wood waiting — and a four-stage sequence that brings it back for about a hundred dollars.
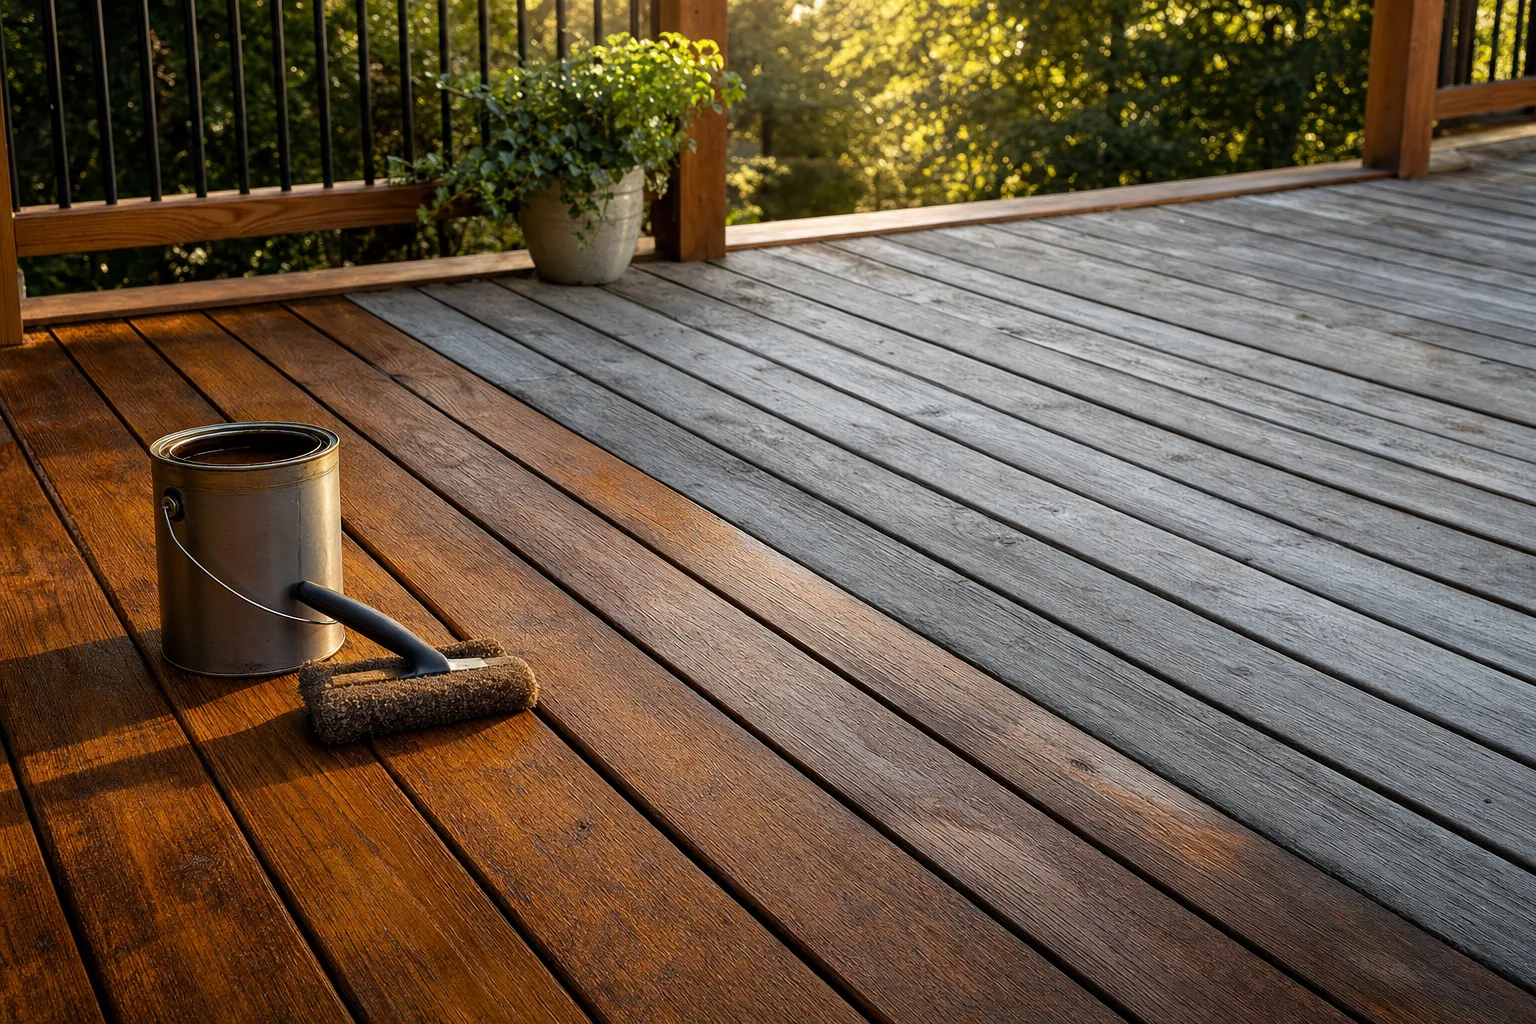
A deck grays for two reasons: ultraviolet light destroys the lignin at the wood’s surface, and mildew colonizes what’s left. Neither means the boards are done. Unless wood is soft and spongy when you press a screwdriver into it, what looks like a dying deck is usually a dirty one wearing a sunburn. The restoration sequence is fixed — clean, brighten, dry, stain — and every shortcut through it shows up within a year.
First, triage
Walk the deck with a screwdriver and a pencil. Probe suspect boards (especially near the house, at stair stringers, and anywhere water pools): soft, punky wood gets replaced, not stained over. Sink or replace every popped nail with a deck screw. Wobbly railings get fixed now — you’ll be leaning on them with a stain pad soon.
Clean with an oxygenated cleaner
Wet the deck, apply oxygenated deck cleaner with a garden sprayer, wait 15 minutes without letting it dry, and scrub with the grain using a stiff deck brush. This lifts gray fibers and kills mildew. Skip chlorine bleach — it bleaches the color but fries wood fibers and leaves salts behind. If you use a pressure washer instead, fan tip only, under 1,200 PSI, always moving; a close jet permanently furs the grain.
Brighten to reopen the grain
Cleaning leaves wood slightly alkaline and dark. A wood brightener (oxalic acid) neutralizes it, lightens tannin stains, and reopens the grain so stain can penetrate. Spray on, wait ten minutes, rinse thoroughly. The before/after on a cedar deck is startling — this is the step people skip and shouldn’t.
Dry — really dry
Stain applied to damp wood peels. Give the deck a minimum of 48 dry hours; then flick water on a board. If it soaks in within a minute, you’re ready. If it beads, wait, or sand lightly with 80-grit to open the surface. Check the forecast: you need two rain-free days ahead and a working range of roughly 50–85°F, out of direct midday sun.
Stain with the grain, thin and full-length
Semi-transparent penetrating stain is the DIY sweet spot: it shows grain, doesn’t form a film, and ages by fading instead of peeling. Work board by board, running each full length to avoid lap marks — a stain pad on a pole does the field while a 2″ brush rides the gaps and railings. One thin coat is the rule for penetrating stains: what doesn’t soak in sits on top as a sticky film, so wipe back any puddles after twenty minutes.
Rags soaked in oil-based stain can self-heat and ignite in a bunched pile. Spread them flat outdoors to dry crisp, or drown them in a water-filled metal can, before disposal. This is the one genuinely dangerous step of the whole project.
Clean, brighten, dry, stain. Every deck restoration that fails skipped one of the four.
Keeping it this way
A penetrating stain on a horizontal surface in full sun lasts two to three years — plan on a wash-and-recoat cycle, which takes one day once the deck is sound. Sweep standing debris off the deck monthly and keep planters on feet; trapped moisture, not weather, is what actually kills deck boards.
Keep the momentum going
All articles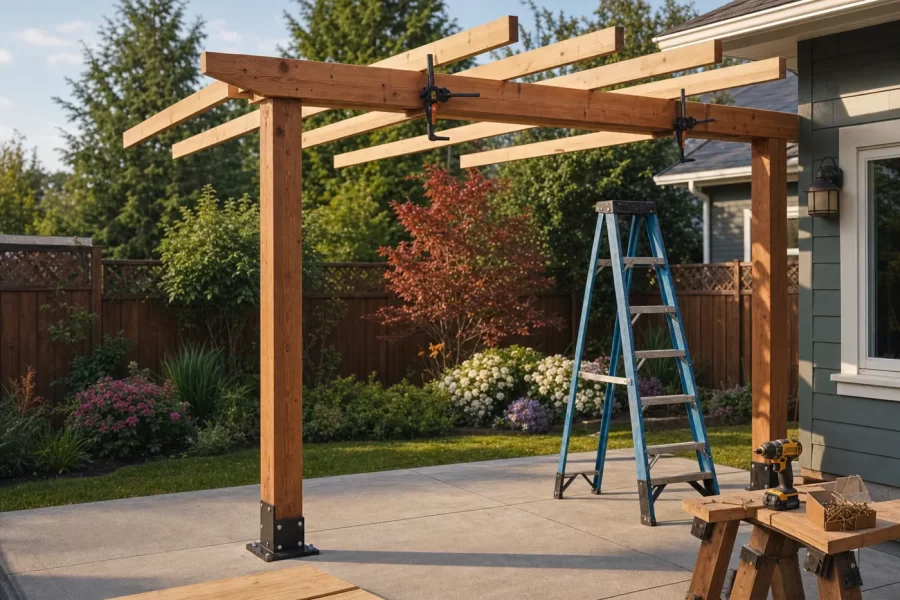
Build a Pergola Over Your Patio That Stands Plumb for Decades
A step-by-step guide to building a patio pergola: post anchors on concrete, doubled beams, rafter spacing for shade, and bracing that keeps it square.

Build a Fire Pit Patio in a Weekend
Build a circular gravel patio with a stacked-block fire pit: siting for safety and codes, excavation, compacted base, ring assembly, and first-burn rules.

How to Paint Kitchen Cabinets Like a Pro
A step-by-step DIY guide to painting kitchen cabinets: degreasing, sanding, priming, and roller technique for a factory-smooth finish on a weekend budget.