Top Up Attic Insulation to R-49 the Right Way
If you can see your ceiling joists from the attic hatch, you're heating the sky. A rented blower and a long Saturday bring most attics up to code-level R-49.
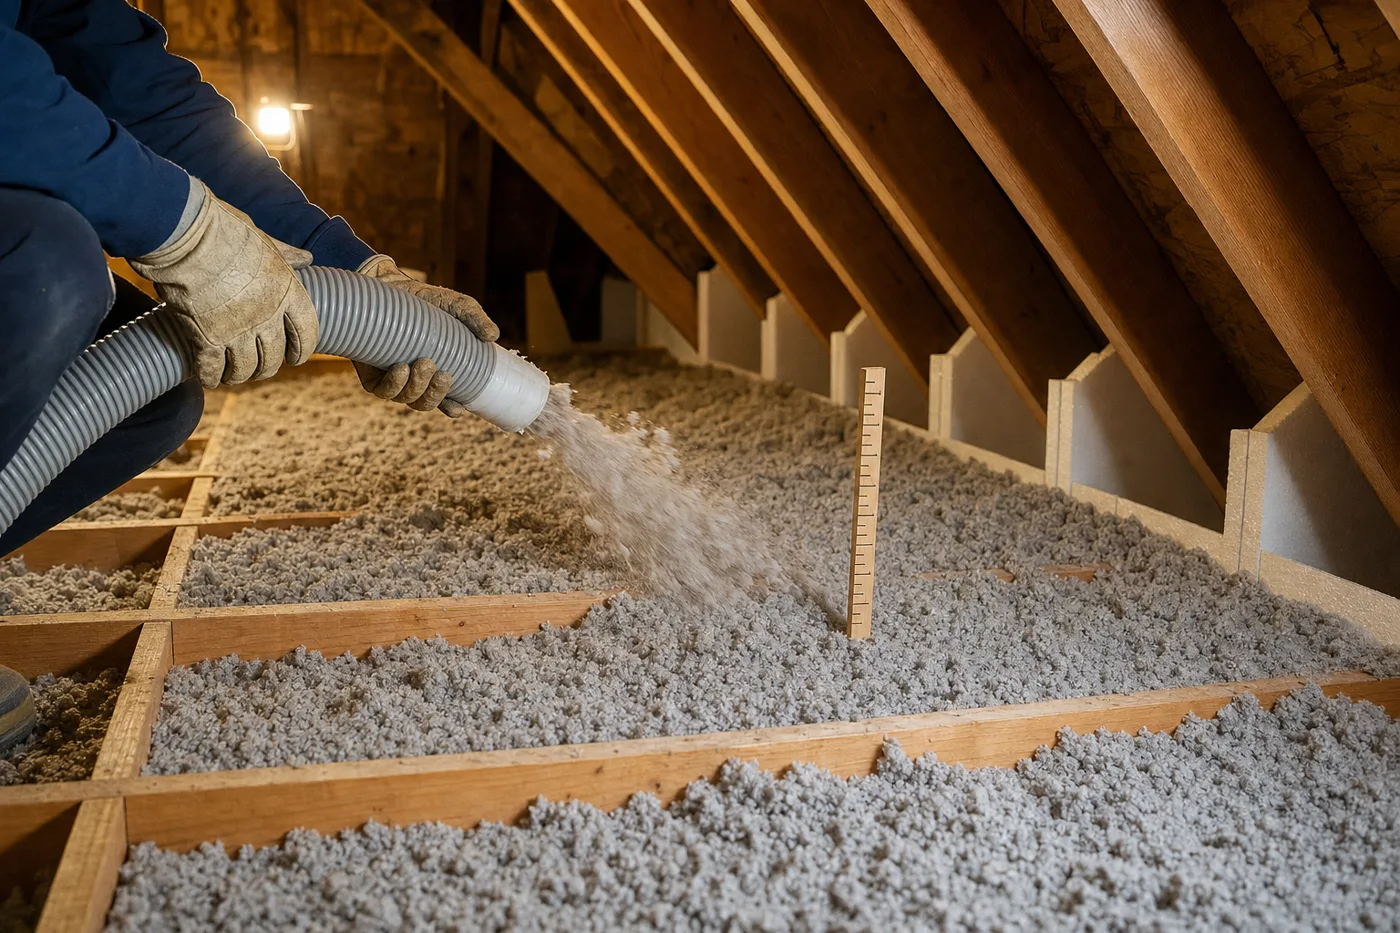
Attic insulation is the rare project where the math is public and the payback is short: the Department of Energy pegs attic top-ups among the best-returning efficiency upgrades in the house, and most homes built before the 2000s are sitting at R-19 or less when current guidance for cold and mixed climates calls for R-49 to R-60. That’s roughly 14 to 17 inches of fluffy fill. If the joists are visible, you have nowhere near it — and a rented blower closes the gap in a day.
Insulation can’t fix what air leaks steal
Do the air-sealing pass first, full stop. Loose fill doesn’t stop moving air; it just filters it, which is why unsealed attics grow dirty gray streaks in the insulation over every gap. Foam the top-plate penetrations, caulk the ceiling boxes, treat flues with metal and high-temp sealant, and cap the hatch — then insulate. Sealing after blowing means swimming through 16 inches of fill to find holes you can no longer see.
Baffle every eave bay before anything else
Staple foam baffles into each rafter bay at the eaves so the new insulation can’t slump into the soffit vents. Blocked soffits are the classic top-up mistake: the attic stops breathing, winter moisture condenses on the roof deck, and in snow country you’ve built an ice-dam machine. Baffles cost about $2 each and this step is non-negotiable.
Flag the hazards and build the dams
Mark every non-IC-rated recessed light and keep insulation 3 inches clear (or replace them with sealed IC-rated units first — the better fix). Dam around the flue with metal flashing per code clearances. Build a plywood or foam-board dam around the hatch opening so fill doesn’t avalanche onto whoever opens it next, and never bury junction boxes — extend them or flag them with tall stakes.
Set depth rulers every ten feet
Staple attic rulers to joists or rafters on a rough 10-foot grid, marked at your target depth — about 14 inches of cellulose or 16 to 17 of blown fiberglass for R-49, on top of sealing, not settled old fill you removed. Depth perception in a dim attic is terrible, and the rulers are the only honest witnesses. The bag chart tells you how many bags the area needs; count them as they go in.
Blow from the far corner toward the hatch
This is a two-person job: one feeding the hopper at the truck or driveway, one in the attic on headlamp and hose, connected by phone. Start at the farthest corner and work backward toward the hatch so you never crawl over fresh fill. Sweep the hose slowly and evenly, hitting the target line on each ruler before moving on — cellulose settles roughly an inch over time, so blow slightly proud of the mark.
Insulate the hatch — the hole in your new blanket
An uninsulated attic hatch in an R-49 attic is a chimney in a parka. Glue two or three layers of rigid foam board to the hatch back, weatherstrip the frame, and add latches that pull it snug. Ten dollars of foam finishes the job properly.
Vermiculite insulation — pebbly, gray-brown granules common in mid-century attics — may contain asbestos. Don’t disturb it, don’t blow over it, don’t vacuum it; stop and get it tested. And always step only on joists or boards laid across them: drywall ceilings hold exactly zero adults.
In a dim attic every bay looks deep enough. Staple rulers every ten feet and let them do the judging.
What R-49 feels like
Expect noticeably steadier room temperatures within the first week and a 10 to 25 percent cut in heating and cooling costs depending on what you started with — many utilities also pay rebates for documented top-ups, so photograph the rulers before you close the hatch. Peek in each fall: fill should sit evenly at the marks, with no streaks, no slumping at the eaves, and nothing to do but close the hatch and keep the savings.
Keep the momentum going
All articles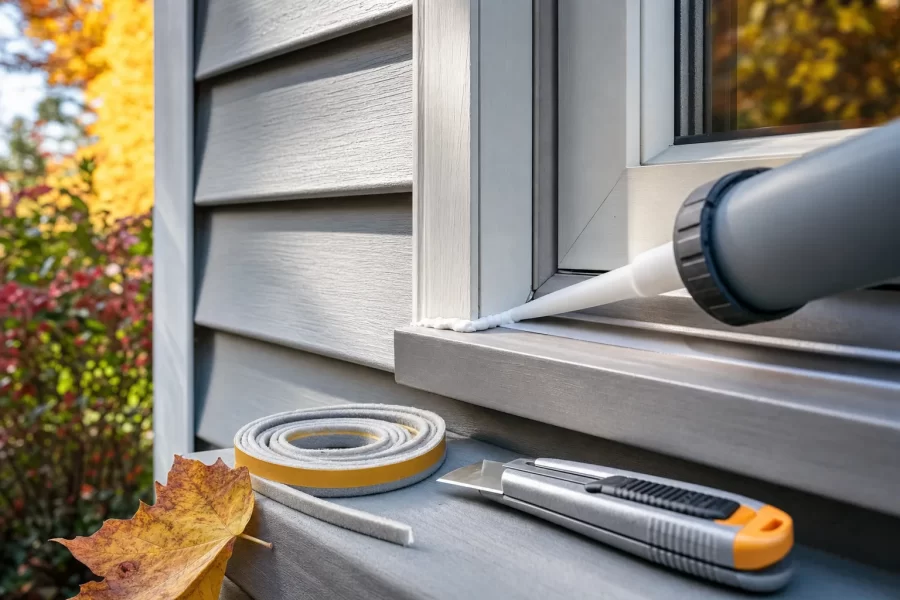
Seal It Up: Weatherproofing Your Home Before the Seasons Turn
A DIY weatherproofing checklist: find air leaks, caulk exterior gaps, add weatherstripping and door sweeps, and cut drafts for about $40 in materials.
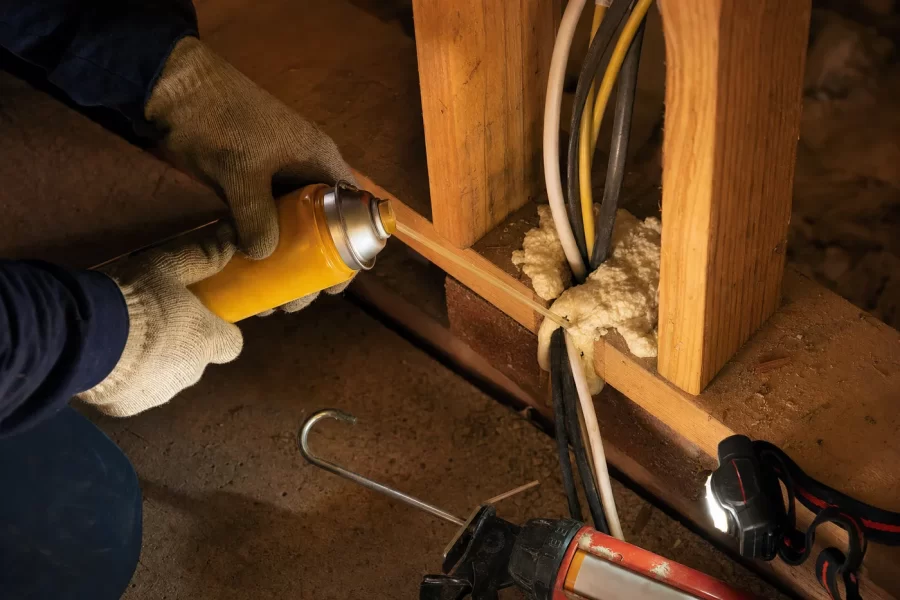
The DIY Energy Audit and Air-Sealing Weekend That Pays Rent
A step-by-step guide to a DIY energy audit and air-sealing weekend: smoke-pencil leak hunting, attic top plates, foam and caulk targets, and weatherstripping.

How to Paint Kitchen Cabinets Like a Pro
A step-by-step DIY guide to painting kitchen cabinets: degreasing, sanding, priming, and roller technique for a factory-smooth finish on a weekend budget.